
Pink Splatter can be a top performing dodger color pattern for kokanee. For quite a while I’ve wanted one in the larger 00 dodger size, unfortunately I’ve never seen one for sale.
Now that I’ve been learning how to build my own dodgers I decided to make my own. For an added twist, I also made it glow in the dark. After all, I got to fill my dodger storage, right? Who am I kidding? I got to fill my second dodger folder, so it doesn’t feel left out.
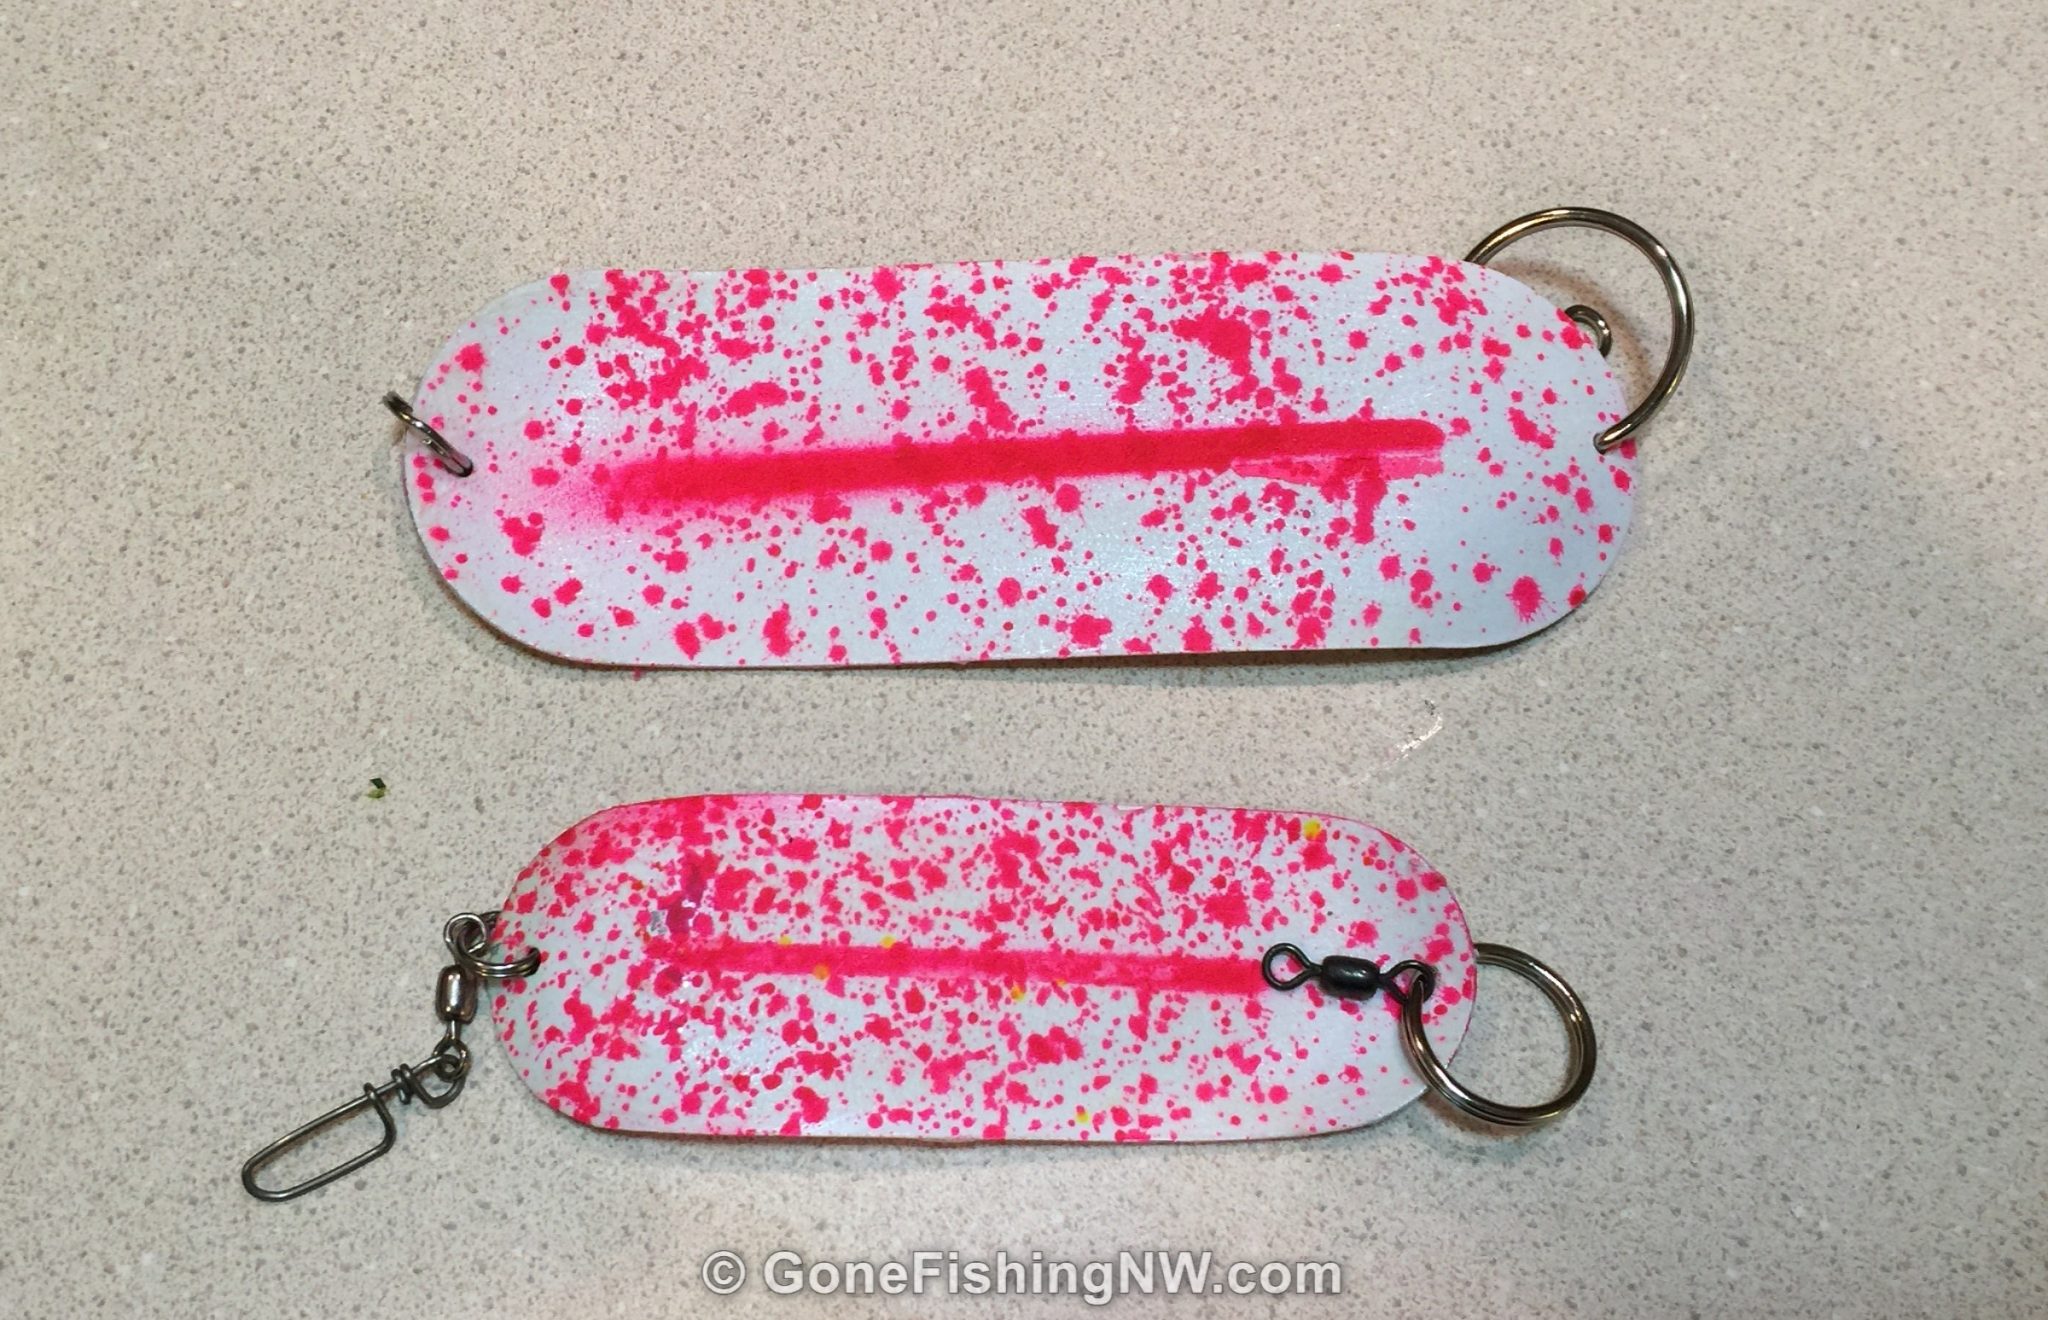
The pink splatter pattern is a white background. It has a fluorescent pink stripe down the middle, then a random pink splatter over the rest of the dodger.
The Dodger Blank
Unless you are really doing this from scratch you’ll need a dodger “blank” and it’s associated hardware.
The easy way, especially if you only plan to make one or two dodgers, is to buy a suitable dodger at the store to modify, such as this plain chrome one.

But if you plan to make multiple and want to keep costs low then it is best to find a tackle supply shop and buy the individual parts. I get mine from Hagen’s.
In addition to the dodger piece itself you’ll need a swivel for the “top”, along with a split ring to connect it to the dodger. For the “bottom” you’ll need a swivel snap and another split ring.
Having a pair of split ring pliers can really be helpful when attaching those split rings to the dodger and swivel.
If you are unsure what size split ring and swivels to get then get out one of your dodgers and measure it. If the description of the item isn’t enough the printed catalog from Hagens has actual size pictures.
Personally, I buy into the “big ring” theory from Holiday Sports. That is having a larger ring at the “top” of the dodger, where it connects to the mainline. The idea is that this allows the dodger to swing easier since it can pivot more on that ring, and doesn’t lose energy to pushing that mainline back and forth in the water. I go one step further and downsize the “bottom” split ring and snap swivel, so that more energy is transmitted to the leader.
Priming The Dodger
Now that you have your dodger blank it needs to be primed for the paint. This is needed because that smooth polished metal surface is hard for most paints to adhere to. If you skip this step you may think it all worked out, but then the paint will scrape off easily in your storage container or even due to drag in the water.
For the primer paint you want to use one which will adhere well to metal, such as a self-etching primer or epoxy primer. The purpose is to give our other layers of paint a nice surface to adhere to. The color doesn’t matter because we will be painting over it. I used the epoxy primer because that is what I had on hand.
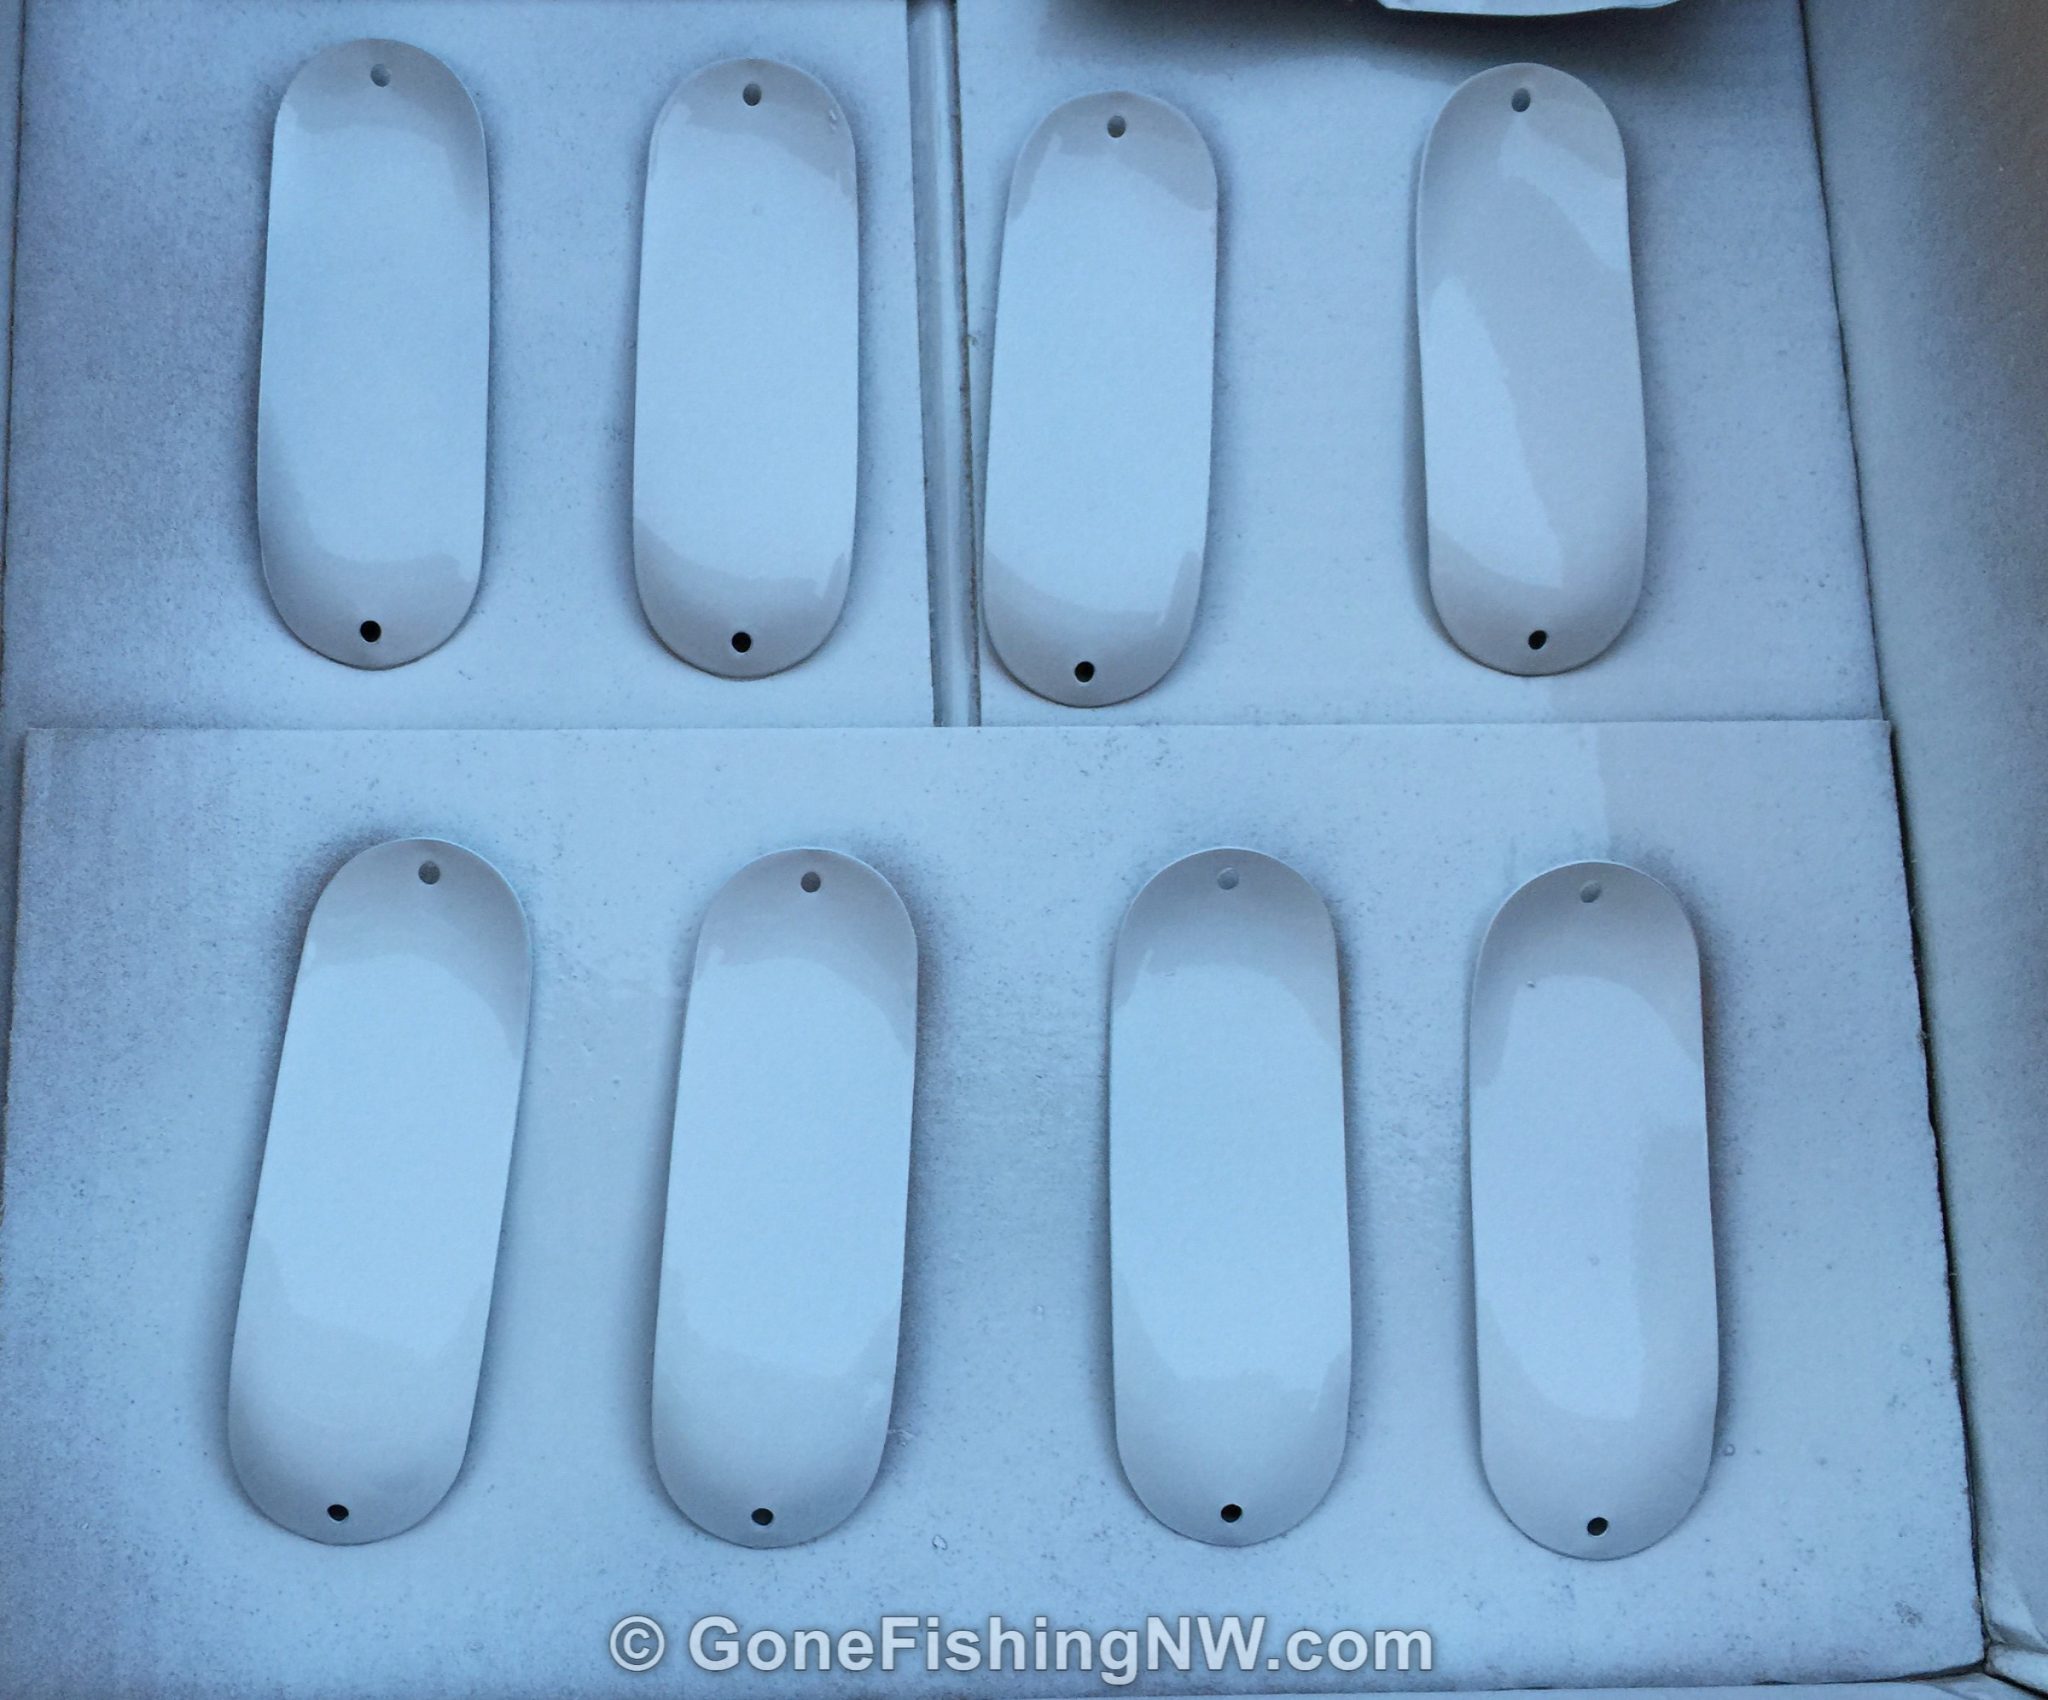
I prefer to prime several blanks at the same time by laying them out on some cardboard and giving them a couple light coats of the primer. After that side dries I flip them over and do the other side.
Applying The Glow Coat
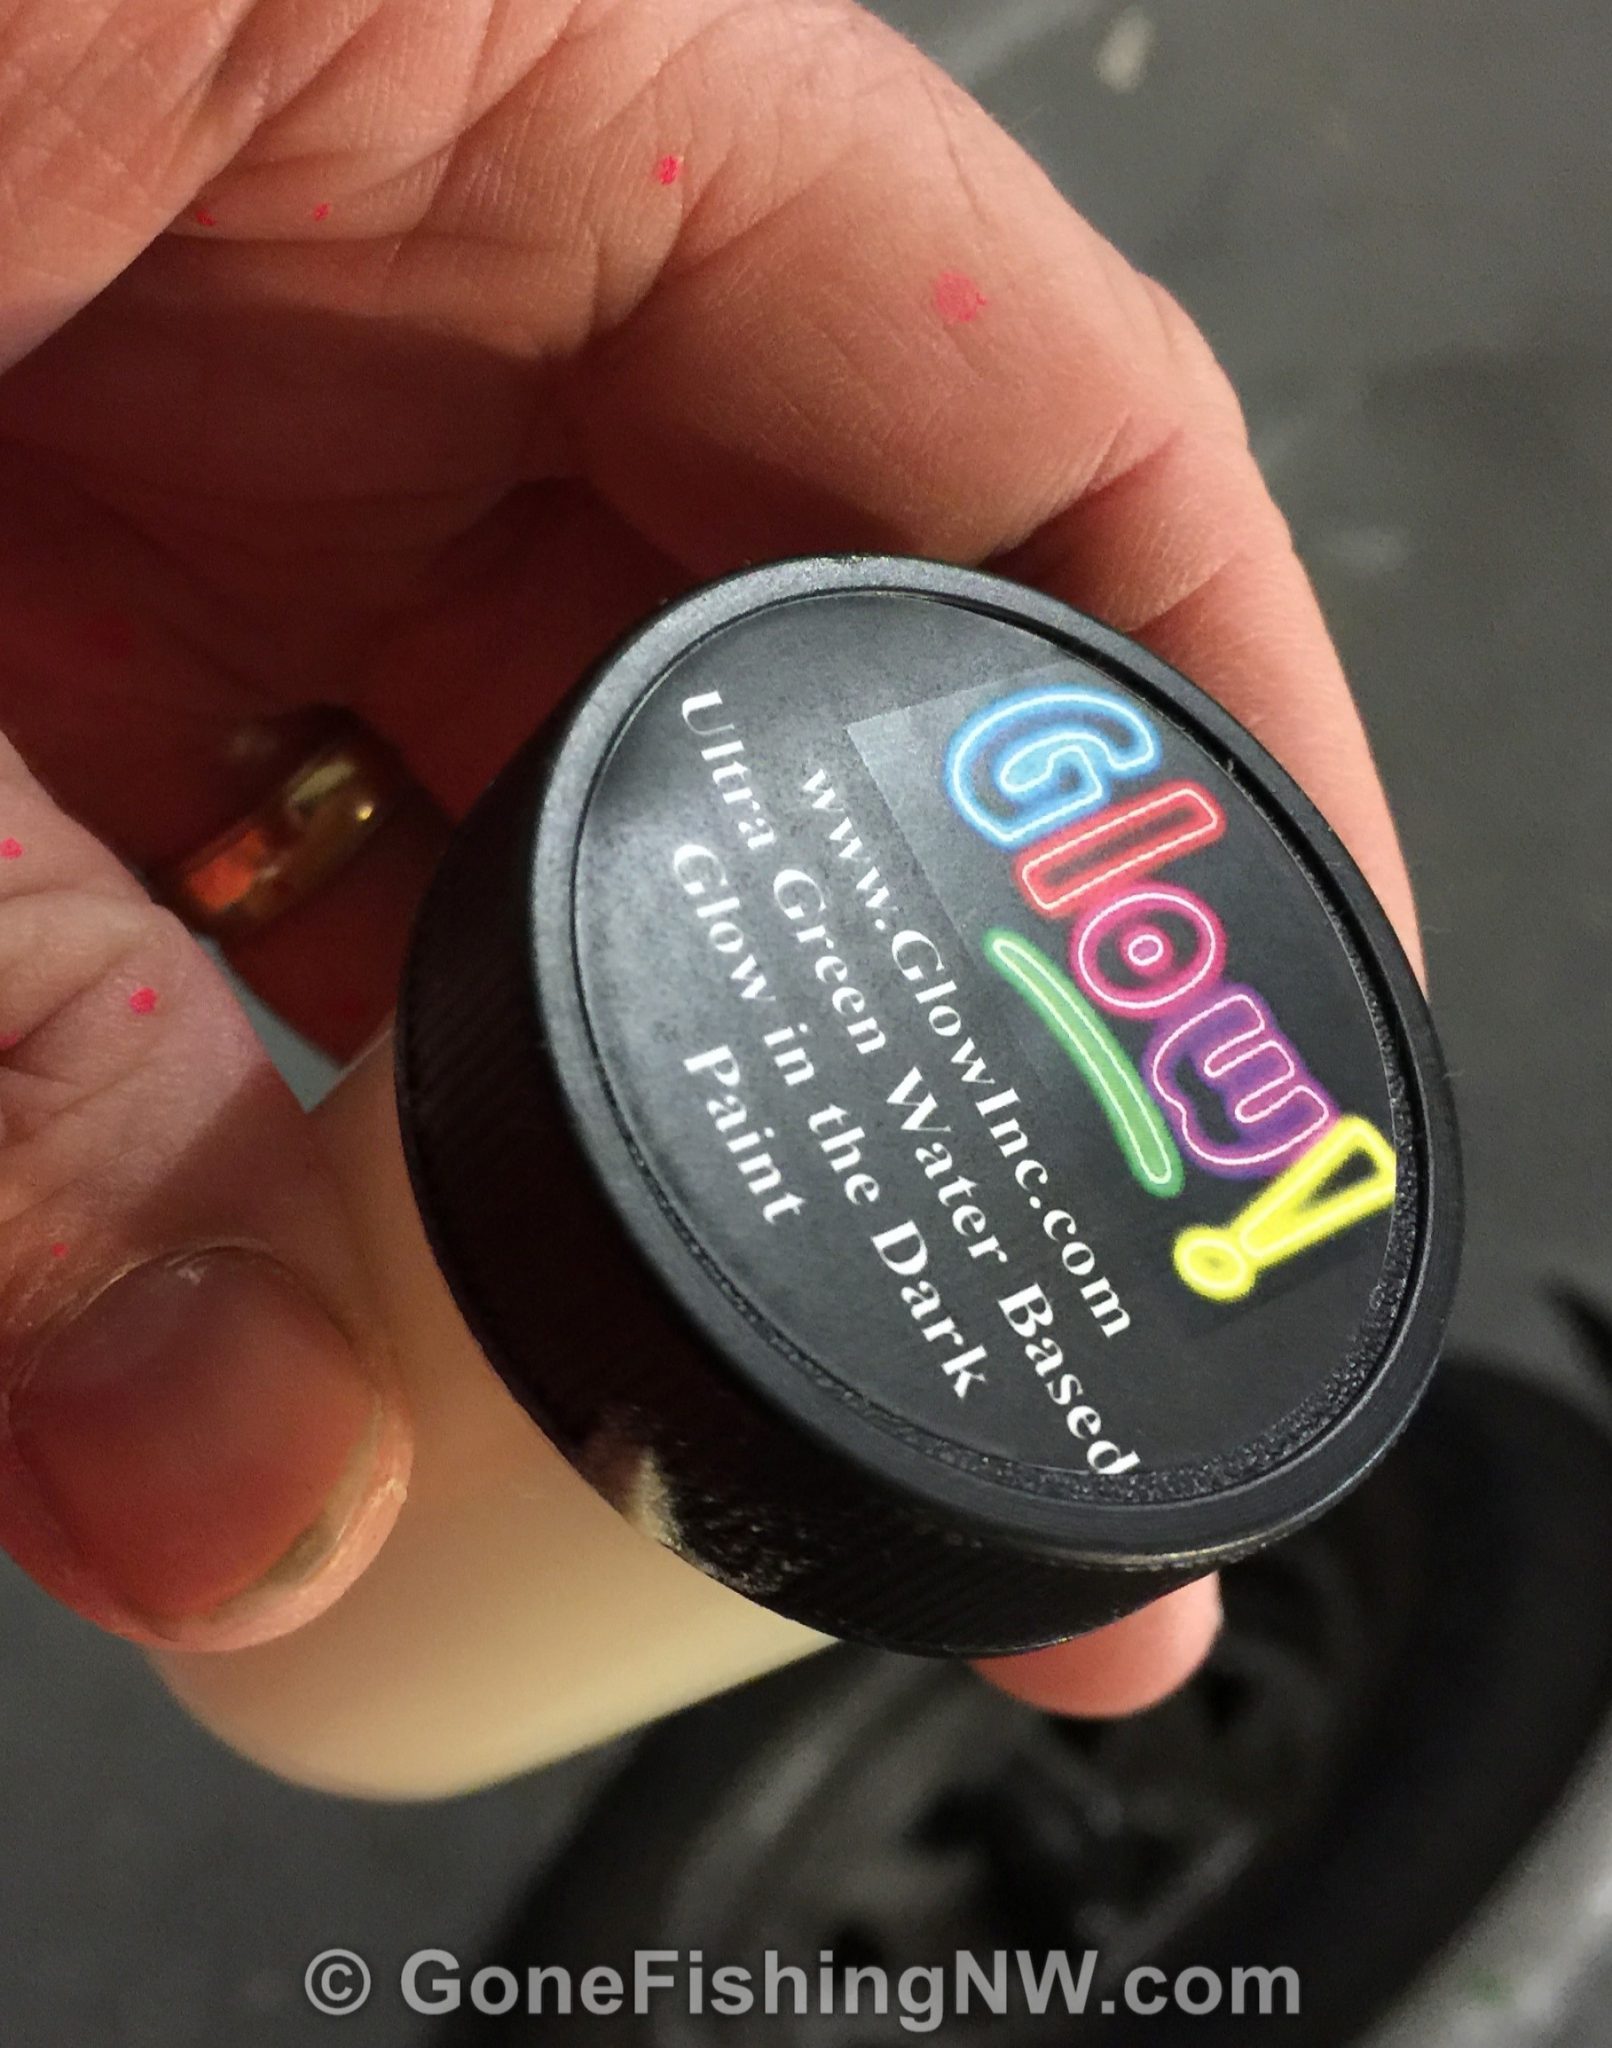
Next, we need to apply the glow paint to the dodger. You’ll need some glow paint and a brush.
The choice of which glow paint will impact how bright the glow and how long it will last. You may have noticed that some of your glow tackle feels rough to the touch. This is because the elements that glow are little granules embedded in the paint. What you may not have noticed is that the larger the granules (the rougher the surface) the brighter and longer lasting the glow. So, if you want a lure that will really glow make sure you use one with large granules – which implies one you apply with a paint brush.
Here is some more information about how long different lures glow.
I used Glow! Ultra Green, and it worked great.
For a dimmer glow consider the spray paint versions. They have smaller granules to go through the nozzle.
Whatever paint you use, I found it helpful to apply the paint in a dimly lit room and some UV lights. This makes it easy to see where you have painted and that it is even. I painted one side, then after it dried I did the other. One coat achieved good results.
Adding The Pink Stripe
I wanted a solid pink stripe down the middle of the dodger. There are several ways I could have done this, such as painting it with a brush, or masking it off with tape and then spray paint.
What I decided to do was to have a stencil and spray paint it. I did this so the edges would be a bit fuzzy since the stencil doesn’t have to be held tight against the dodger.
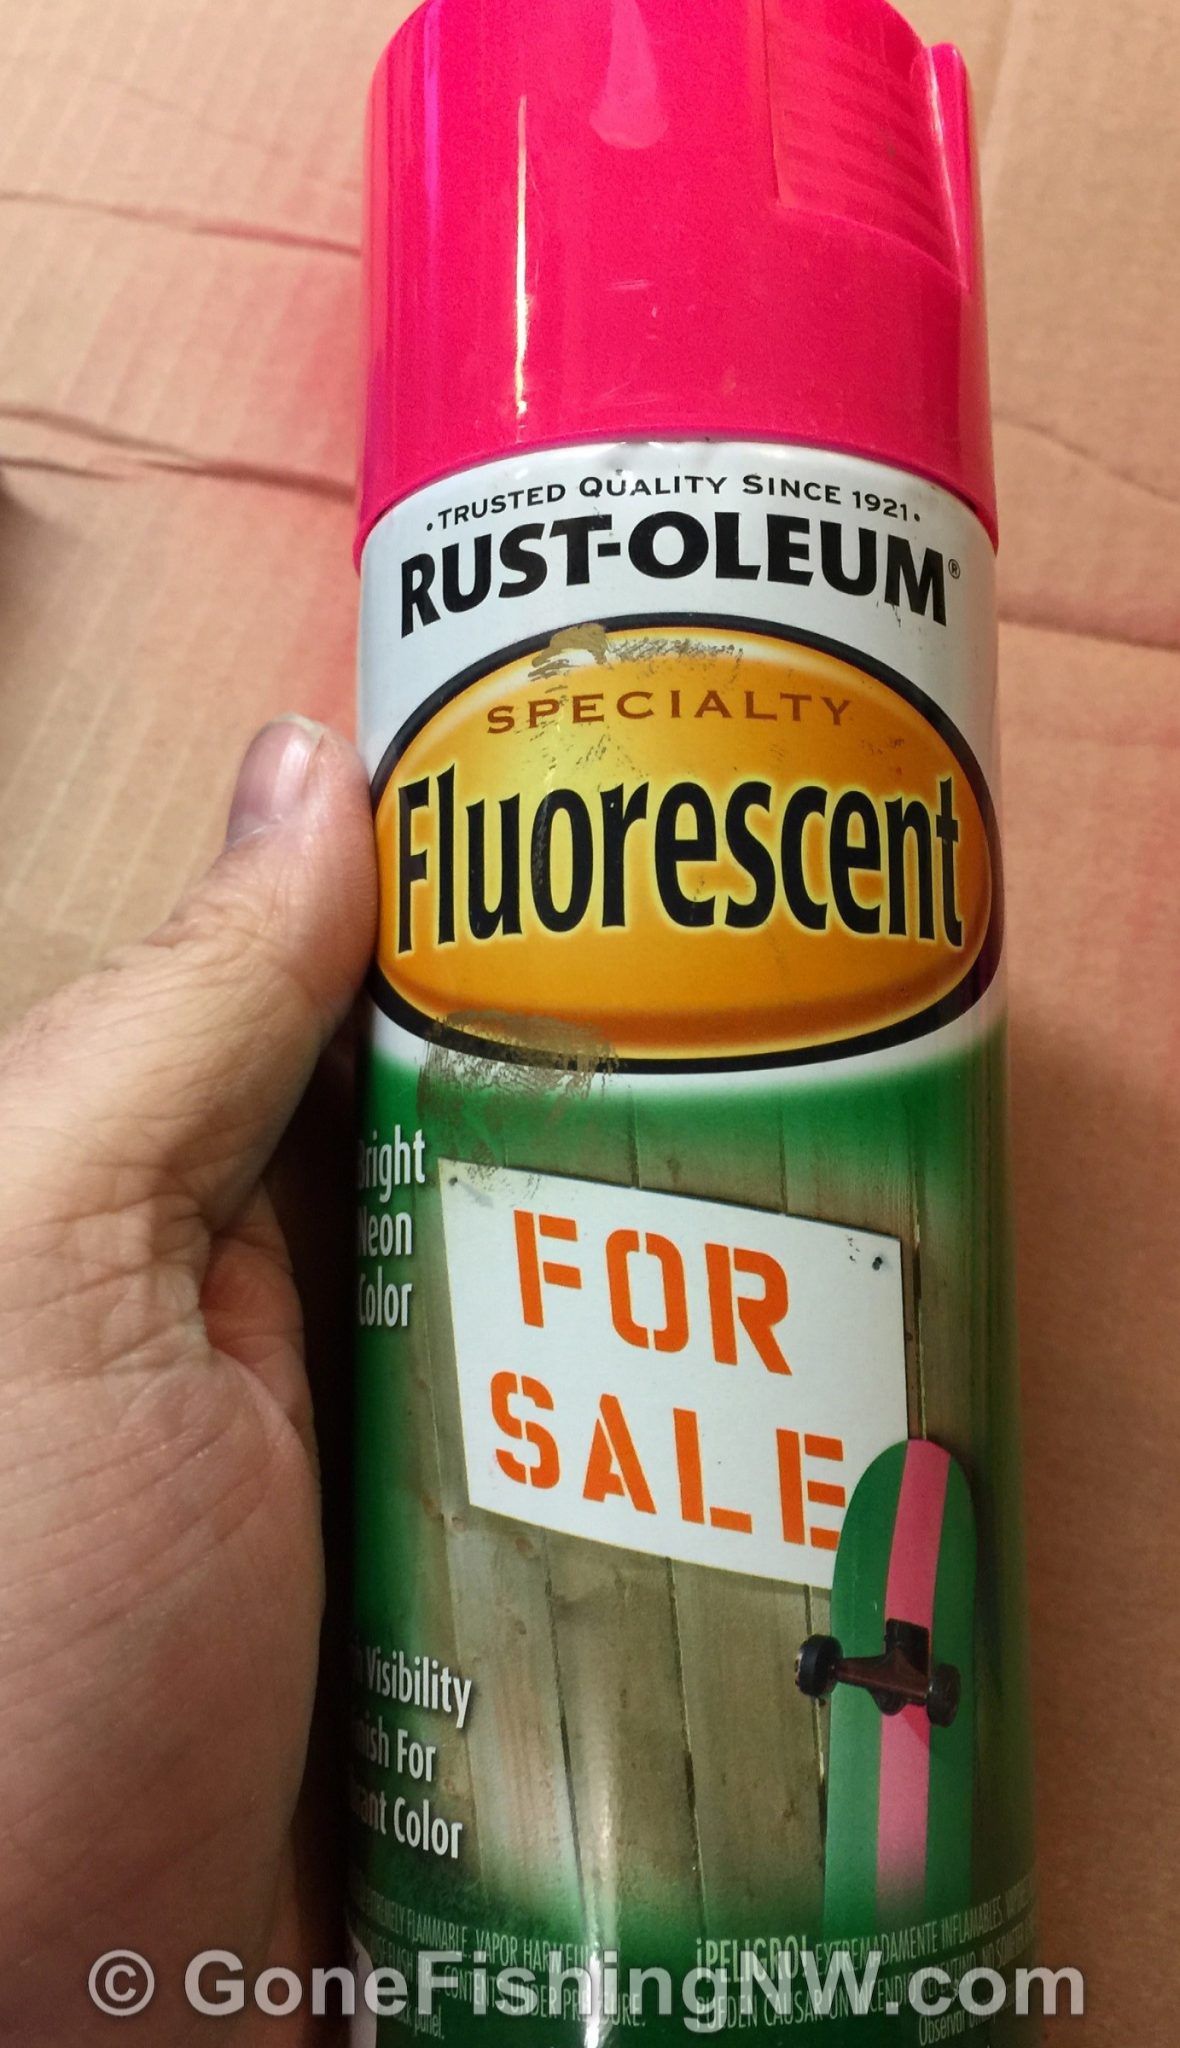
For the pink paint, I used Rustoleum fluorescent pink spray paint. I suggest avoiding the downward spraying marking paint. While the color is the same, I found those harder to control and would wind up with too much paint.
To make the stencil I used a simple paint program to make a dodger sized rectangle with a smaller rectangle inside it. Then using a Circut machine I cut the shape out of some manila folders. The general process I followed was similar to how I cut out stickers from lure tape.
I used some blue painters tape to attach the stencil to the dodger. The blue tape is important because it is less tacky than regular masking tape, so it isn’t going to pull off any paint when you remove it.
Once everything was in place I hit it with a couple light coats of spray paint. Once dry I did the other side.

Splatter The Paint
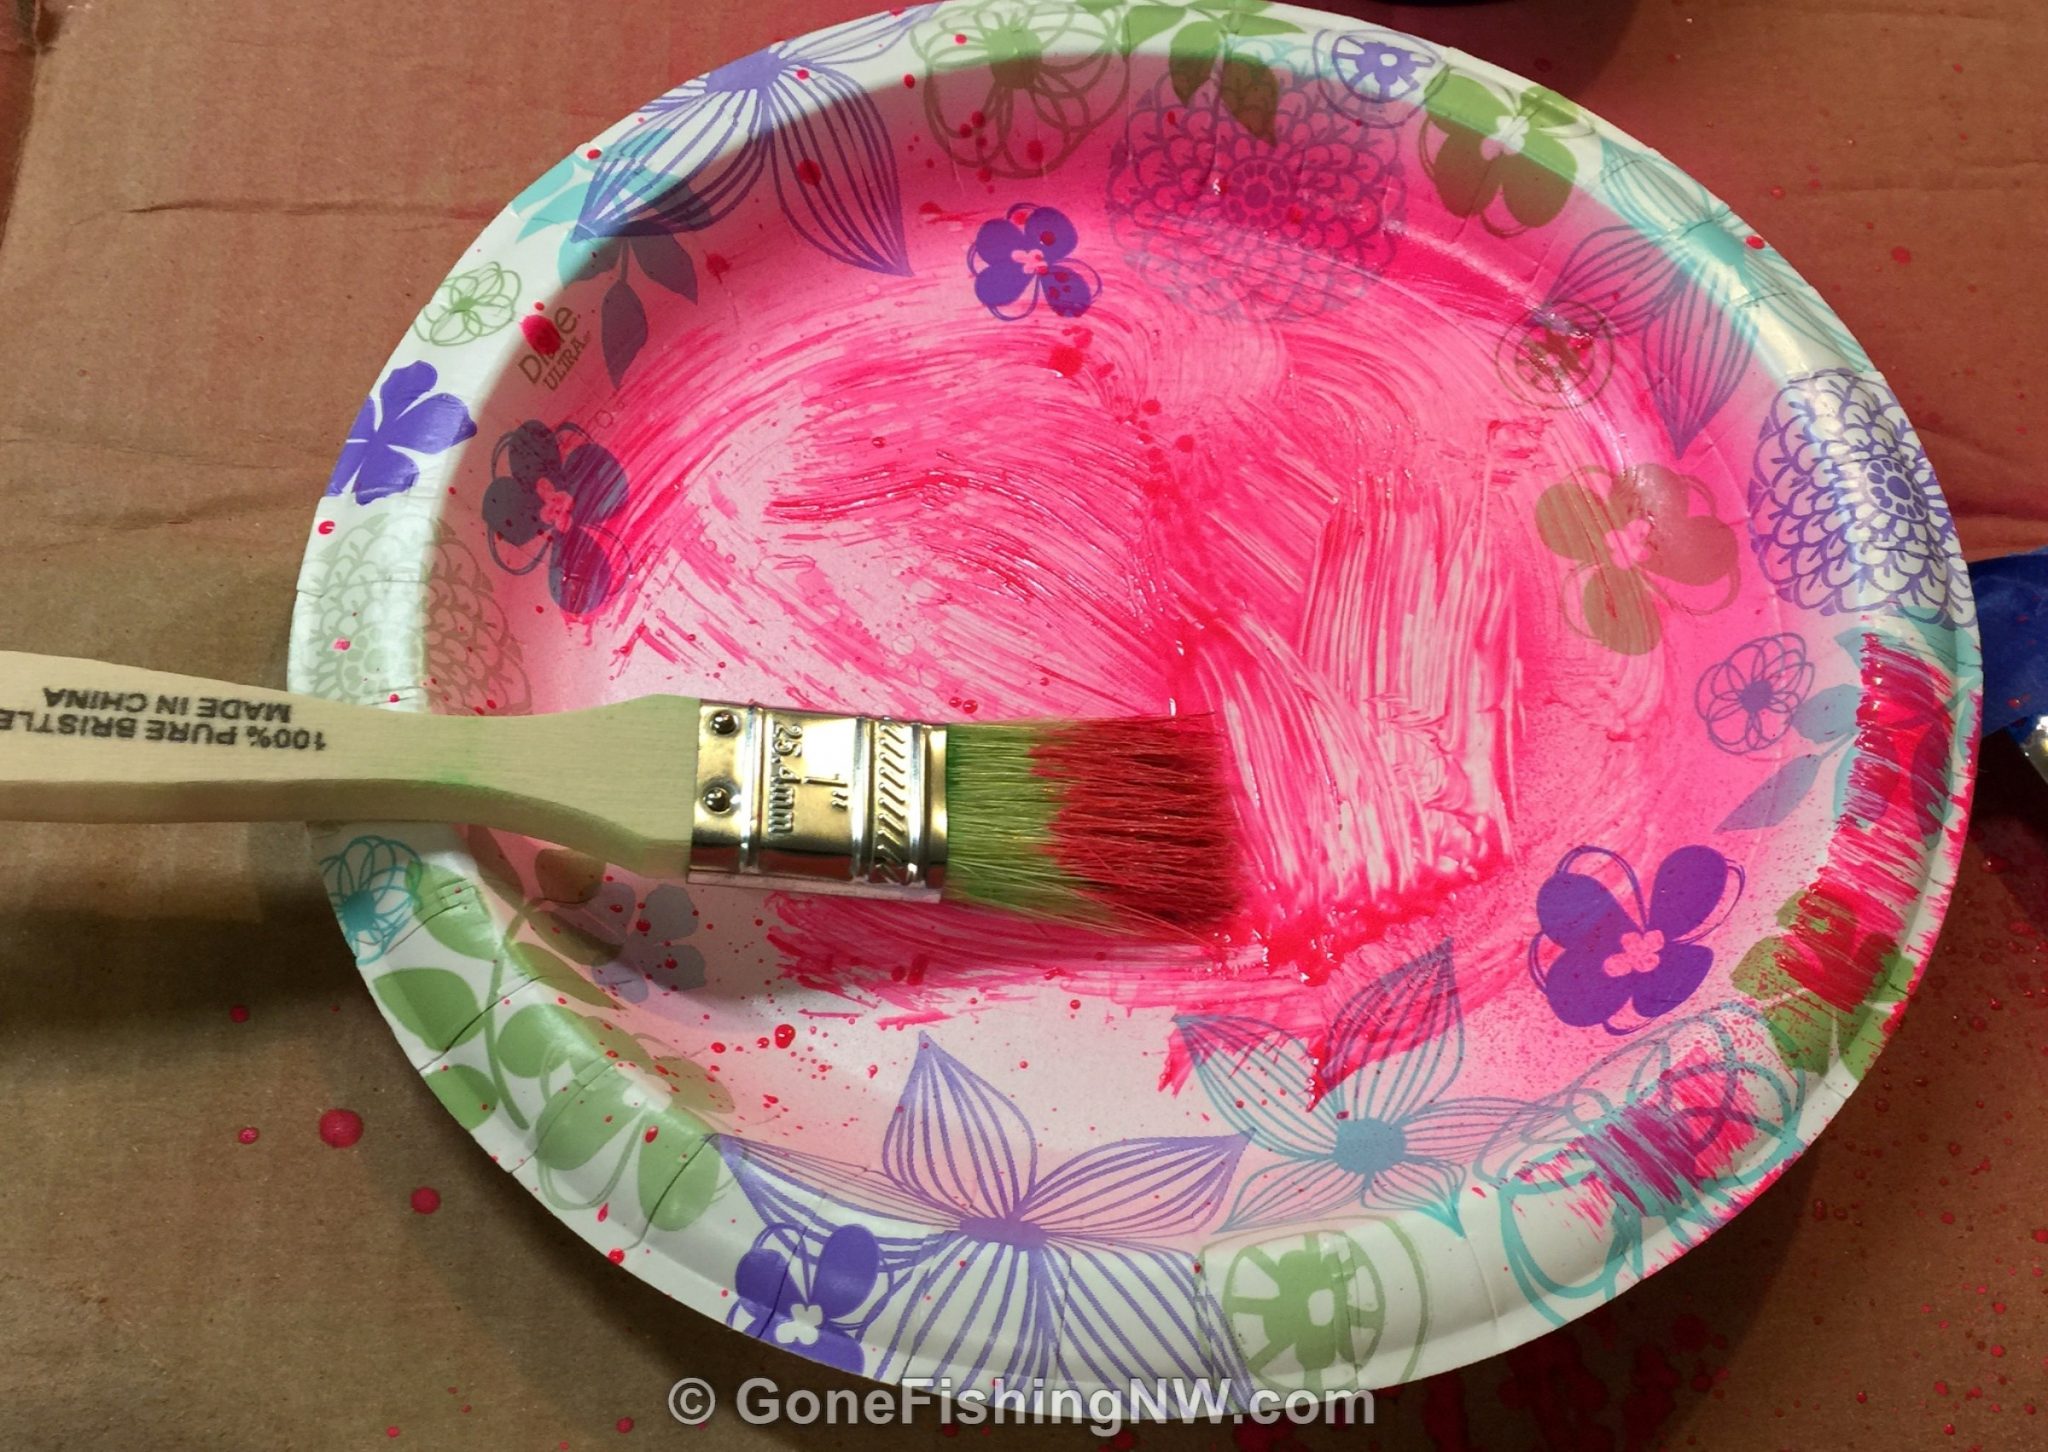
Once the stripe is done, remove the stencil and tape. To do the splatter you’ll need a brush and the pain. I used the same pink spray paint that I did for the stripe.
The brush needs to be dipped into the paint, which can be hard with spray paint. The easiest thing to do is to spray a little bit of paint into a container. I used a paper plate, which made cleanup easy.
I found there are two secrets to doing effective splatters. First is to have just the right amount of paint on the brush. The second is to have a good flick of the wrist.
To achieve the right amount of paint, first dip the brush into the paint and get it loaded up. Then do flicks on something else besides the dodger until the paint flecks are size you want. I suggest practicing first on some cardboard, although eventually I would just flick it into the same paper plate as my paint.
Practice getting a good flick. It should move the brush fast enough that the paint will fly, but end with a sharp stop so the paint will leave the brush. It makes take a dozen tries or so before getting the hang of it.
When you are ready to splatter for real get your dodger positioned in your painting area. I found it best to flick pain from the side across the dodger, rather than trying to do it along the longer length of the dodger. Make sure to do it in an area which you don’t mind a few flecks of paint, because it will go places you don’t expect.
Start with just a few splatters, since it is easier to add more splatters than to remove excess paint. Keep adding splatters until you are happy with the result.
After the paint dries, flip the dodger over and do the other side.
Finishing It Up
Now that the painting is done we can attach the split rings and swivels. Here is the final result.
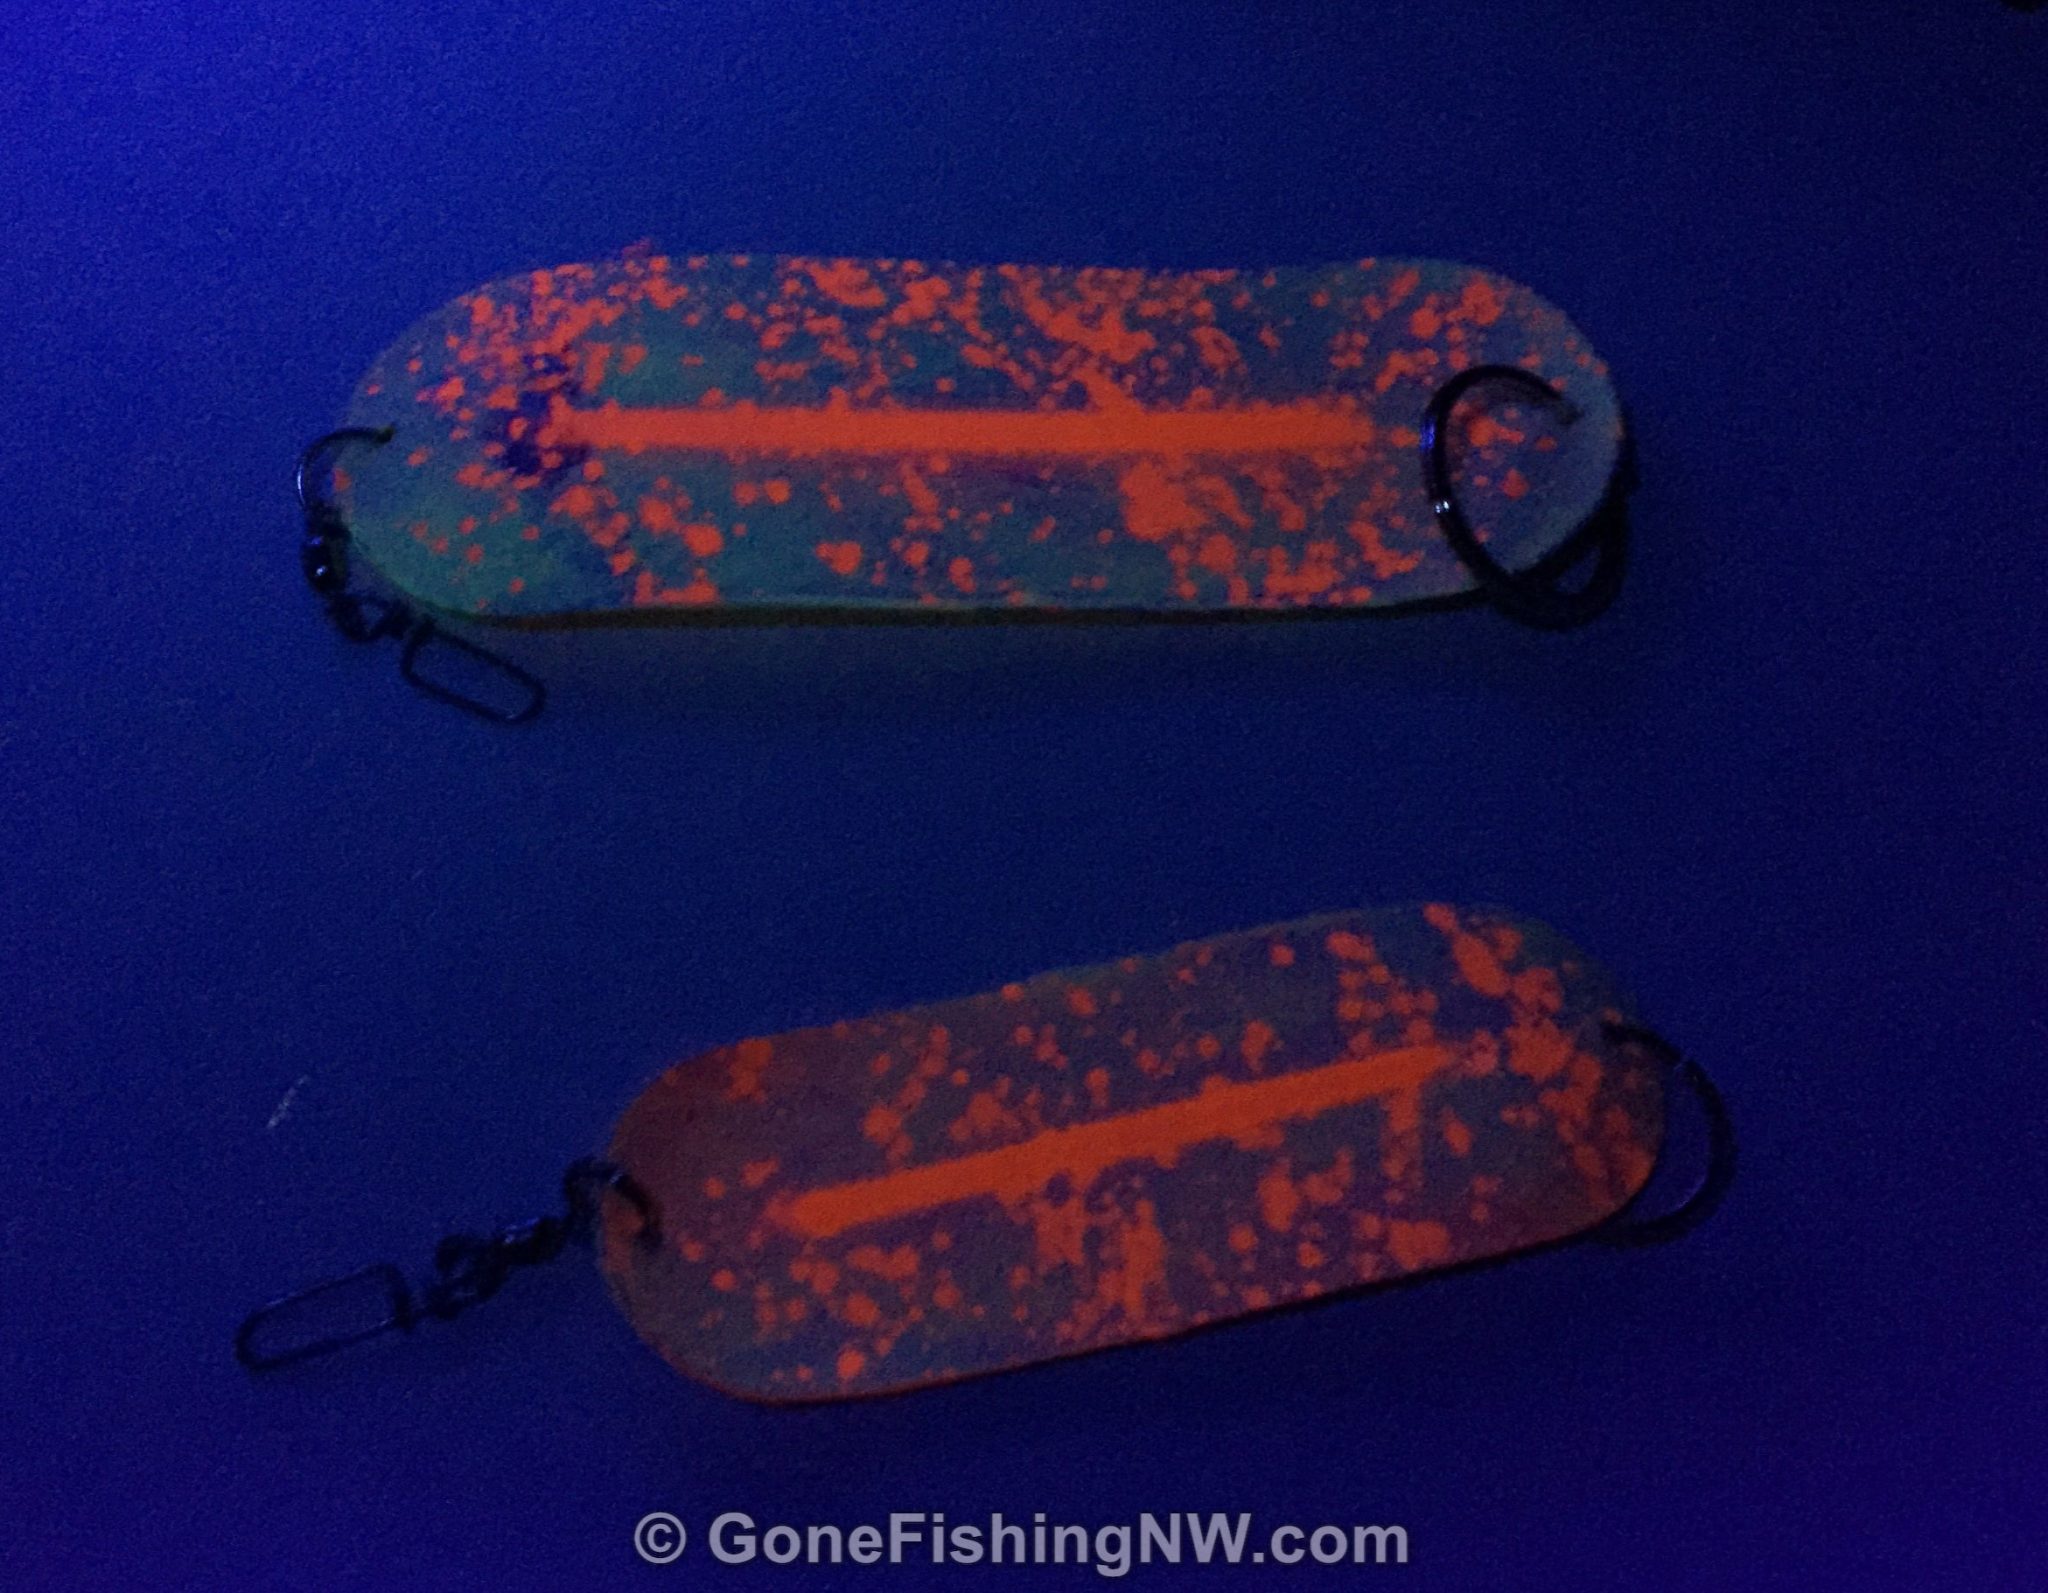
Of course, we want to check it out under UV light.
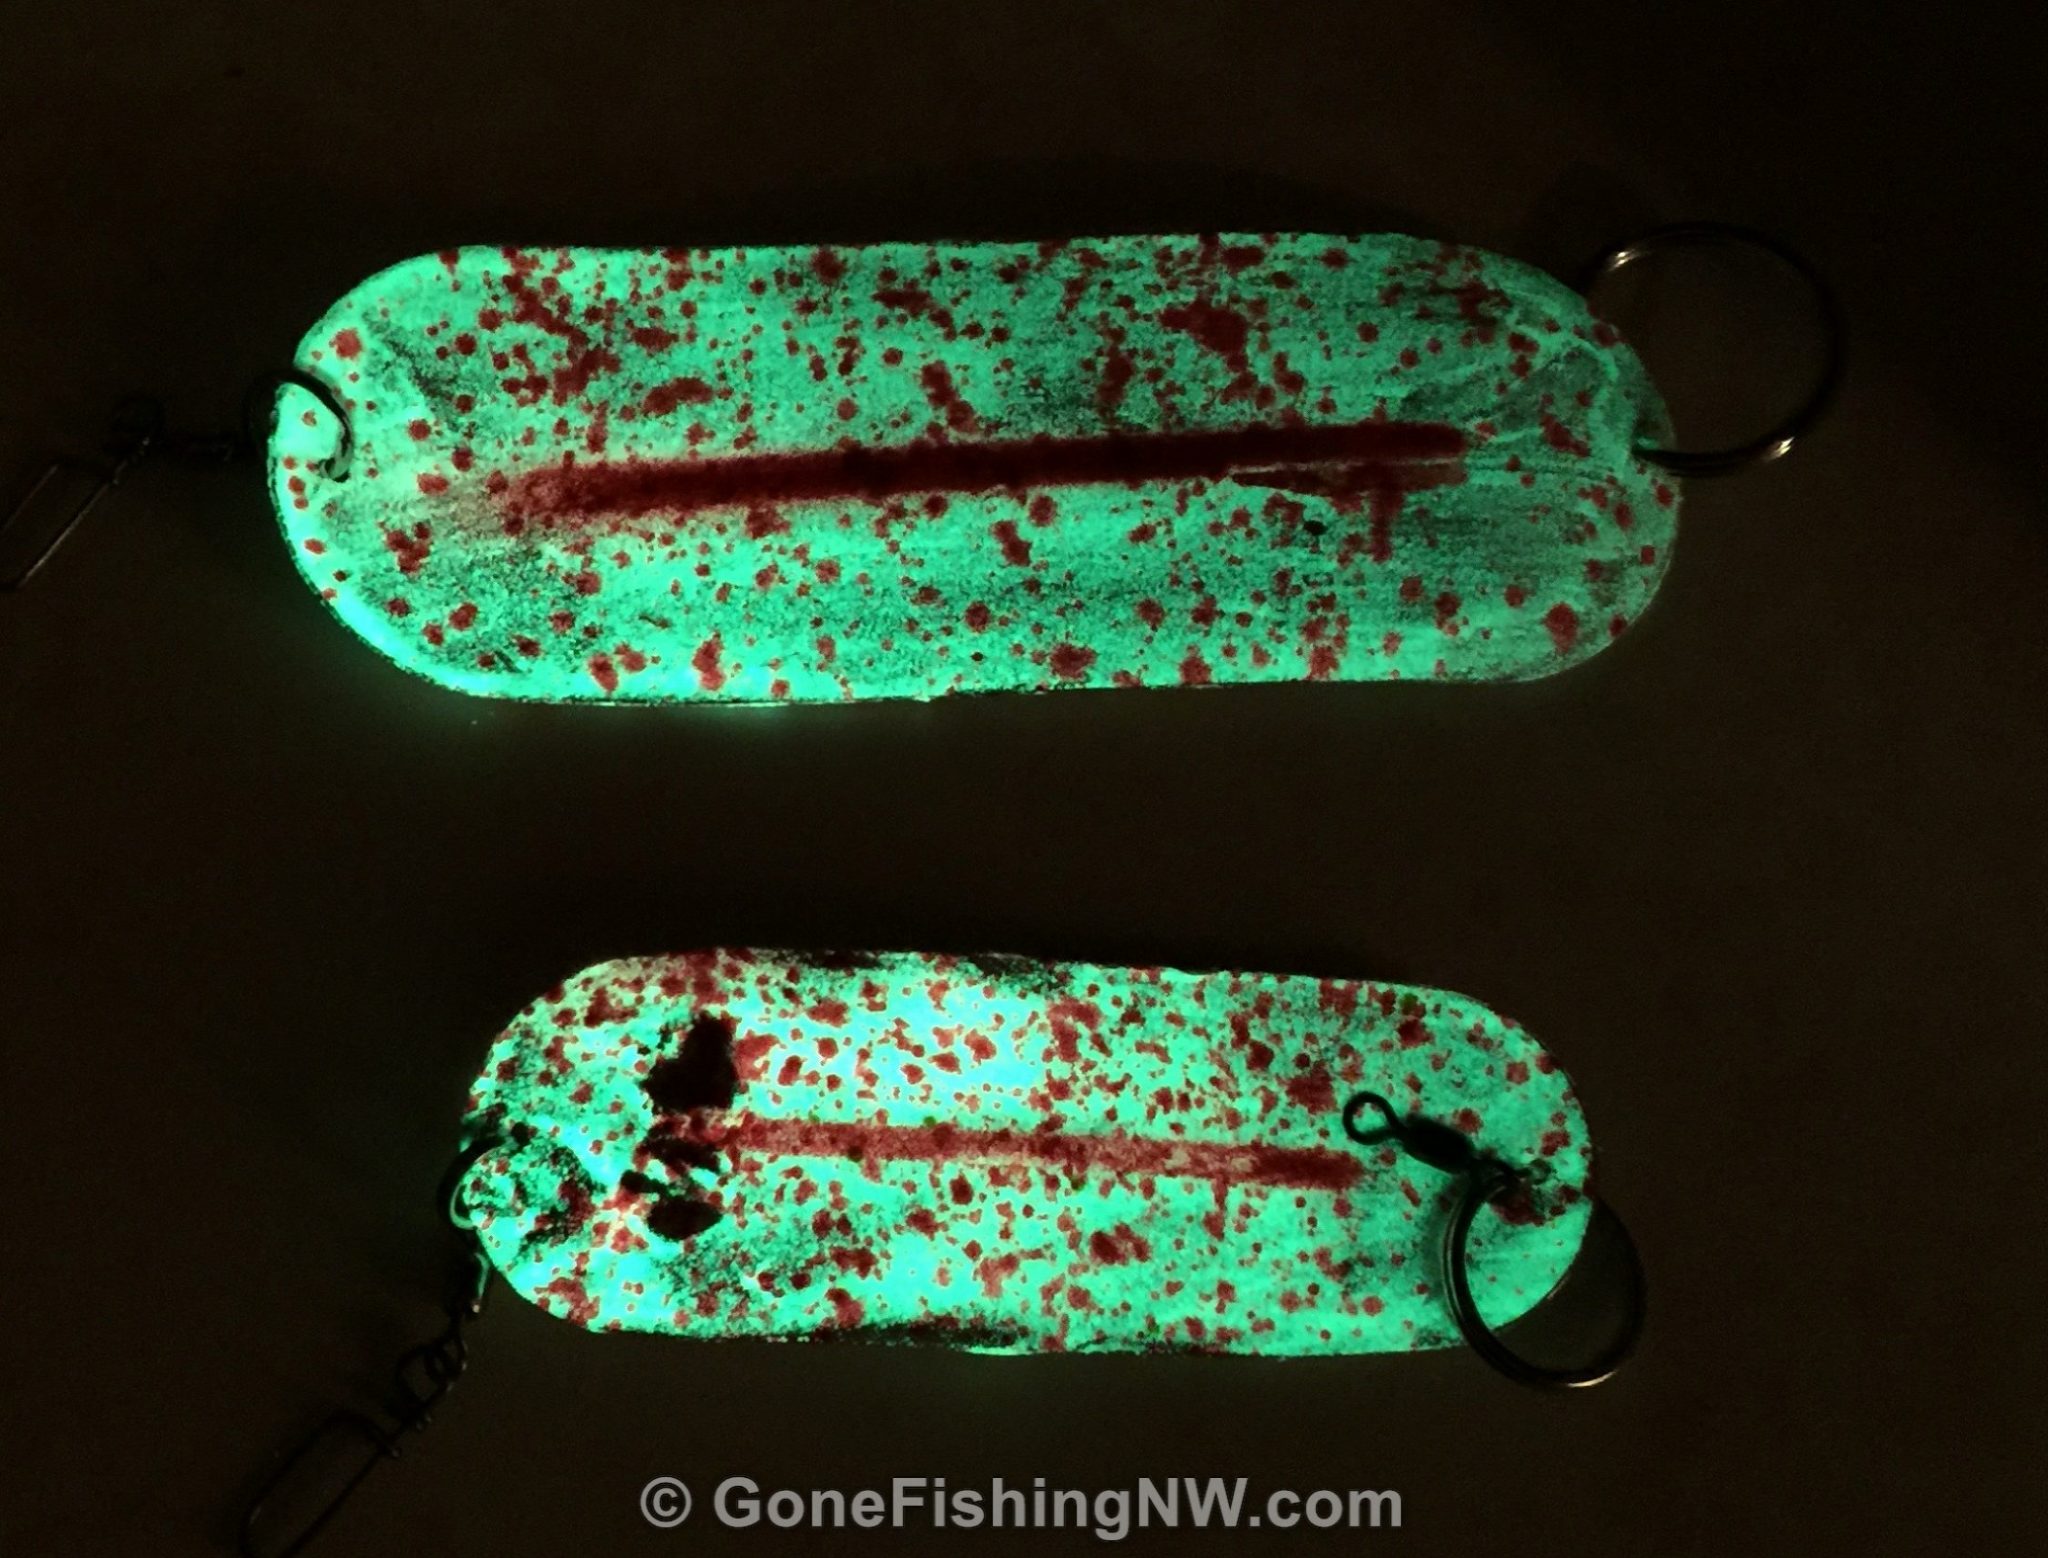
This is what it looks like when it glows. When you are out on the water make sure to have a charge box to get your dodger and lure all charged up.
I put the finished dodgers in my dodger folder for storage.
Conclusion
Building your own custom dodger is easy and fun. It can also save you money, and let you create fishing tackle that is exactly how you want.
Do you make your own tackle? Please share what you like to make.

Comments are closed.