
Recently my outboard jet motor would start to overheat at wide open throttle. Installing a new water pump fixed that issue.
The process is fairly simple, but while there are lot of materials online about doing this for prop outboards, I found very little for jet outboards.
So here is the basics of how to replace the water pump.
This guide is meant to be a general overview, rather than detailed instructions. Also keep in mind I’m not a trained mechanic. So follow this information at your own risk.
If you attempt to replace the pump on your outboard jet, then I recommend not only reading this page, but watching the YouTube videos about prop water pumps. Much of the information is the same.
I also recommend getting the model number (well.. letters) off your lower unit and getting the schematic from Outboard Jets web page. This will help you see the various connections.

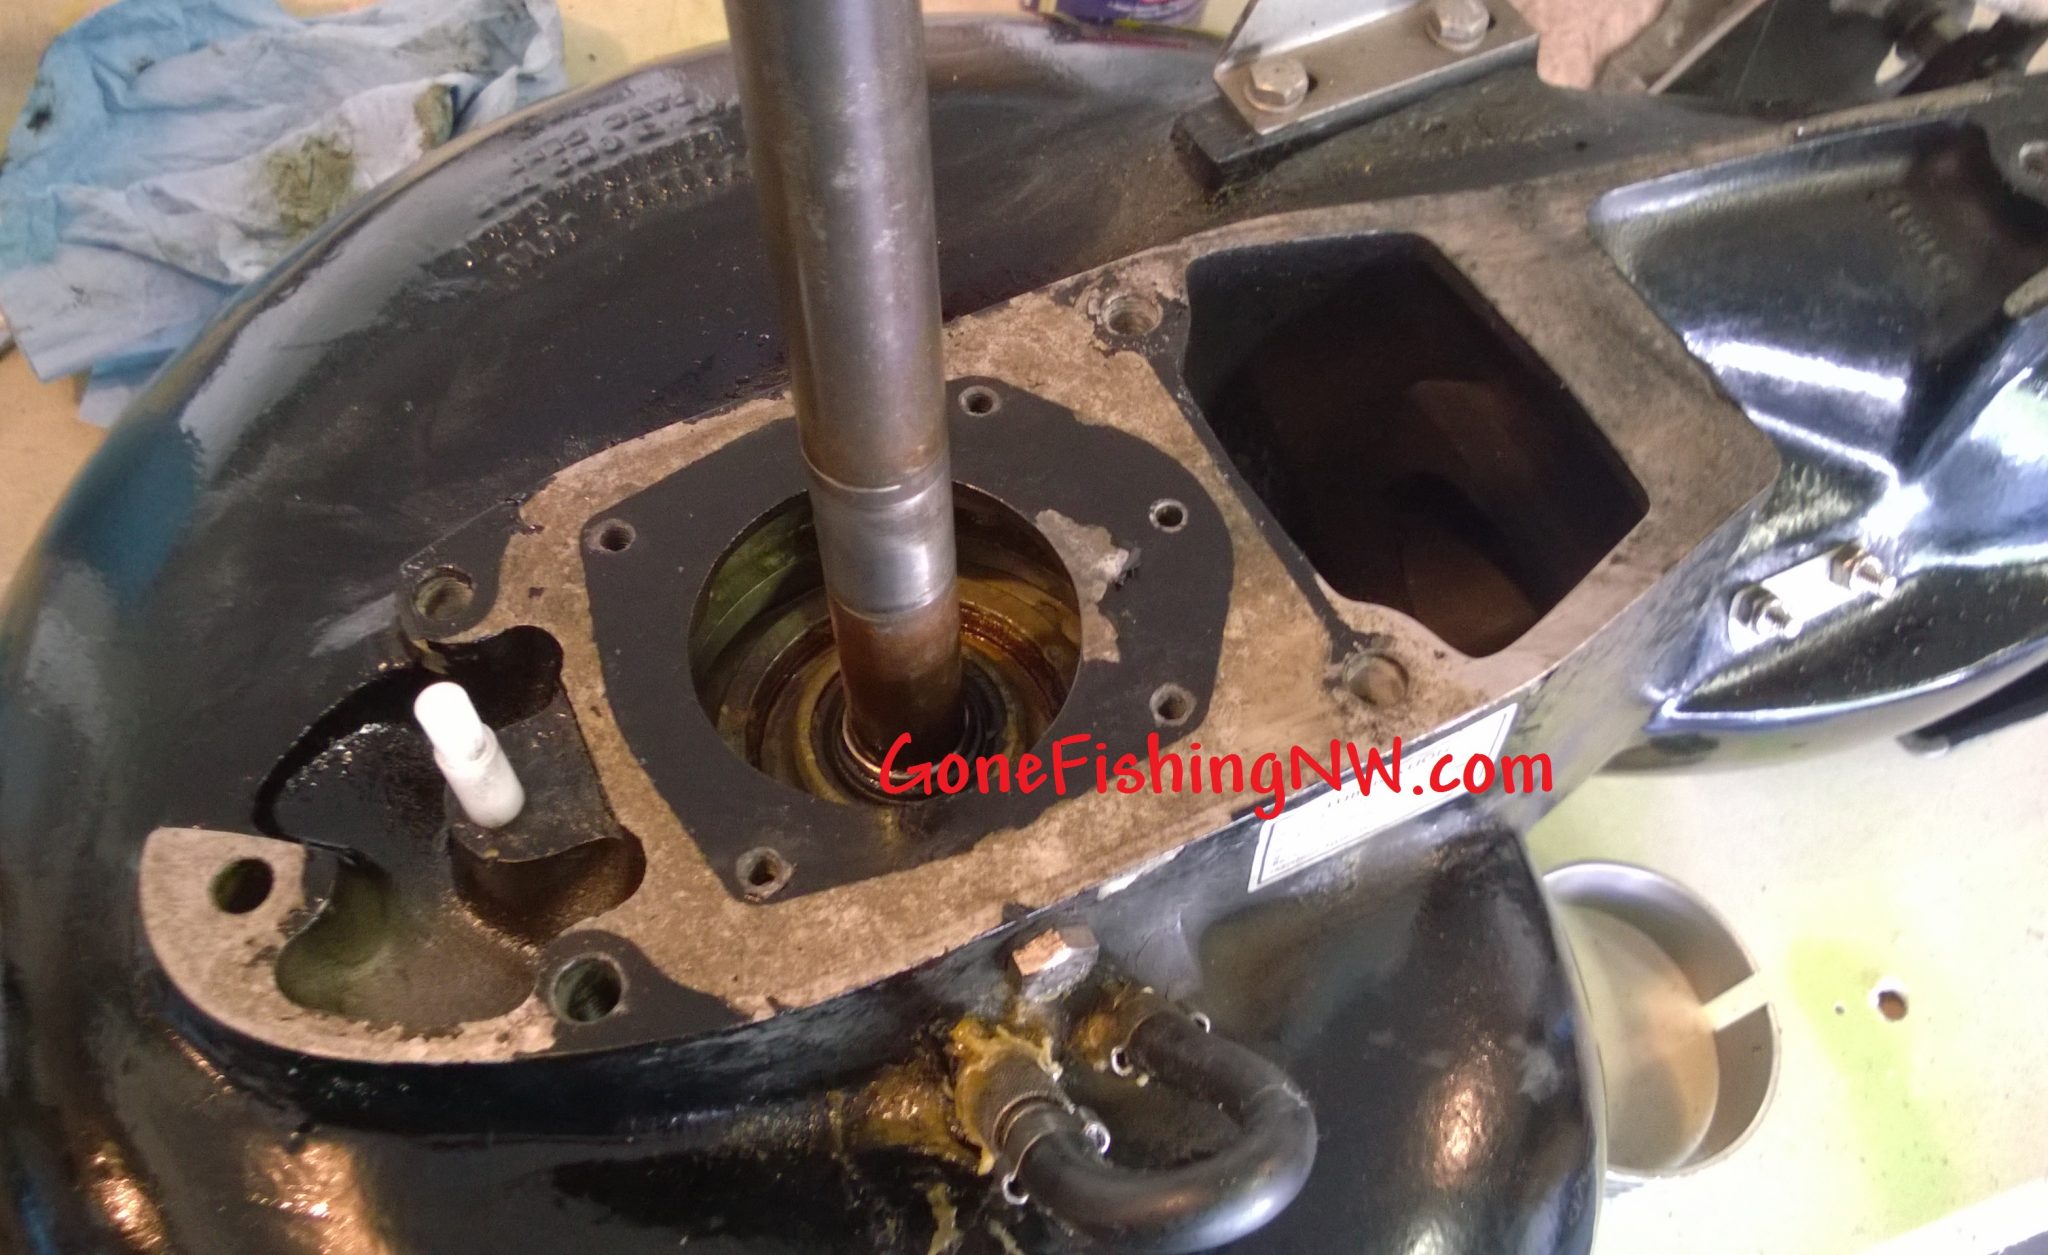
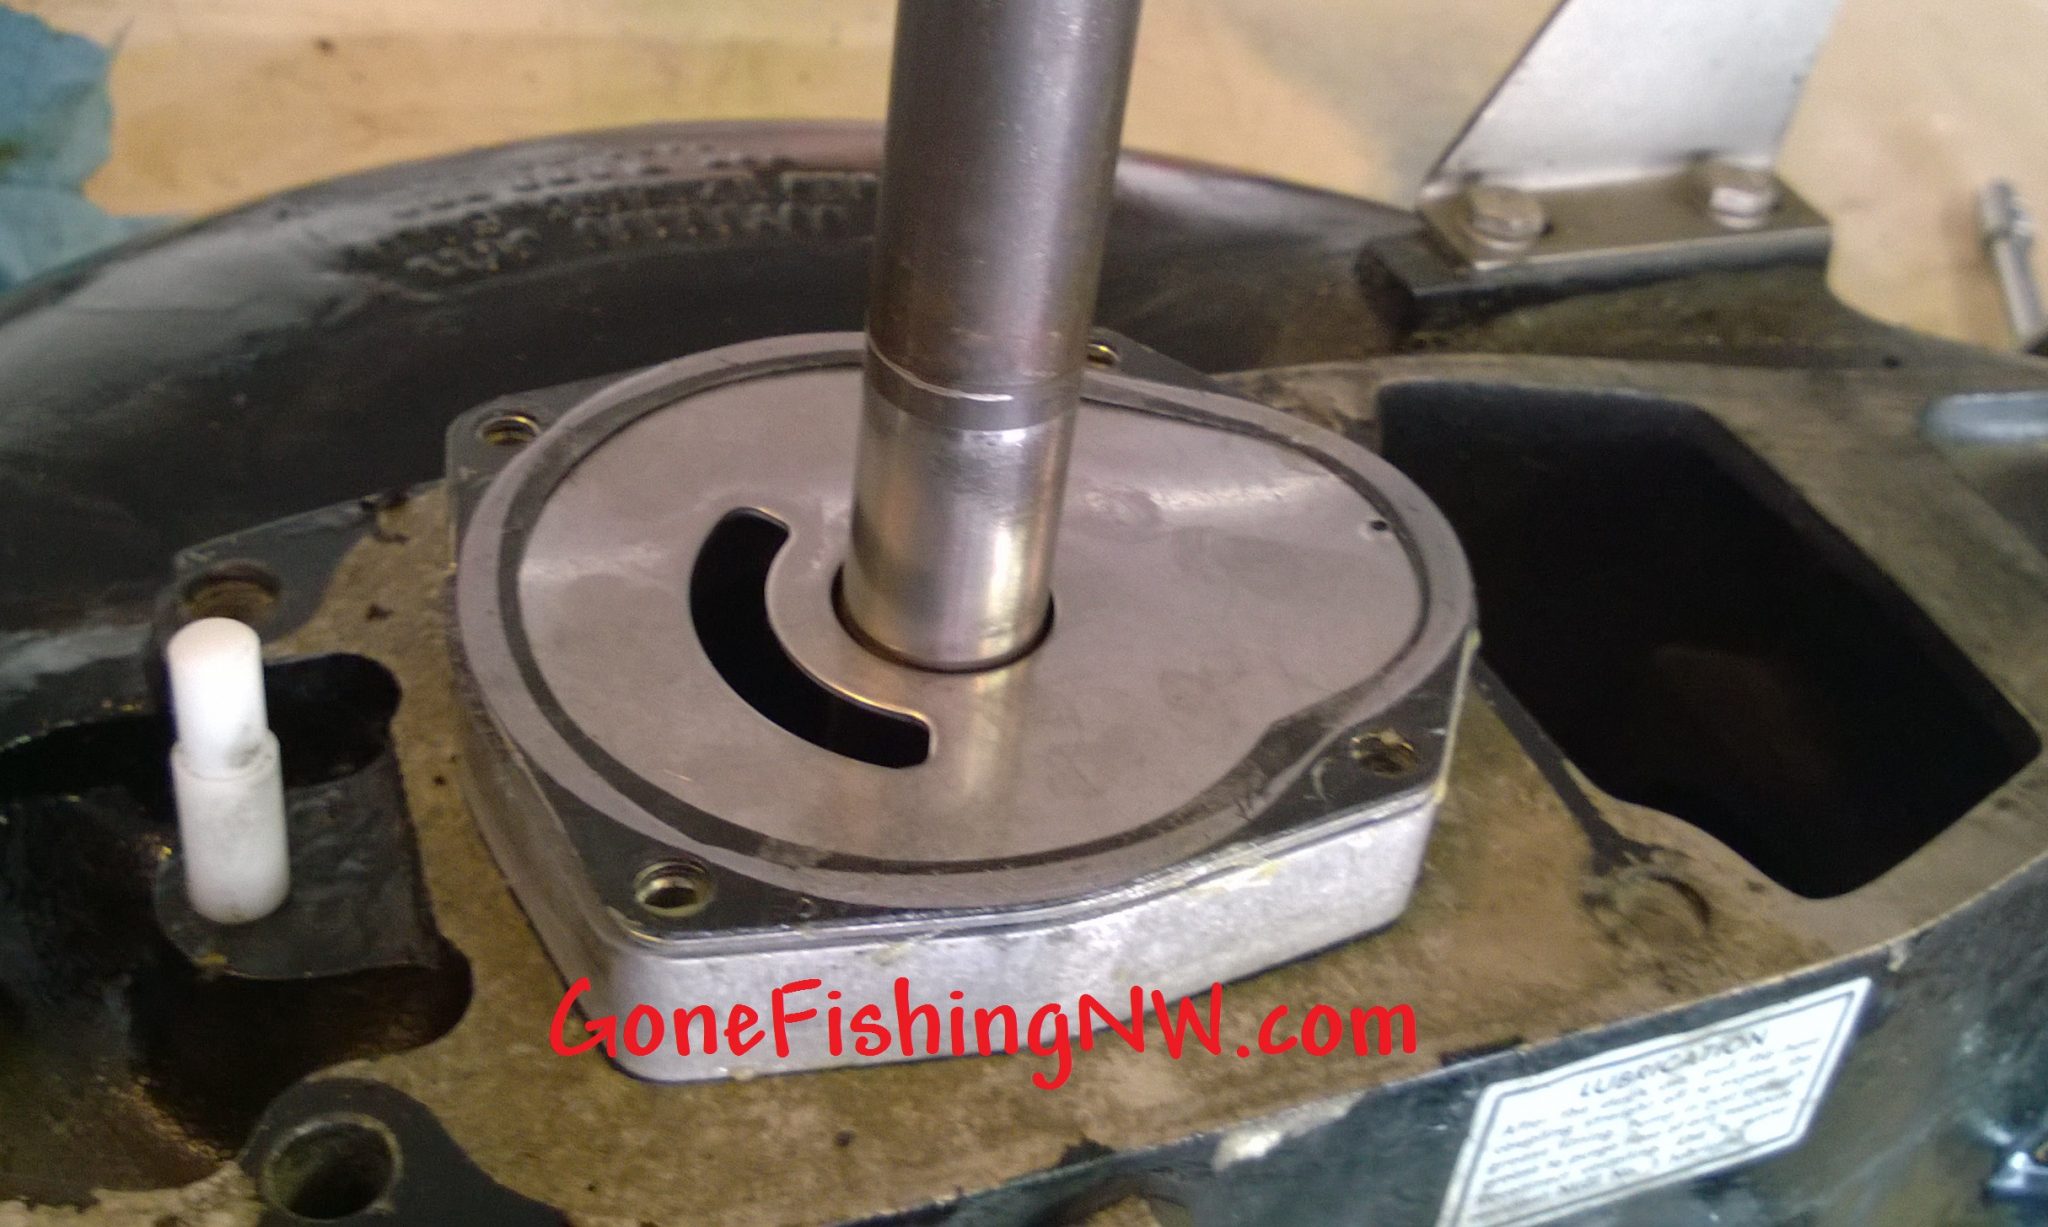
The pump is located at top of the lower unit. So the first thing you need to do is remove the lower unit.
This is done by first removing the shoe, which on my unit is held on by 6 nuts. Here is a picture showing the top 3.
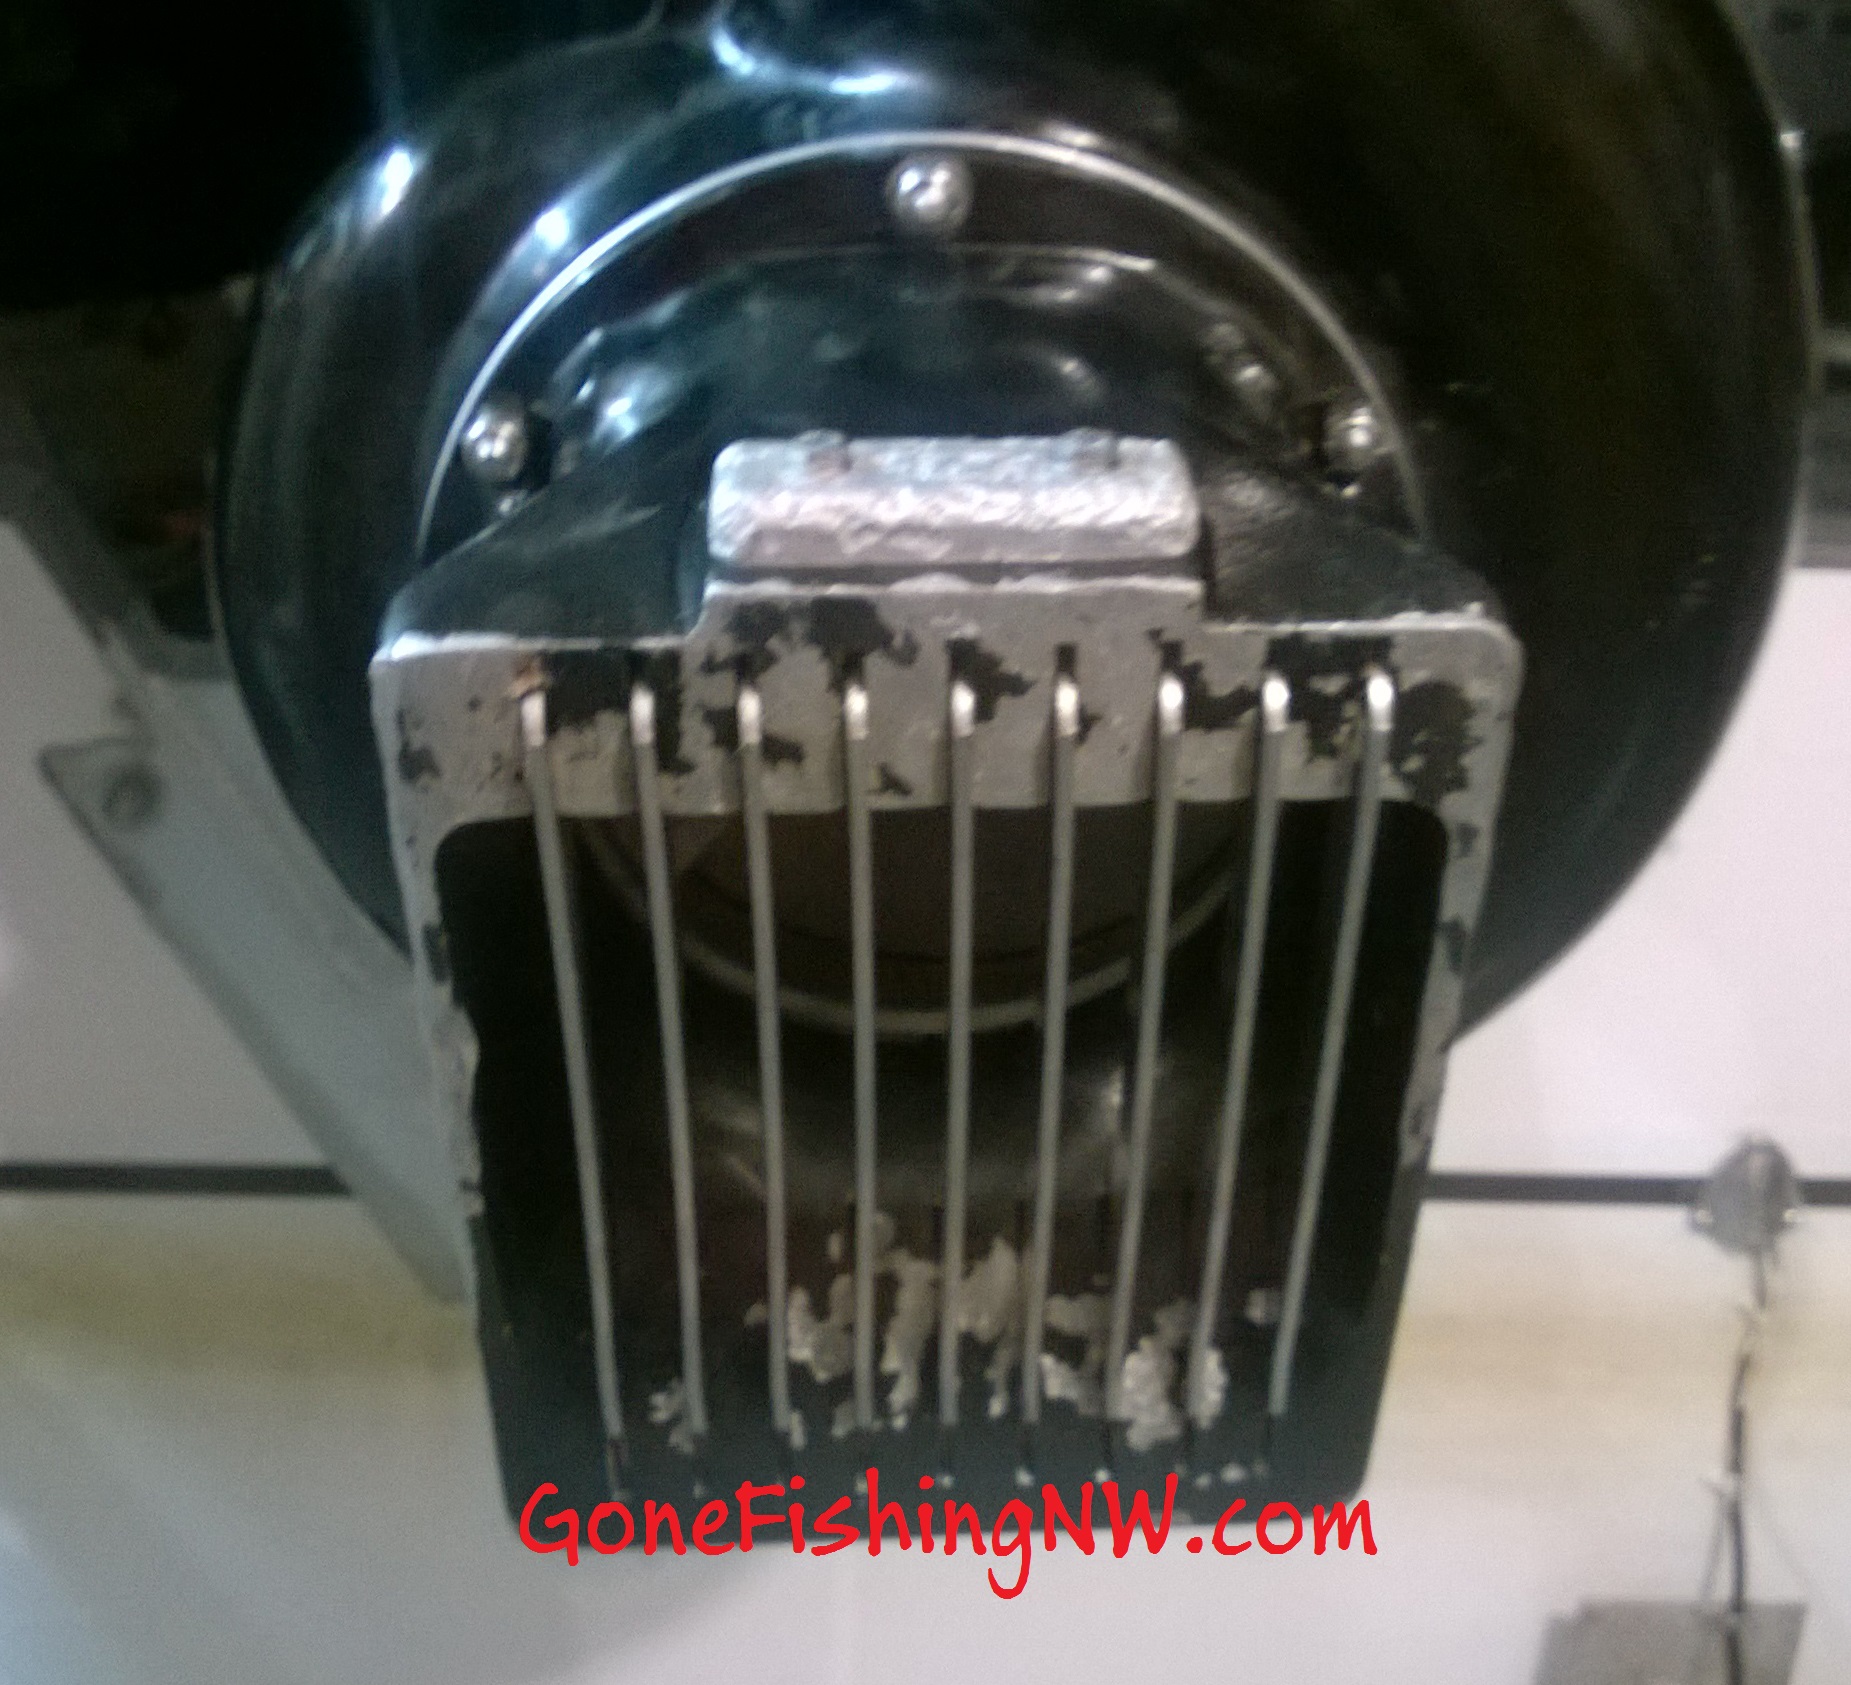
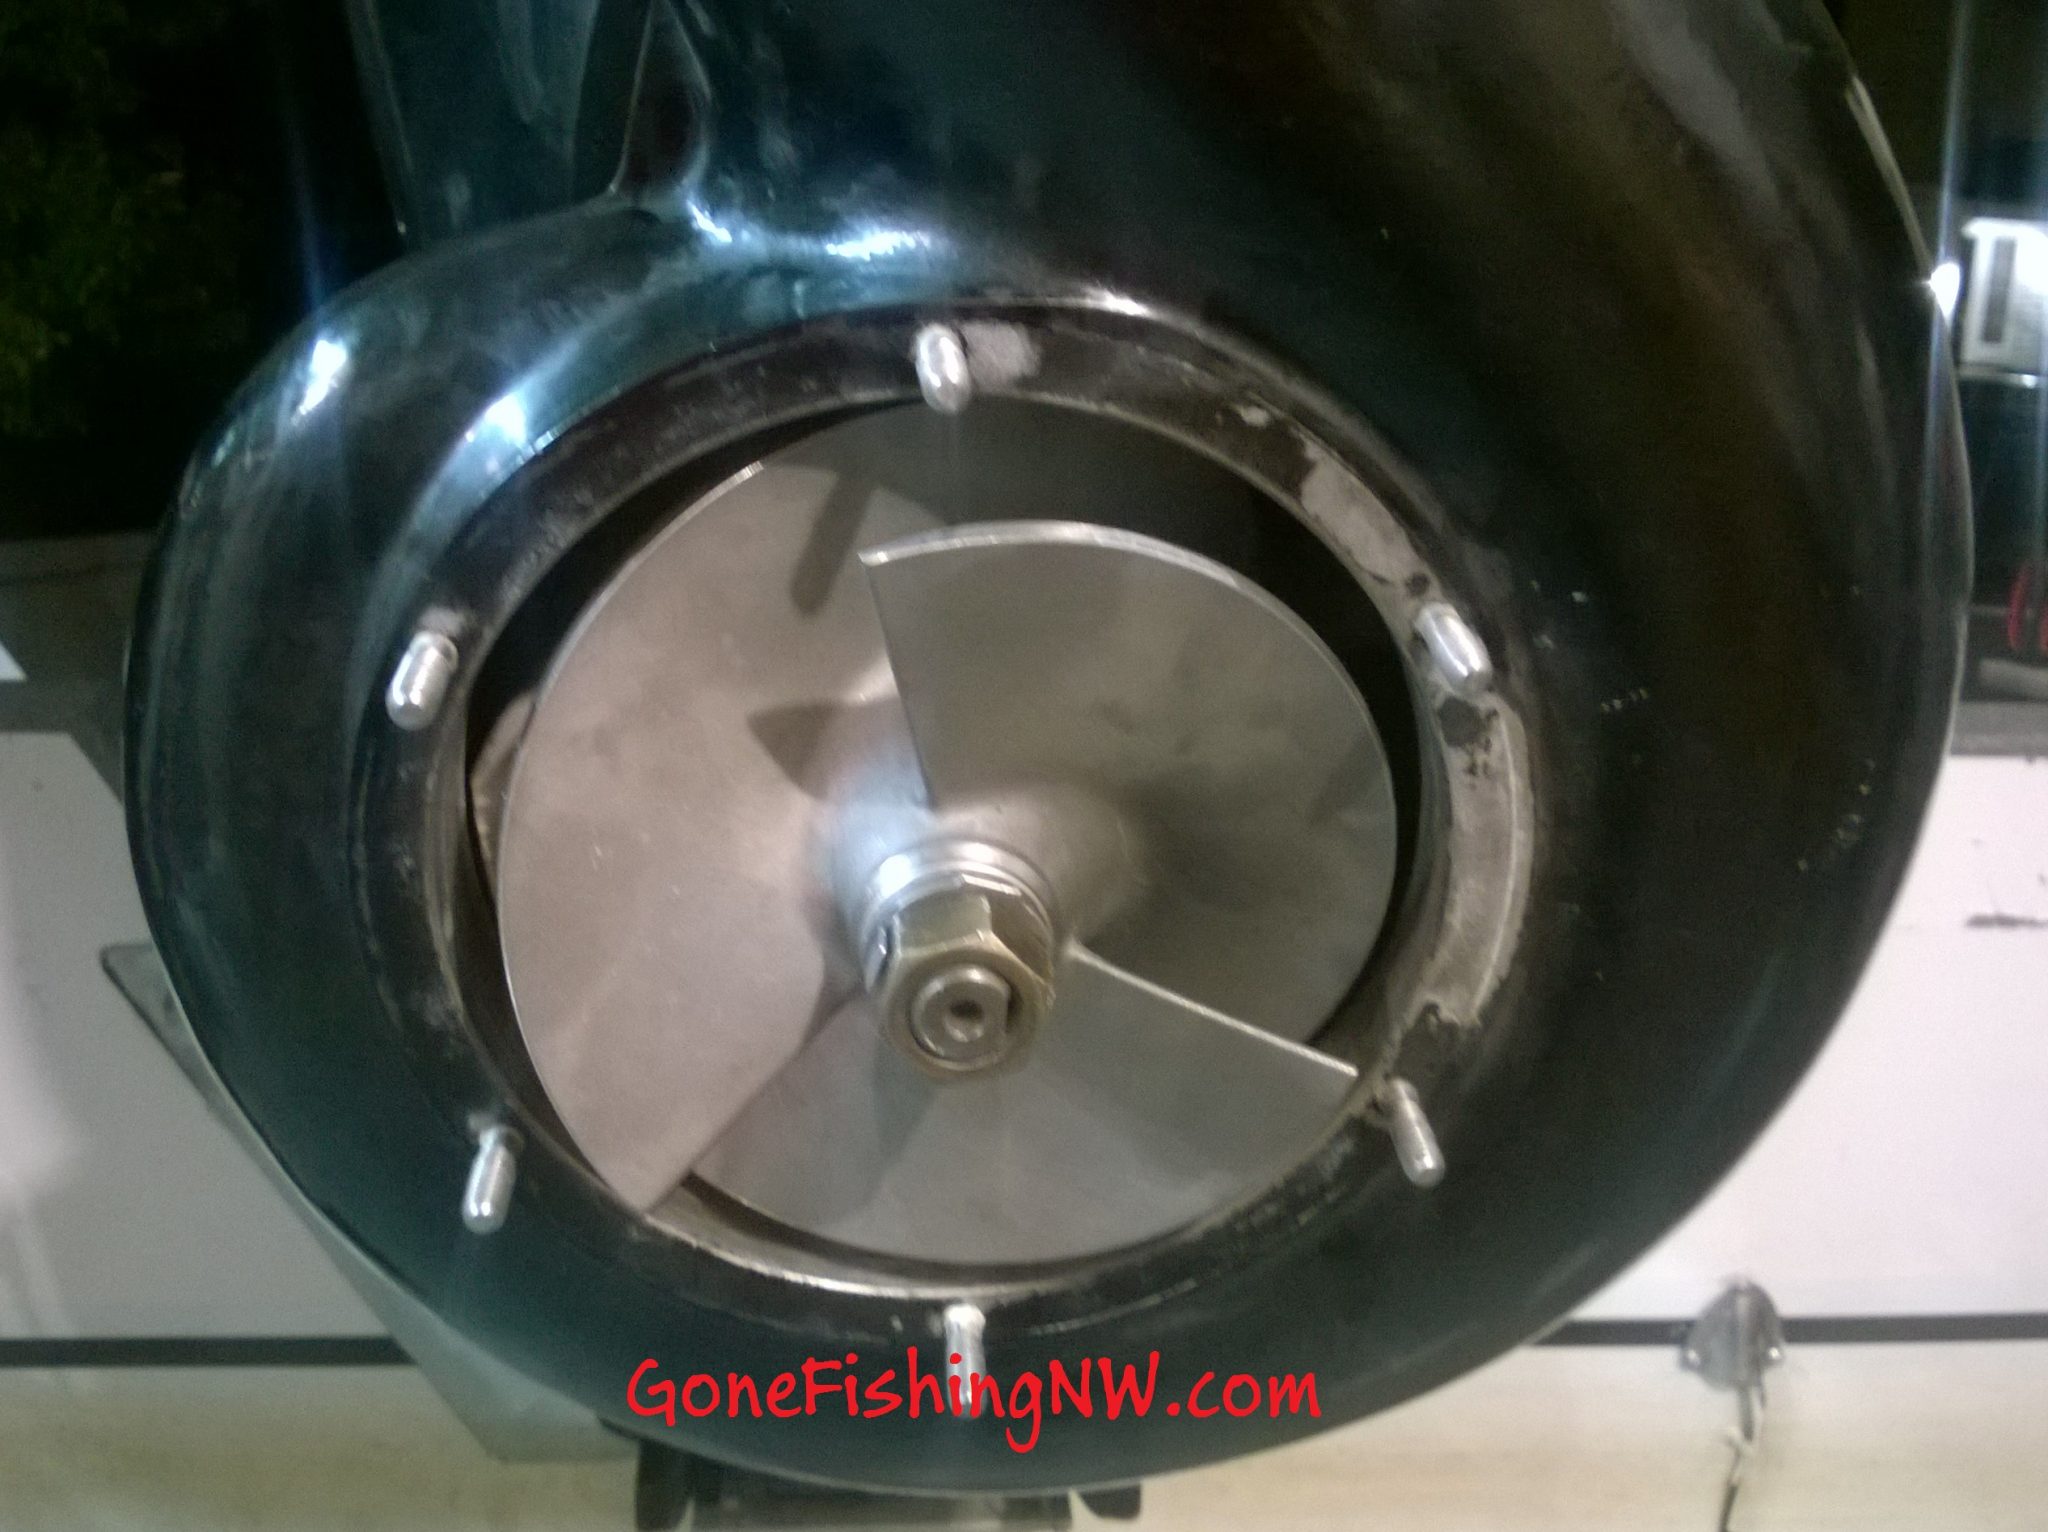
Next remove the impeller, by folding down the flaps around the big nut and then unscrewing the big nut.
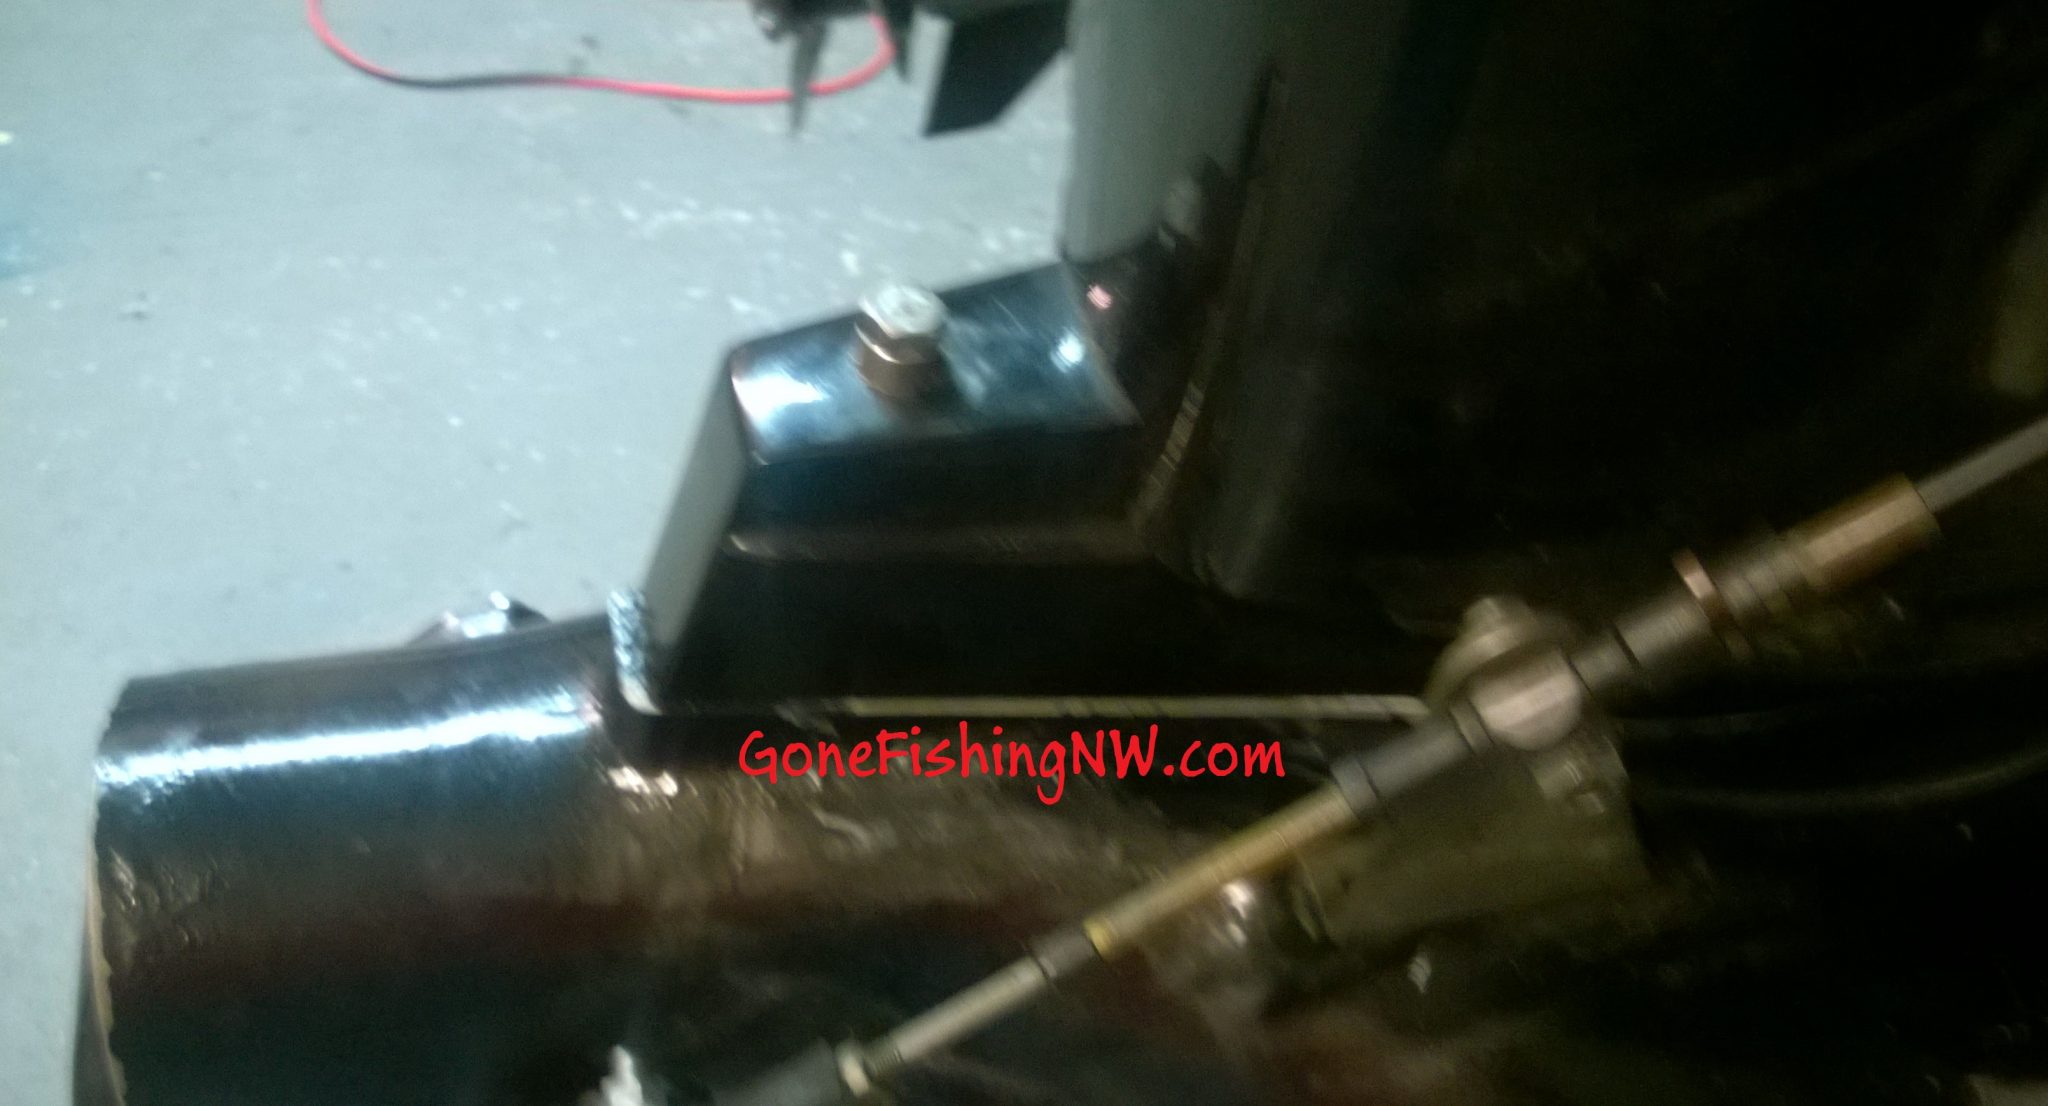
On my unit there are 5 bolts holding the lower unit to the middle unit. 4 are inside the lower unit, going up. The fifth is on the outside and goes down.
In this picture you can see that fifth bolt going down. Remove that. Also undo the connections holding the shift cable to the bucket and lower unit.
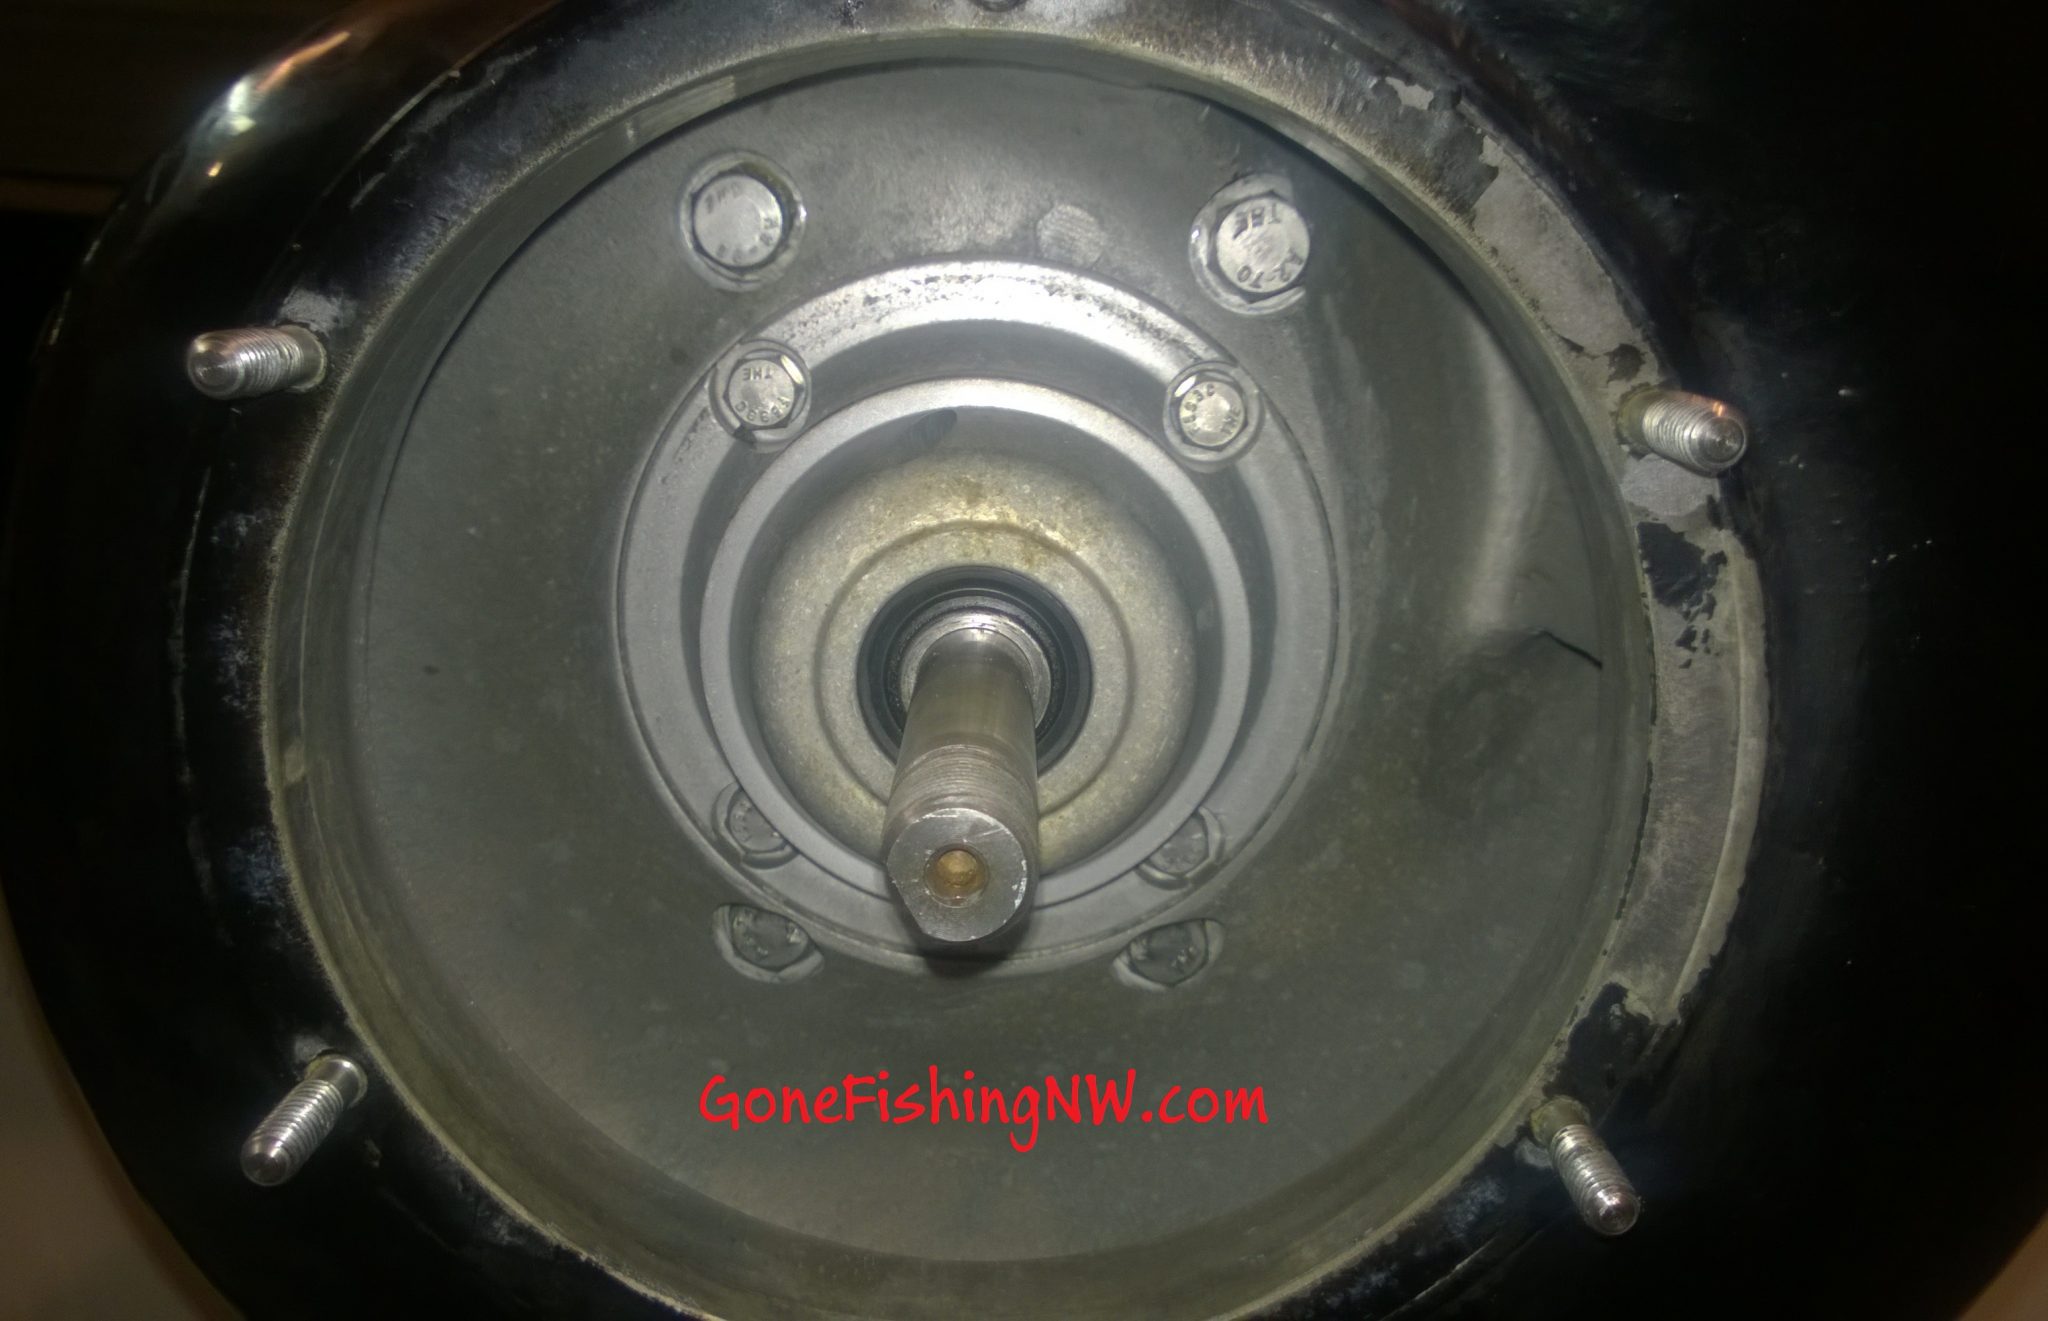
Next we remove the 4 last bolts holding the lower unit on. Below is a picture of my unit. The 4 bolts close to the shaft hold the bearing case together. The next set of 4 are what hold the lower unit on.
The lower unit should then slide on out.
Sorry, but I forgot to take a before picture. But where that black paint is around the drive shaft is where the pump was attached. Undo the 4 bolts holding the pump on, and remove the pump.
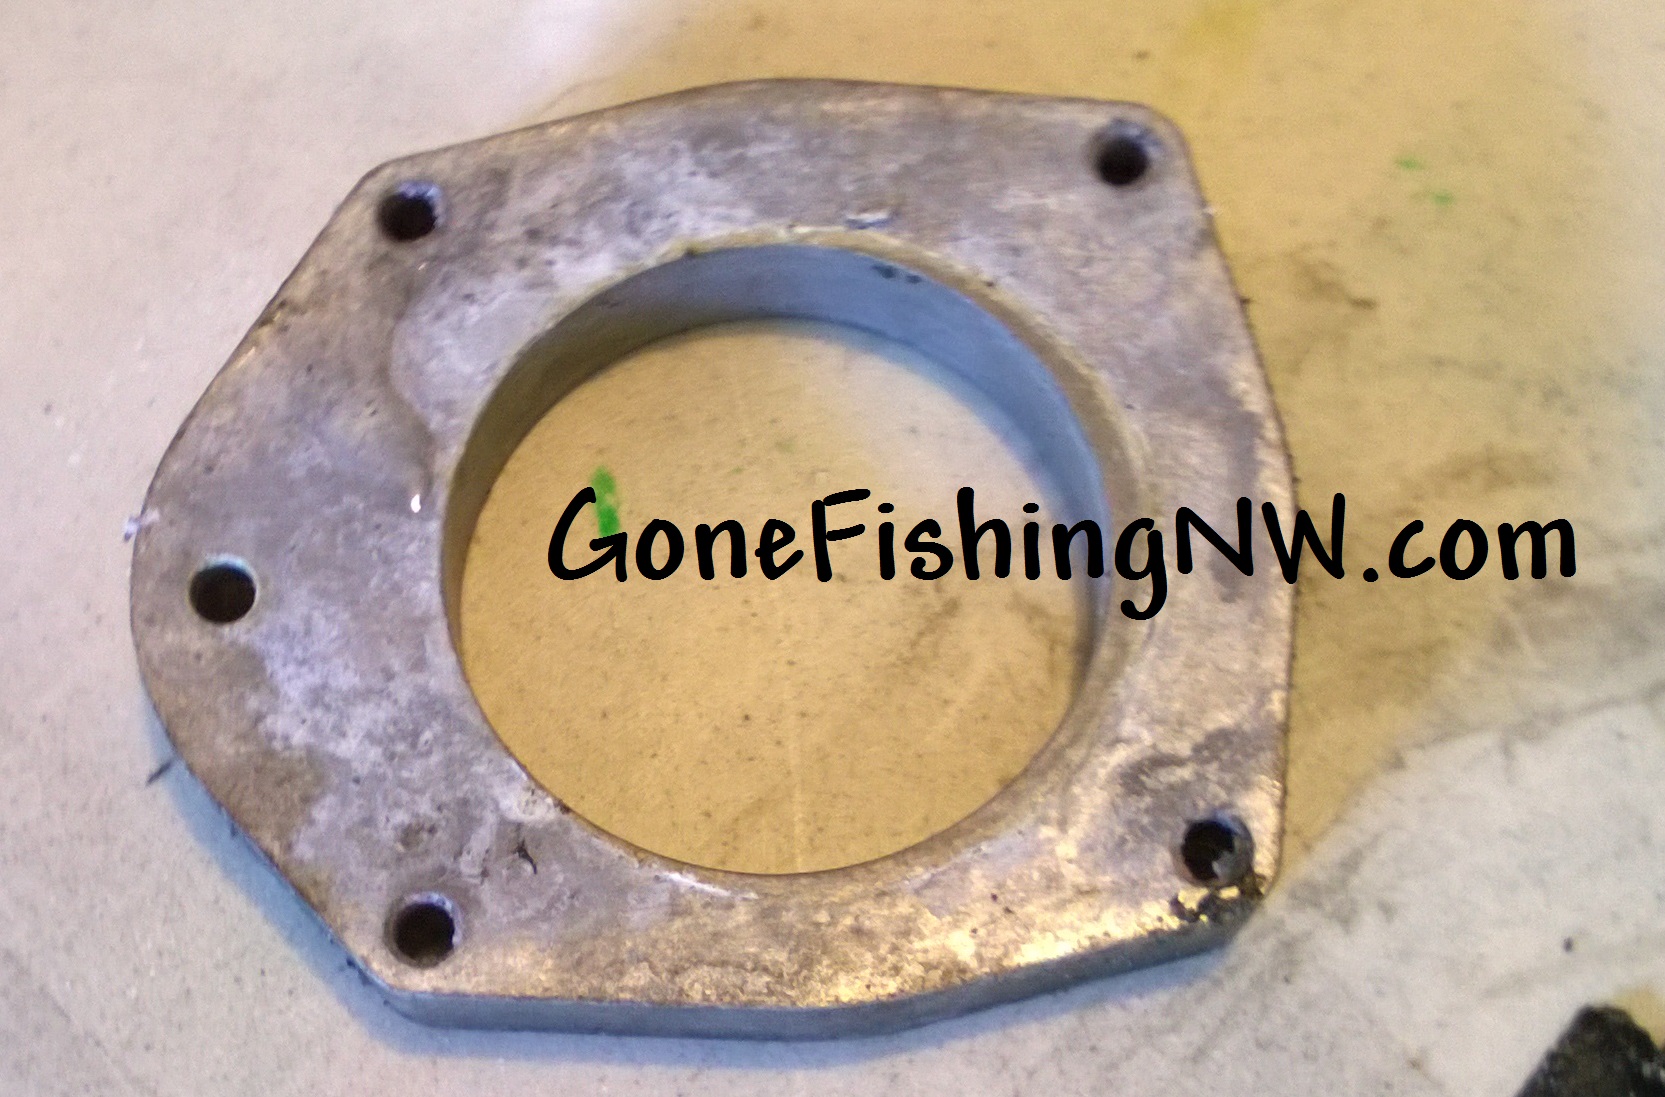
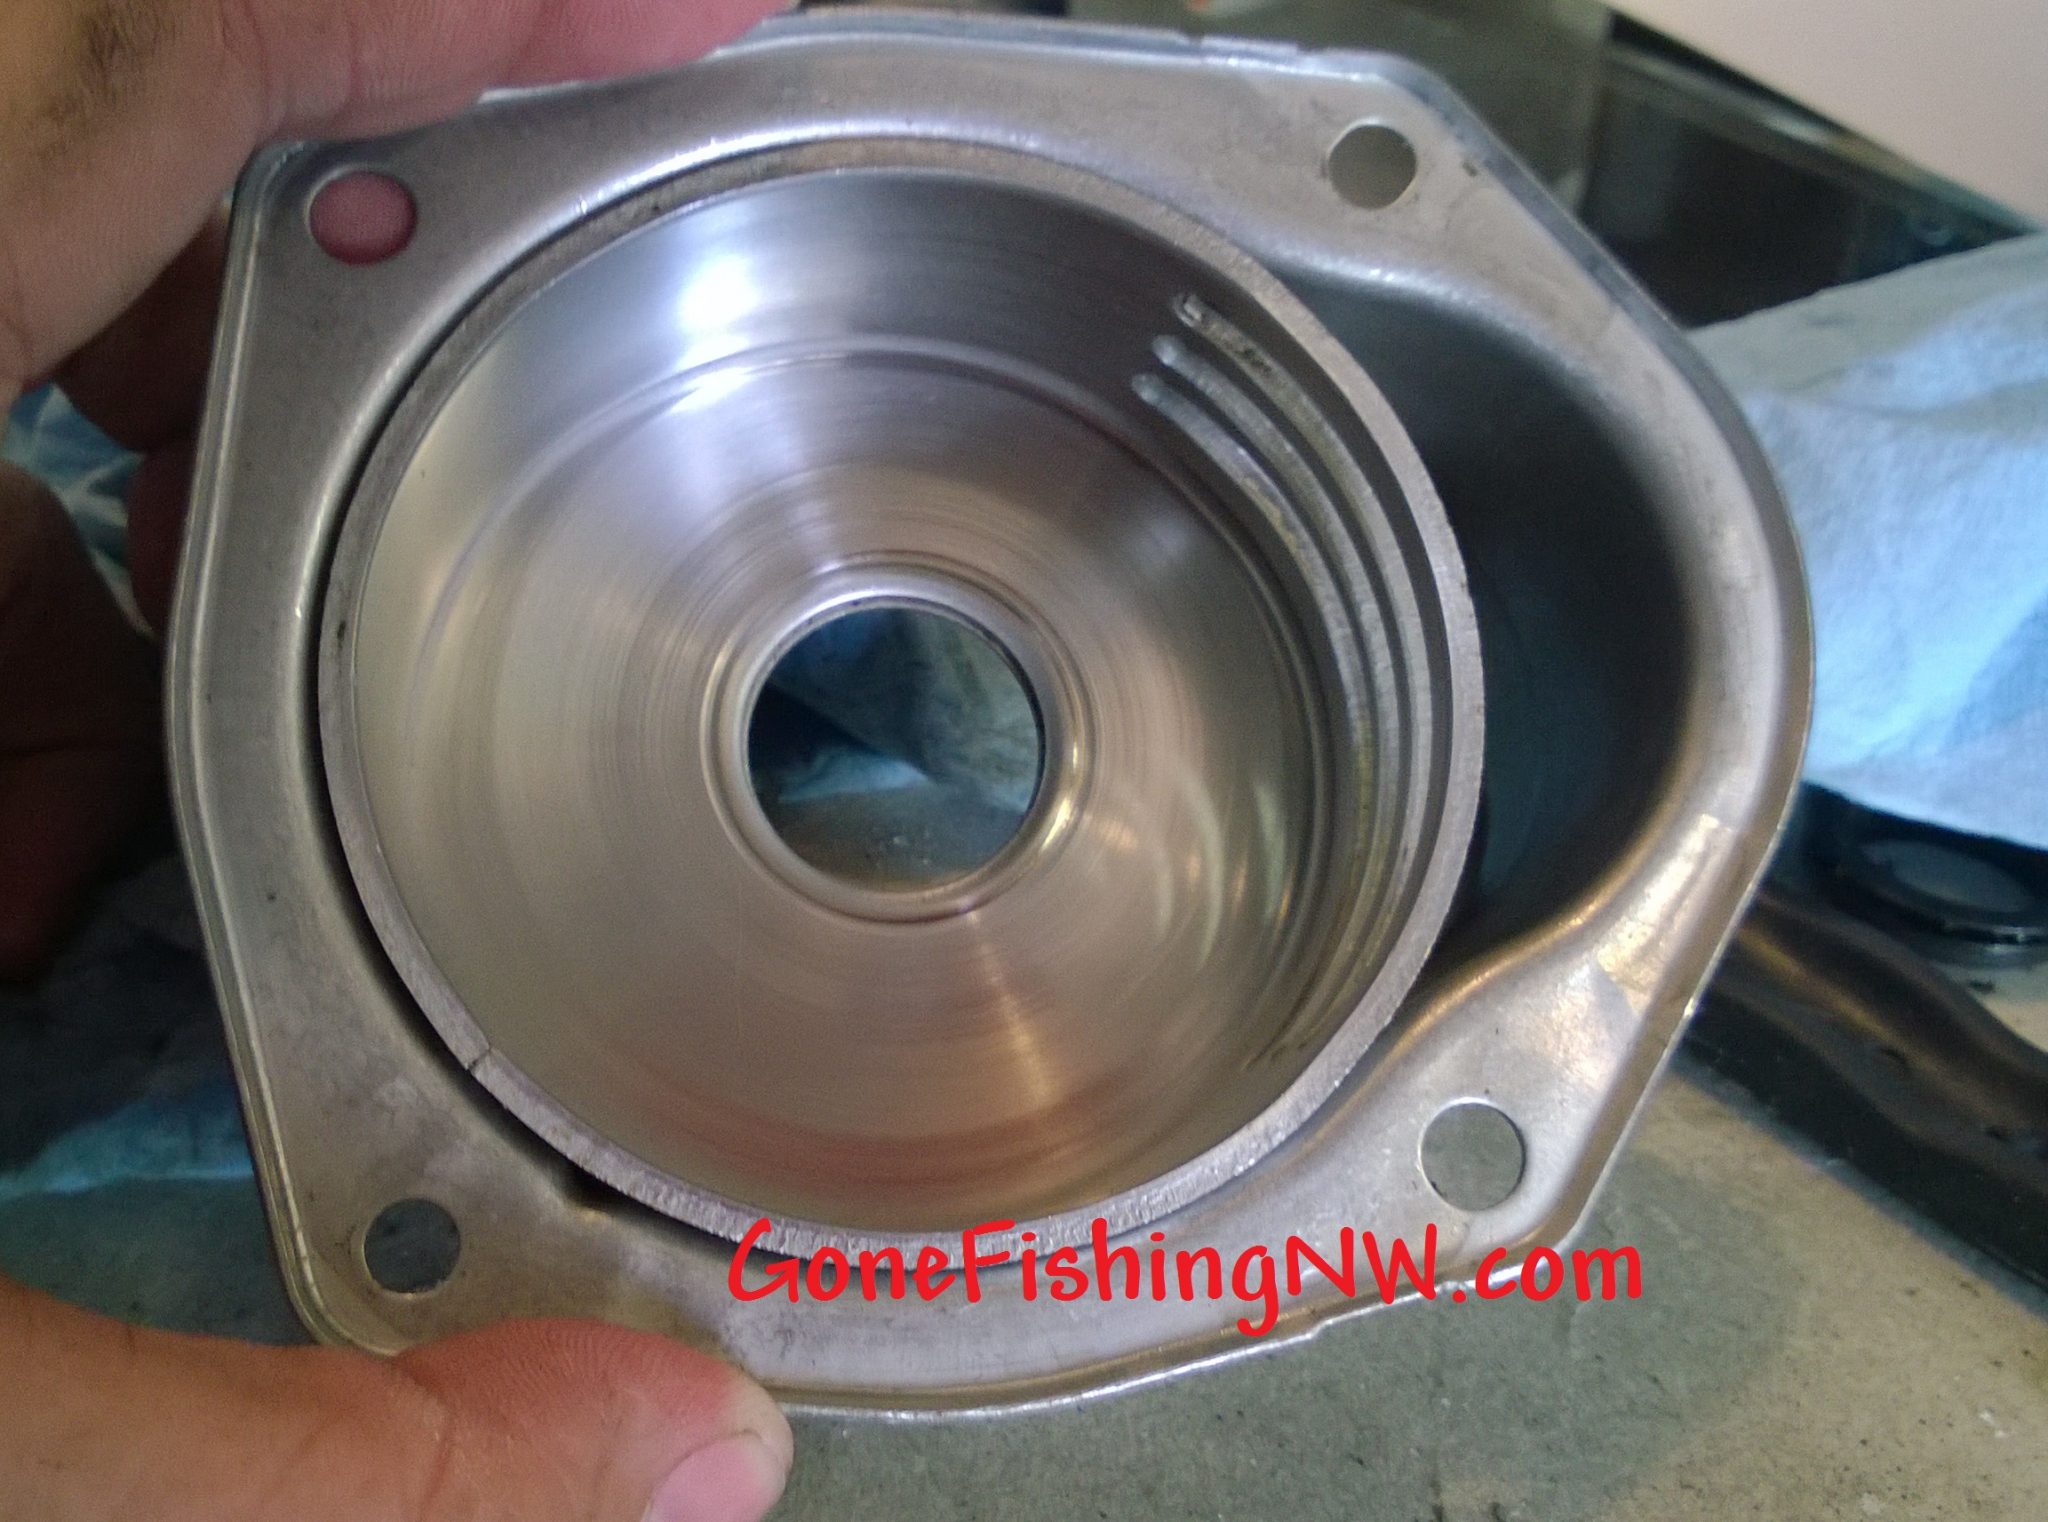
Here is a picture of the pump plat and spacer. You’ll notice they have pieces of the old gasket stuck on it.

Using a wire brush, remove any pieces of gasket and debris from the spacer and lower unit.
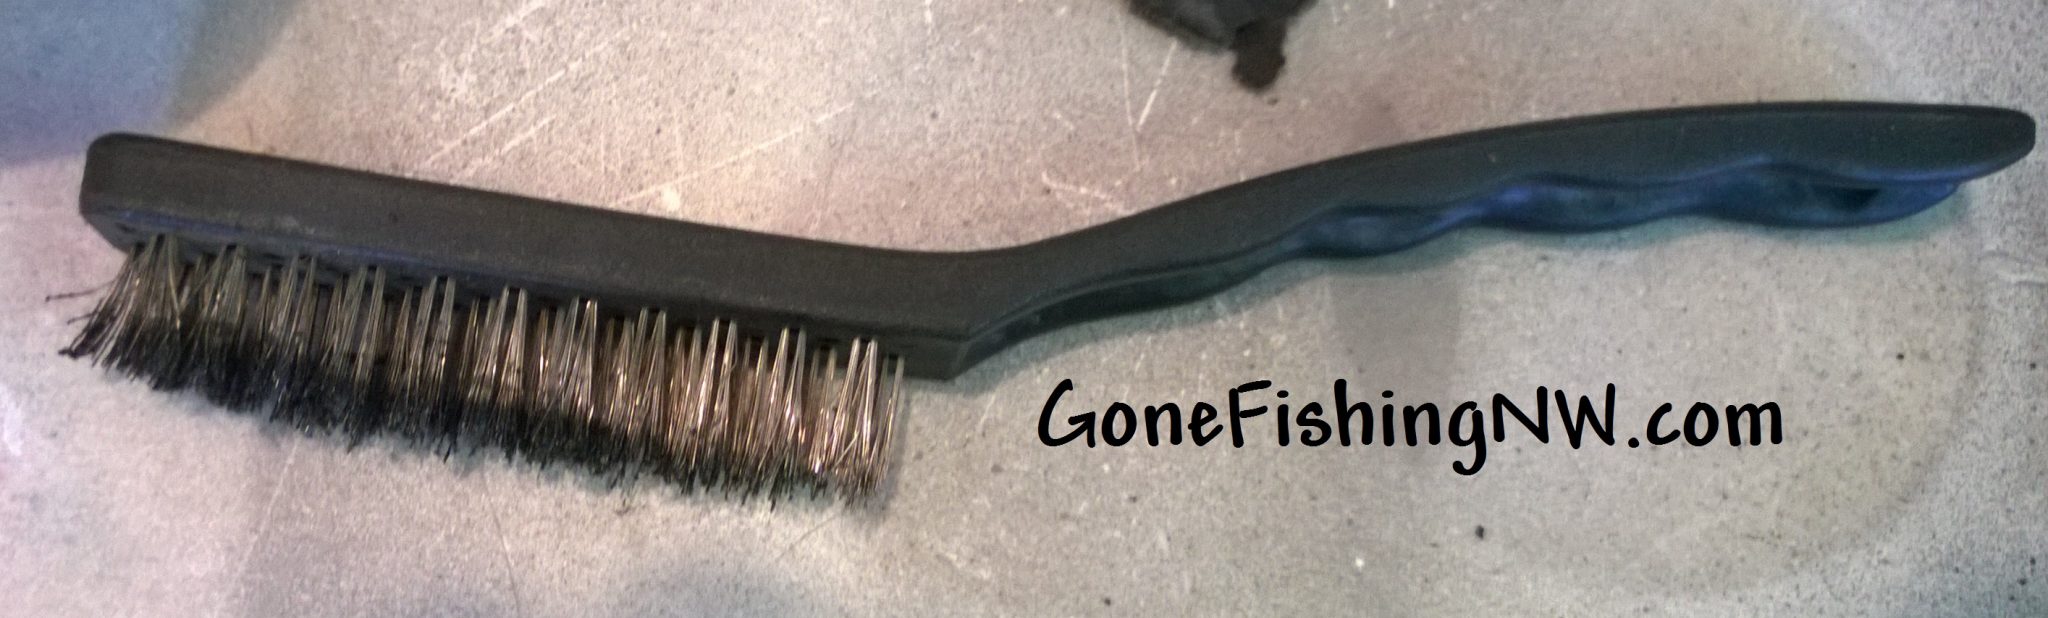
The result should be nice and shiny for a tight fit when you put it back together.
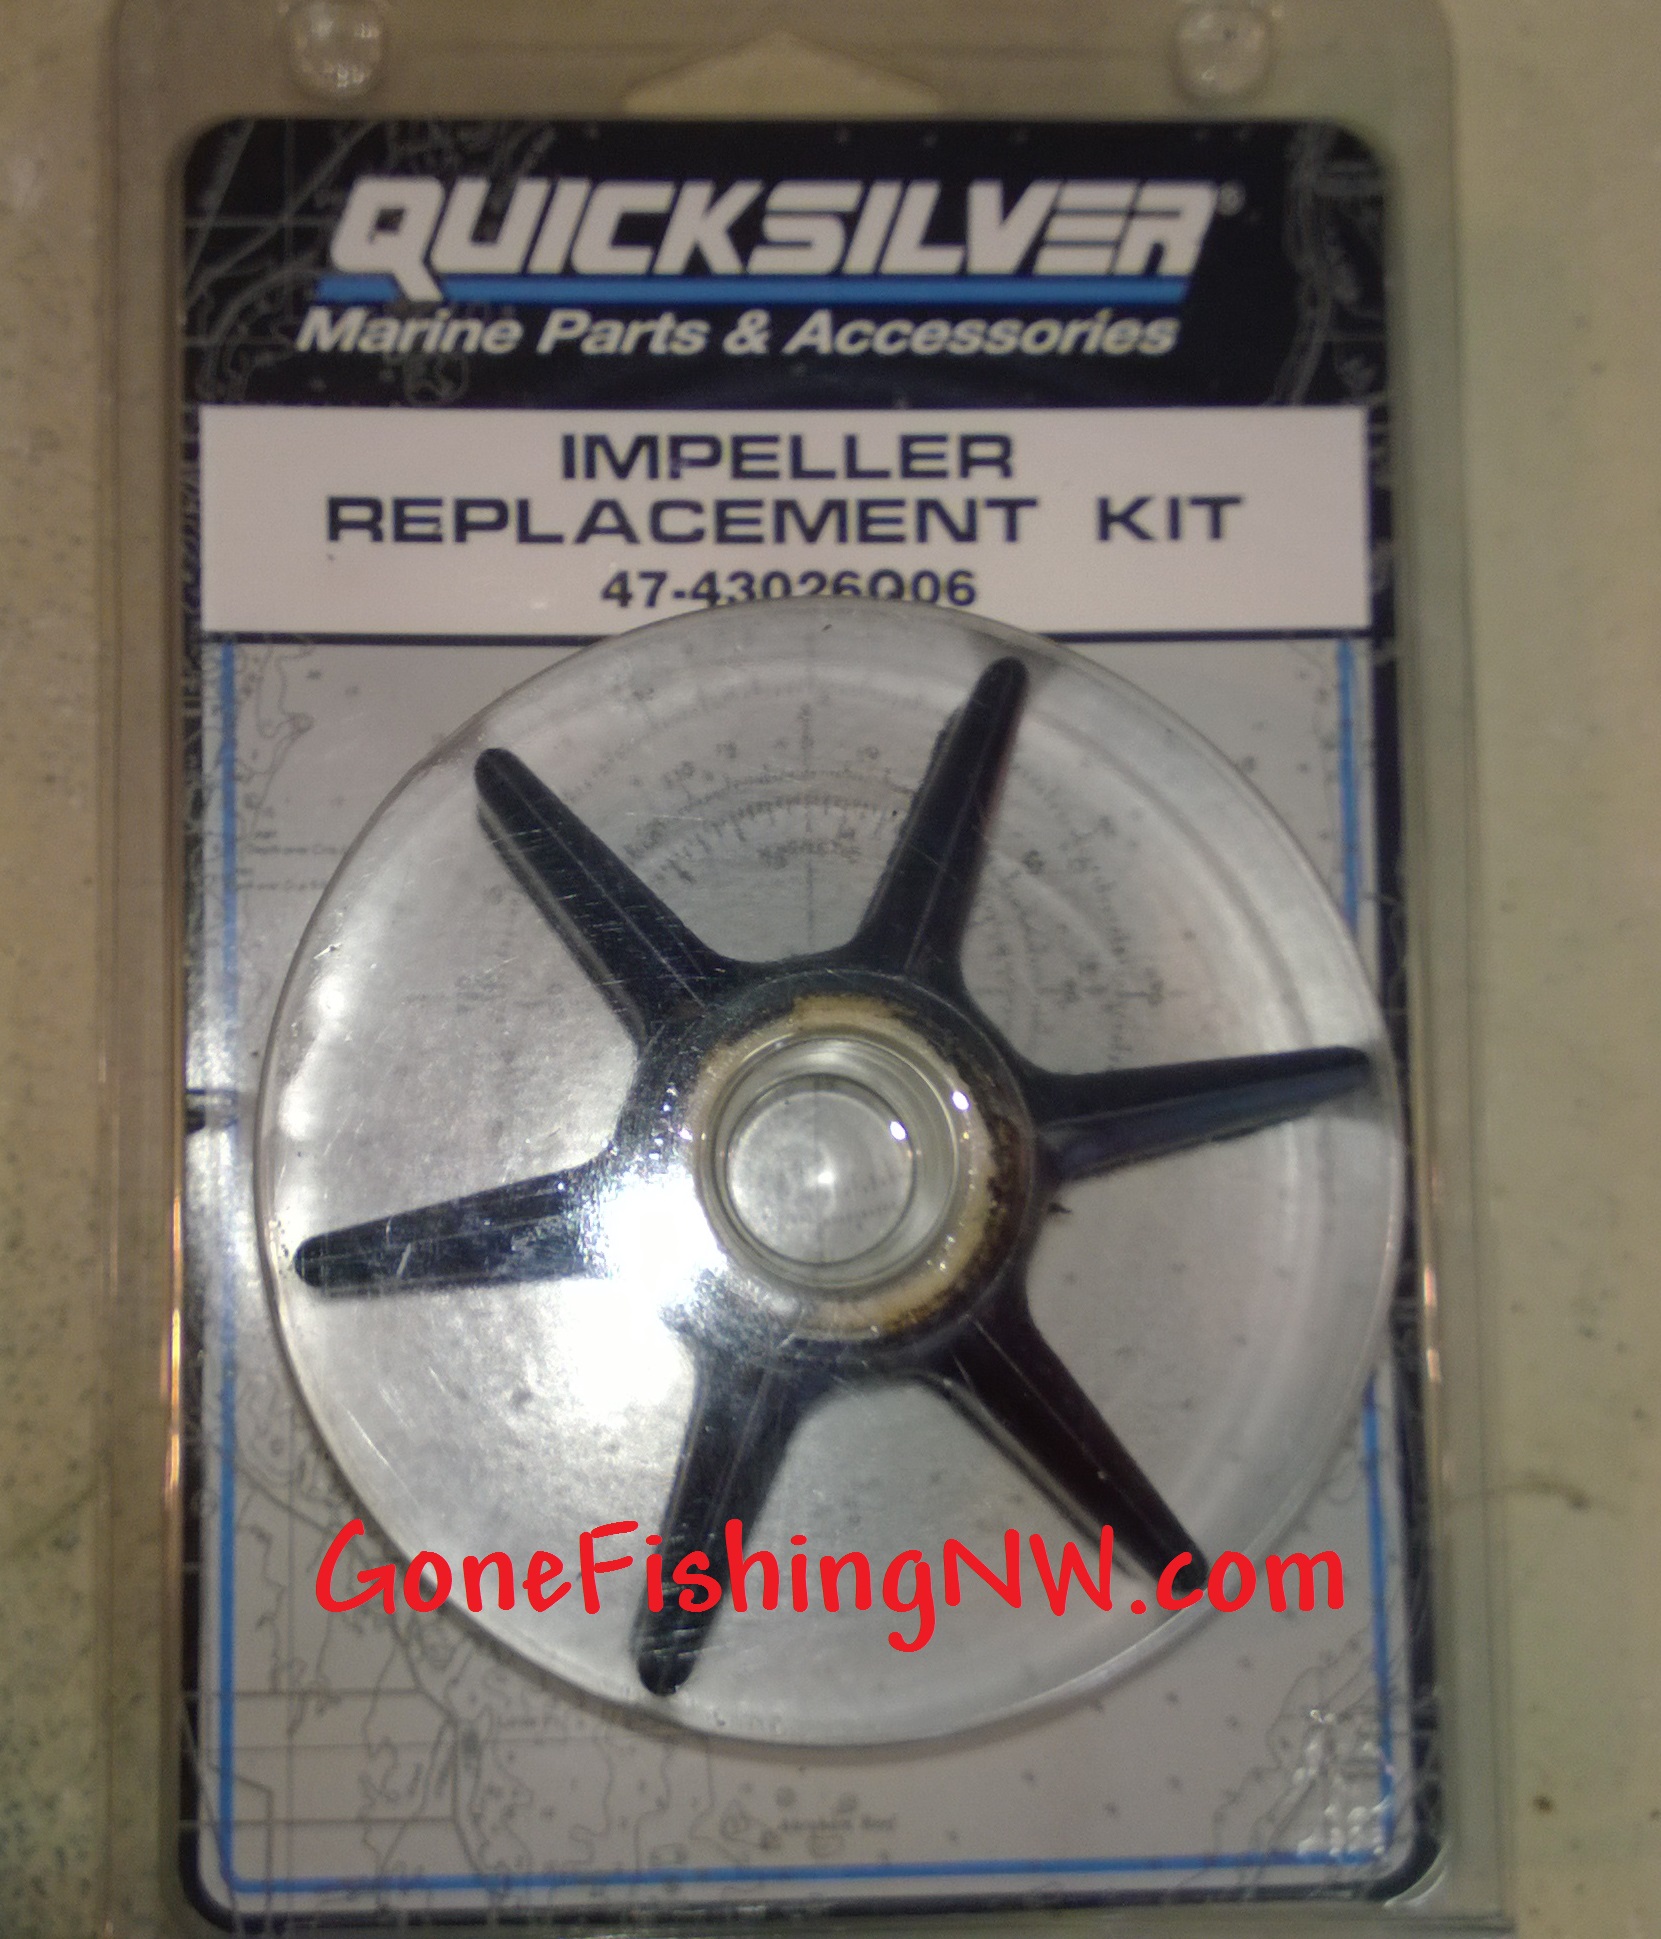
The water pump replacement kit has not only a new impeller, but new plate and gaskets.
Using the new pieces start to reassemble the unit. A little marine grease around the gasket edges can help make a good seal.
Make sure the inside of the pump housing is nice and clean. It should be free from sharp edges as well.
Add a little bit of dish soap to provide some initial lubrication for the impeller. Push the new impeller in – rotating it counter clockwise.
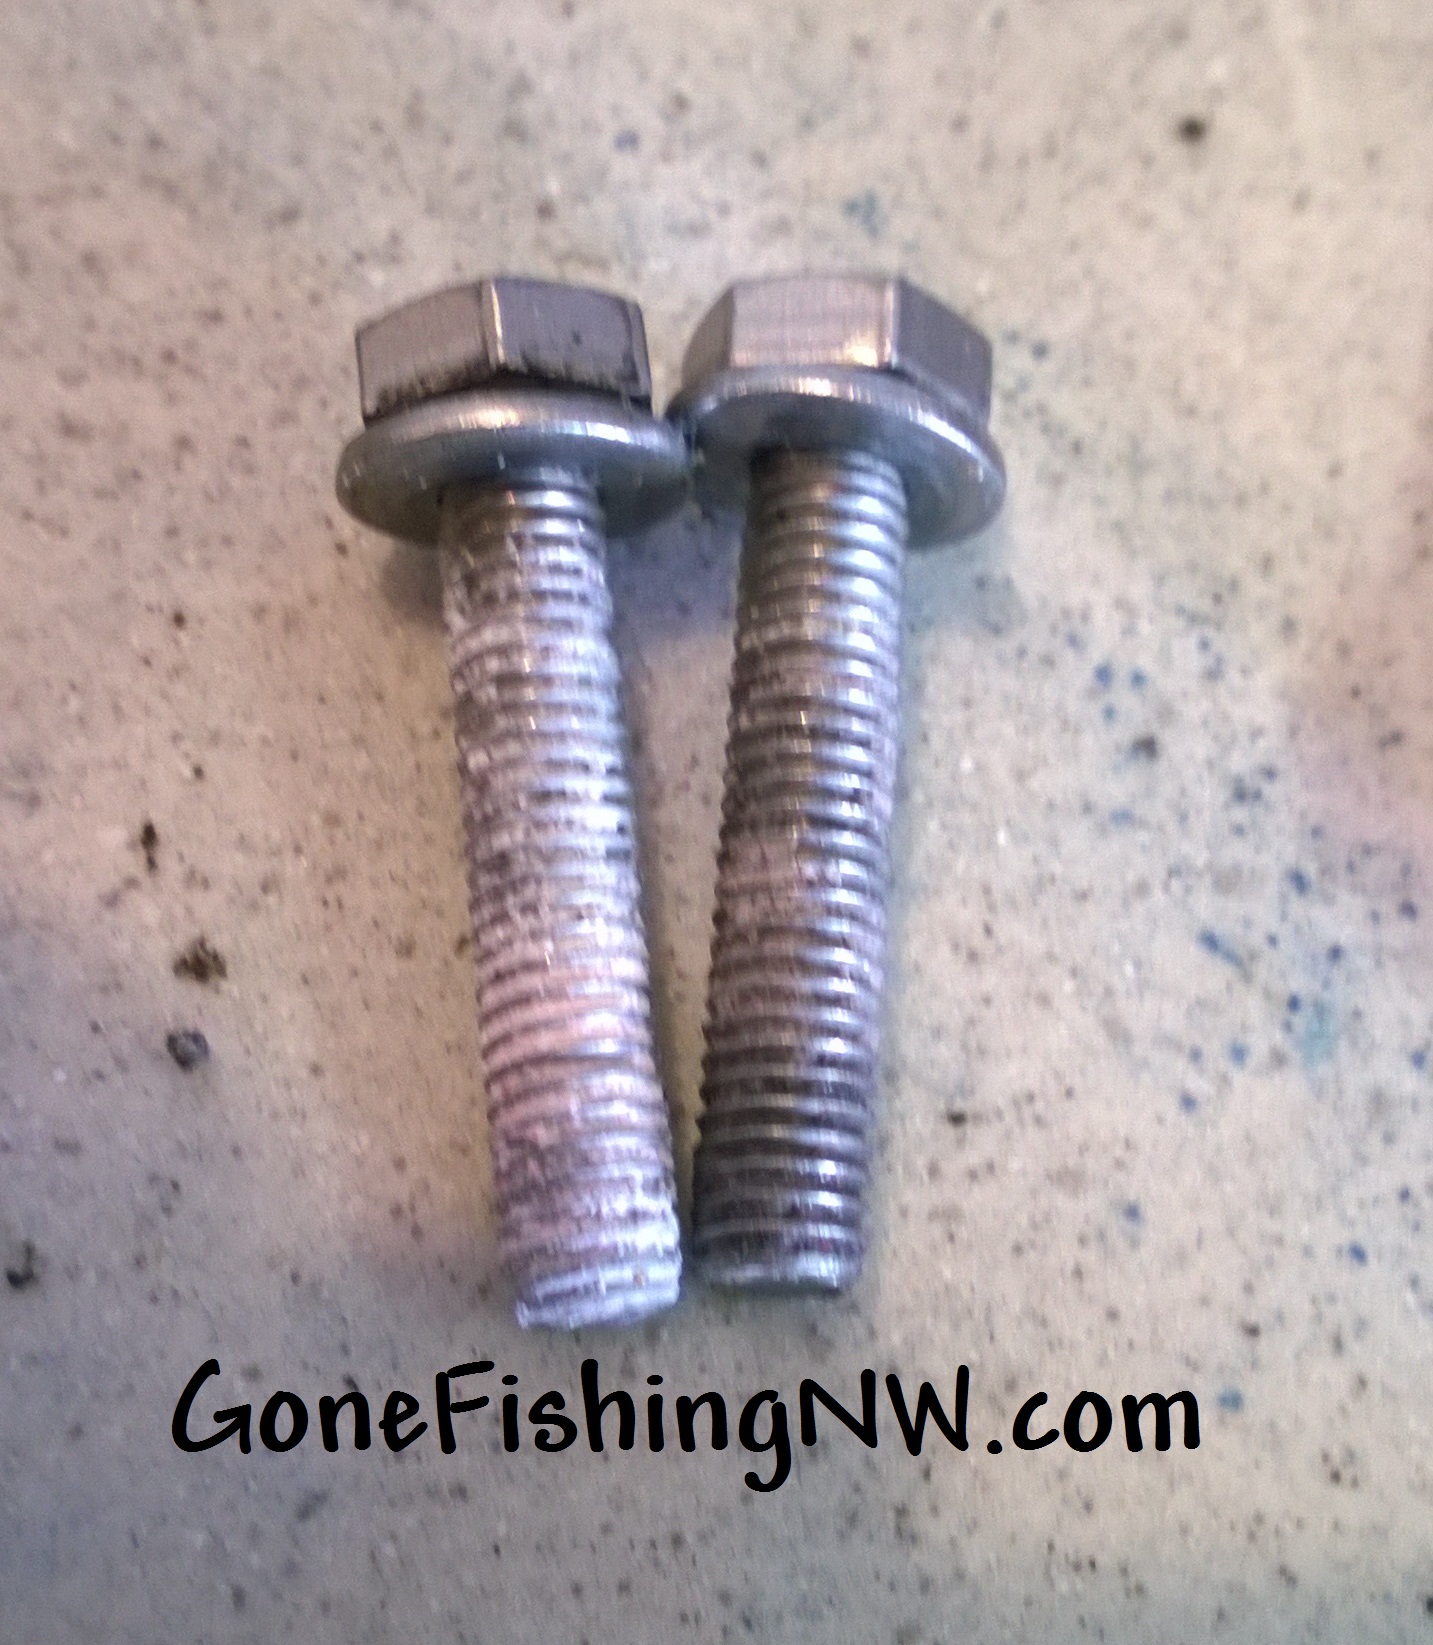
The 4 bolts holding the pump on were a little corroded, so I cleaned them up before re-attaching. Adding a little marine anti-seize or grease can help them from getting corrupted again.
Lastly slide down the new top gasket.
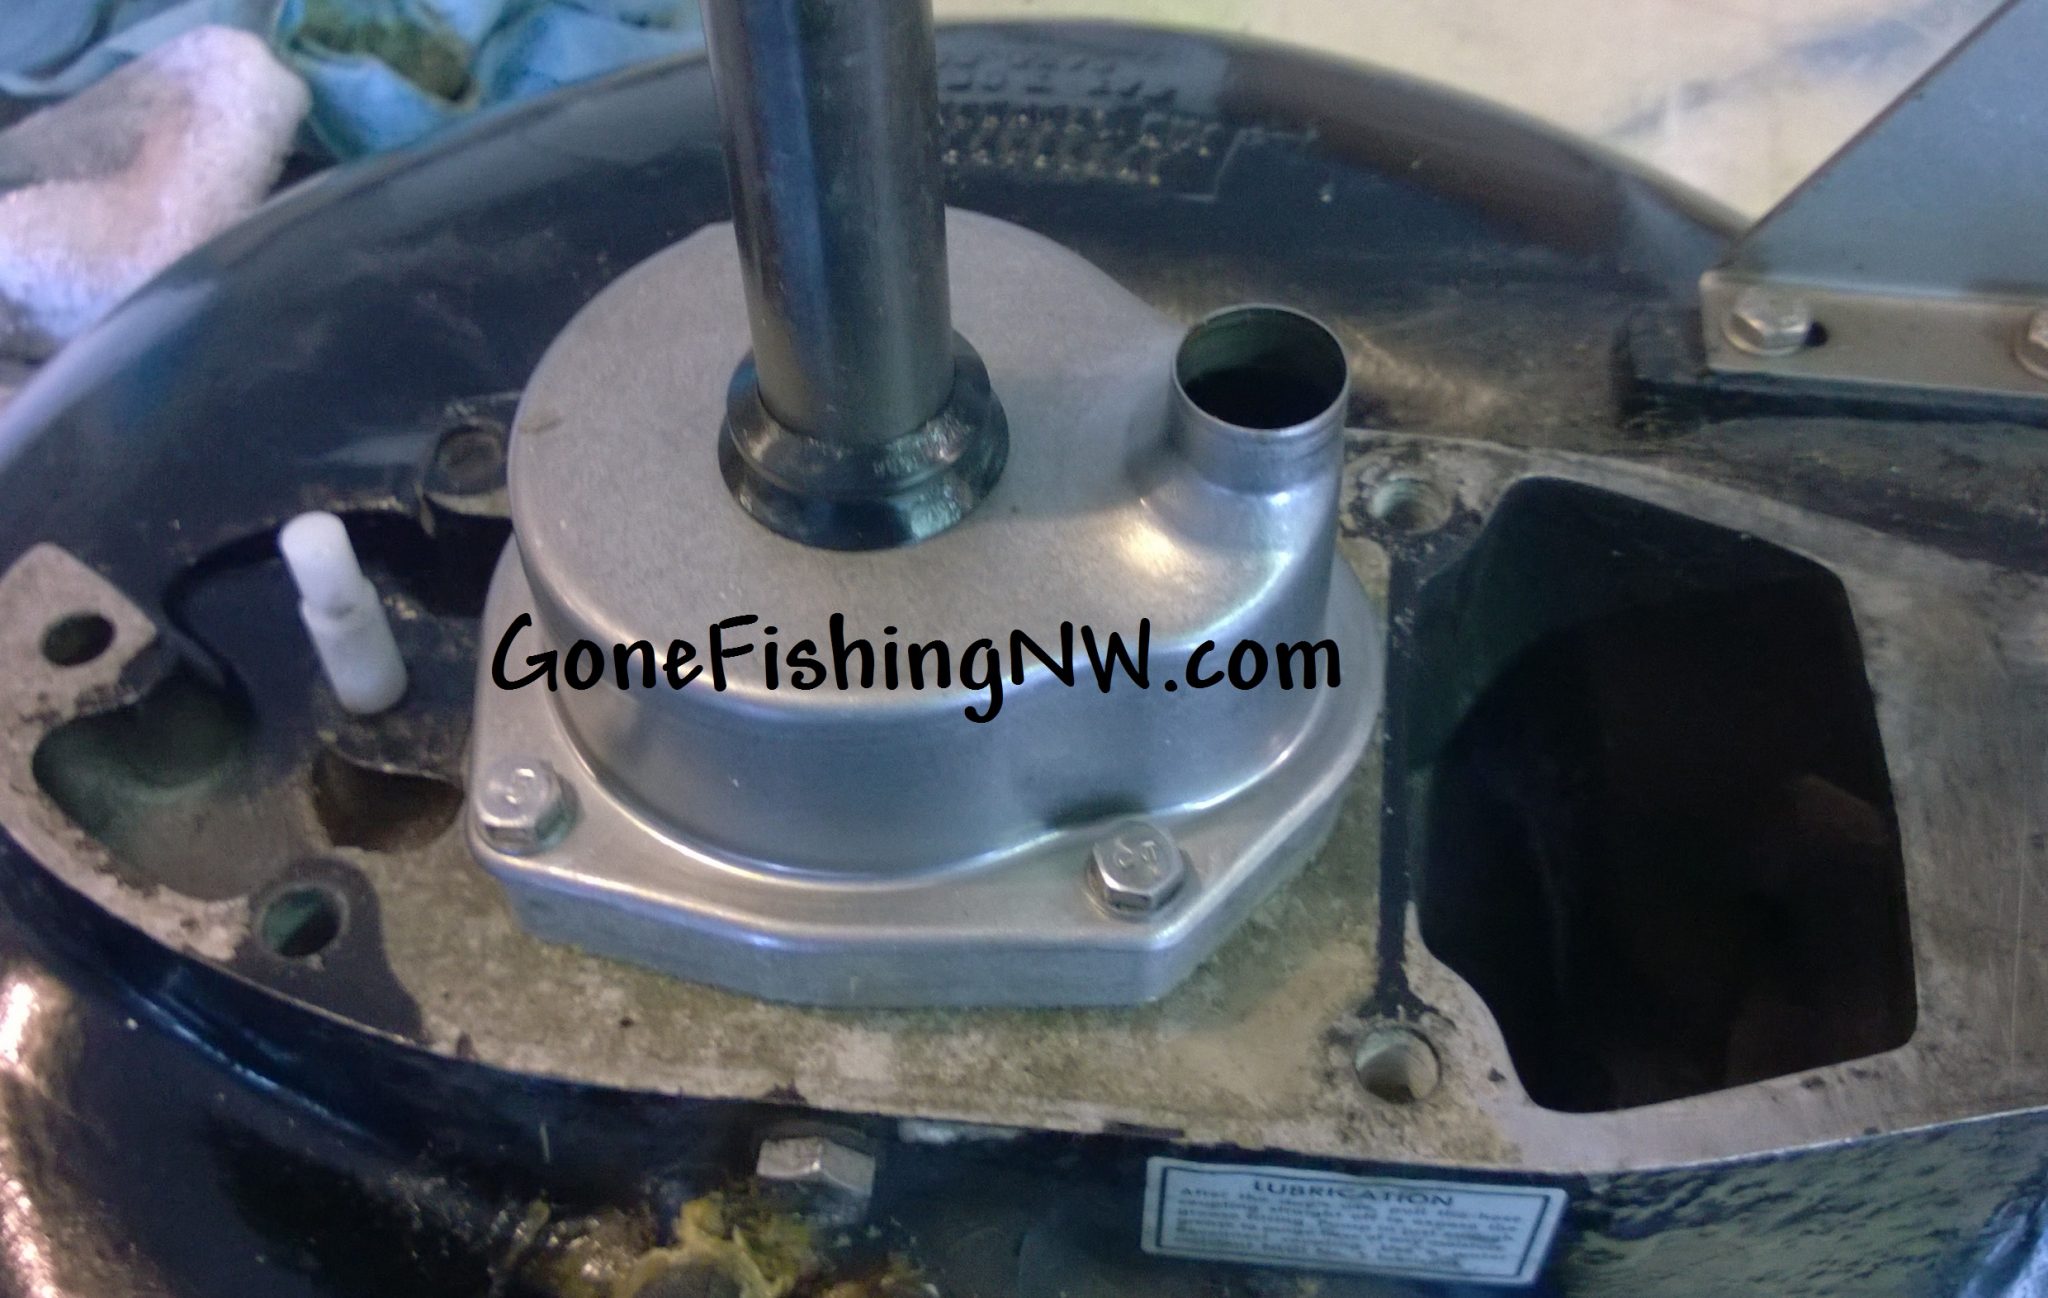
The lower unit then goes back on. Just reverse what you did to take it off.
There are a few details I left out – so make sure to have a complete set of steps from a prop outboard to get what I missed.
For more information on boats and maintainance, please check out the boat page.

Comments are closed.