Digging for razor clams is a fun winter tradition for many Washington families. It is relatively easy, clams are often plentiful and tasty. In this guide we’ll go over everything you need to know if you are going digging for the first time, or just looking for a few tips to up your game.
All About The Clam
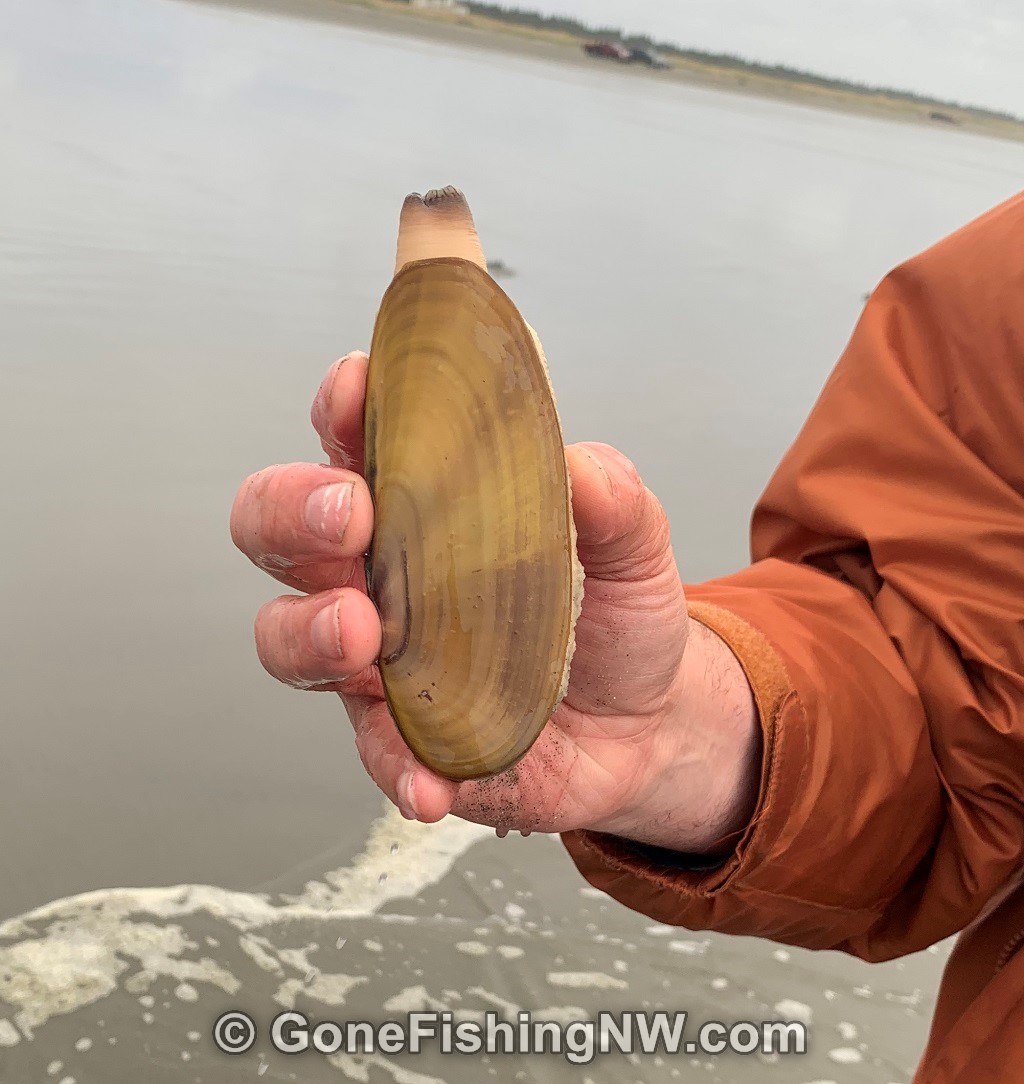
Pacific razor clams are found pretty much all along the Pacific coast of North America. The shell is a long oblong shape, with a feeder protruding out of the top and the digger foot out of the bottom. Most range from 3 to 6 inches long, with “trophy clams” in Washington state reaching 7 inches. In places like Alaska clams up to 11 inches long have been found.
They are bivalves and filter the water, extracting plankton and small bits of organic matter for food. One valve takes in water, the other expels it. While they can move by digging, the mostly move up and down in the sand, rather than up and down the beach.
They are found in the lower tidal area, which is why negative tides are the best time to dig for them.

Preparing To Dig
If you are digging them for the first time you might be wondering what you should bring with you on the dig. Fortunately you don’t need much.
- Your shellfish license
- Something to dig with, like a clam shovel or clam gun
- A bag or bucket to put your clams in as you dig
That is really all you absolutely need – besides, of course, weather appropriate clothing.
However, there are a few extra things that may be helpful.
You will be digging right up near the surf, and it is almost a guarantee that a wave will come in and get you wet. So water proof foot gear is highly recommended. You could wear shorts and sandals, but remember most digging occurs from October to April – times when the weather and water is cold. So a better choice is muck boots or even waders.
Many clam beaches allow you to drive on them. So, if possible, take a vehicle you know will do well, such as one with AWD or 4WD and decent tires. You don’t want to spoil your fun clam digging with a car stuck in the sand.
When to Go
Razor clams have specific seasons and, in Washington at least, not all beaches are open on the same day. Make sure to check the WDFW web site for the latest information for what beaches are open on what days. They also list the low tide time and depth for the digs.
Digs may occasionally get canceled if testing shows rising levels of domic acid, which can result in shell fish poisoning. This is nothing to mess around with as it can cause seizures and even death.
Digging in the Dark
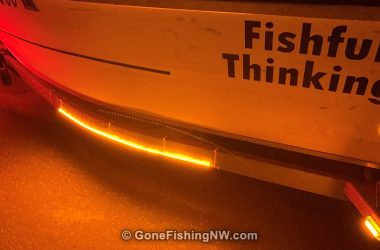
Winter digs typically have low tide in the evening, like 7 or 8pm. While this isn’t late it will be dark as that time of year sunset can be as early as 4:30. If you are going to be digging in the dark then a bright headlamp is a must, so your arms are free to dig. You may also want to bring along a lantern, and have people in your group trade off holding the lantern while others dig. Another part of digging in the dark is finding your car when you are done. Electric roadside lights can be placed on the car, or on the dashboard, giving you a flashing beacon to follow back.
Digs during the daylight hours are best if you want to involve younger children. If digging in the dark they should stay home or in the car (with supervision of course). I recommend giving them wearable glow sticks to increase how easy it
is to see them as dusk approaches. This is important not just for you, but also for people driving on the beach.
Carrying Clams
It is nice to have both hands free while digging, which is why the clam bags with the belt loop comes in handy. However if you don’t want a bag of clams pulling your pants down consider using a strap to make a bandolier to attach the clam bag to.
Guns, Guns, Guns
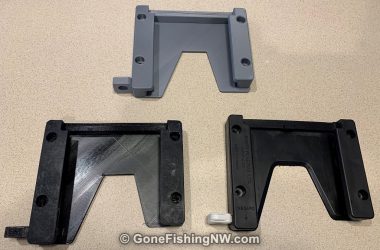
Most people prefer to use clam guns over the shovels as it is much easier. You may have noticed there are a variety of clam guns, with the 2 main styles being PVC and metal. They all work in the same way – you push them into the sand. As the sand enters the chamber, air escapes out a hole in the top. When you are ready to pull it up, you put your thumb over the hole and pull. This creates a vacuum which forces the sand to stay in the chamber, leaving a hole. You can then point the gun to the side and remove your thumb from the hole, allowing air back in and the sand to come out.
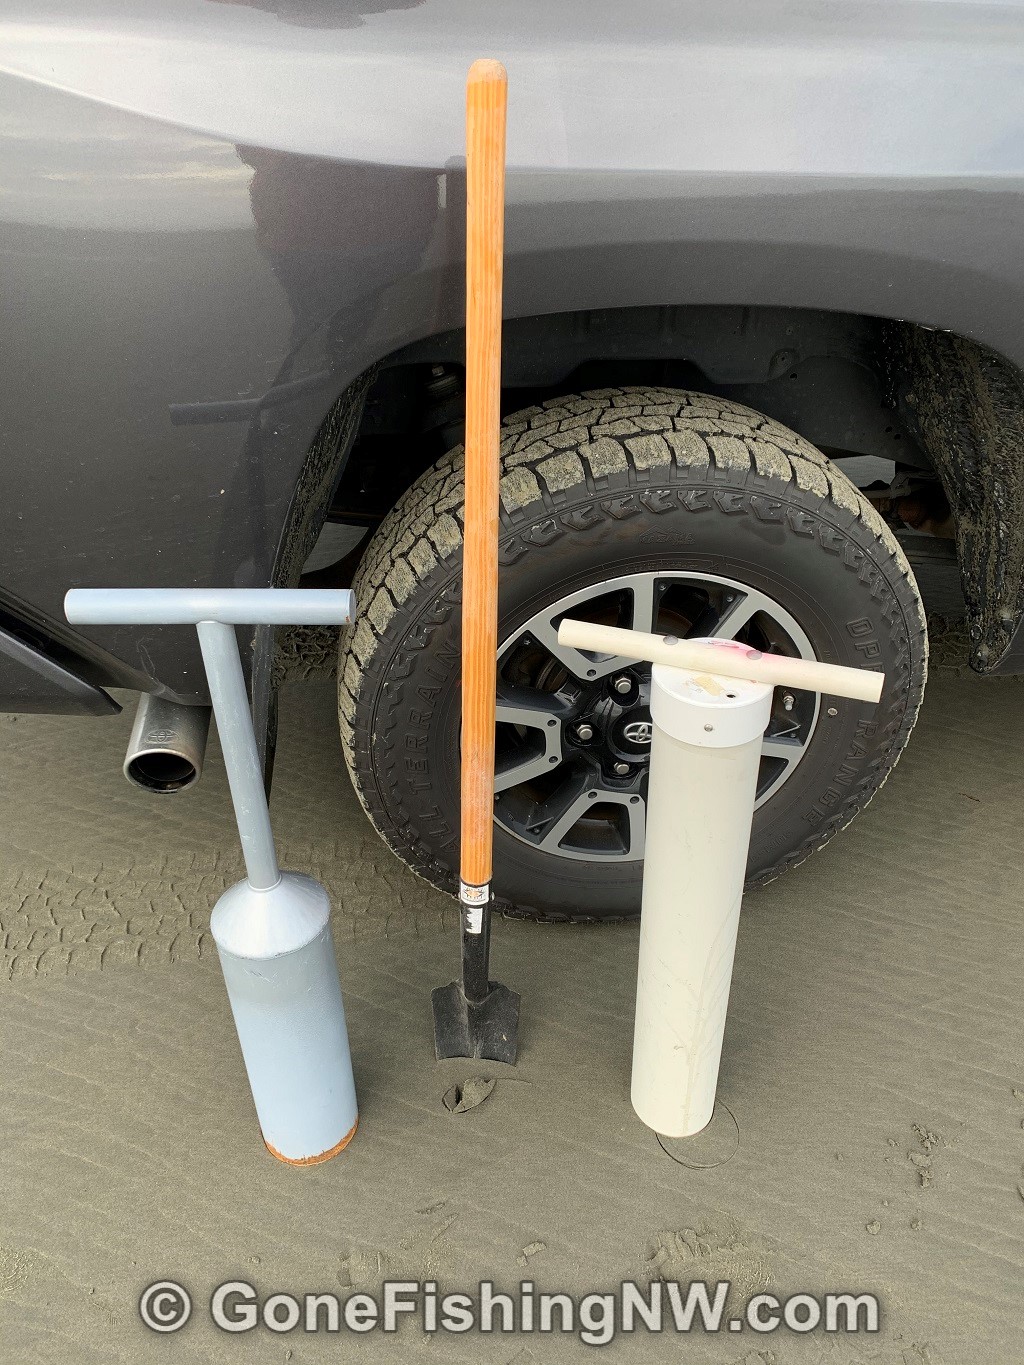
PVC Clam guns are usually cheaper, or can even be a relatively simple DIY project. However they tend to be harder to use as the thicker plastic requires more force to push down into the sand.
Basic metal models tend to be around 32 inches tall. If you are a tall person you may appreciate a more expensive model which is taller – requiring you to bend over less – something you’ll appreciate after digging up a few clams.
Deluxe models include other features, like this one which allows air to enter the bottom of the hole as you lift up making things easier. If you clam often this may be well worth it.
Keep Clam and Dig On
You have all your equipment and are now at the beach ready to dig. Here is what you need to know.
Waiting For Low Tide
If you are like me you are excited to dig and showed up early. Until about 3 hours before low tide, odds are the clam beads aren’t yet exposed. So come prepared with a plan on how to pass the time.
Personally, if allowed, I like to bring along some firewood and start a fire on the beach. Throw in a couple of lawn chairs, some drinks and snacks and you have yourself a party.
You can go all out and bring along a grill or campstove and have a tailgate BBQ.
Some people like to fish for surf perch while waiting for low tide. This is a great activity, but I’m not going to go into detail for that in this article.
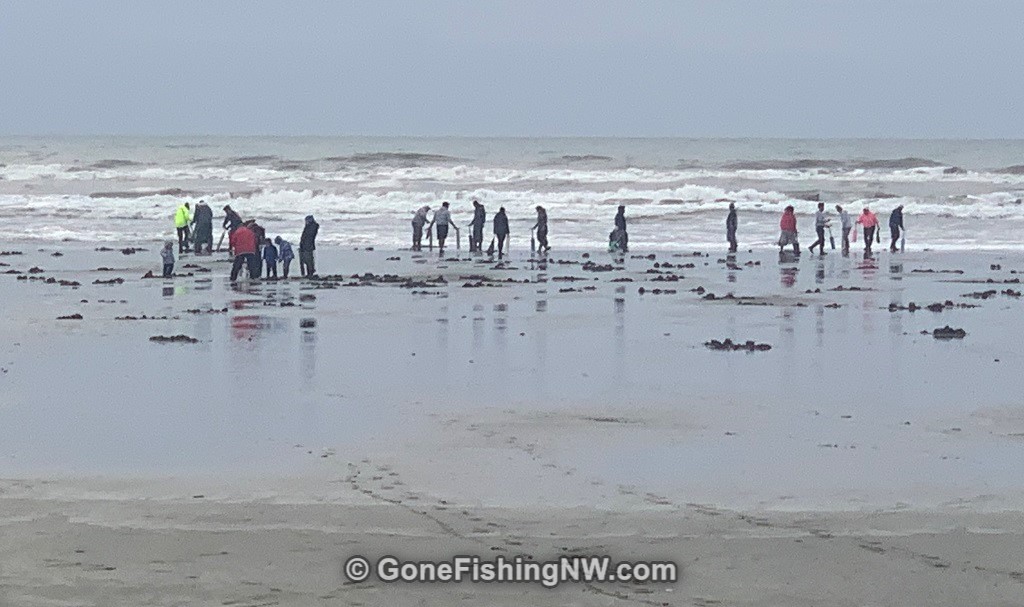
Finding the Clams
When the tide is out you can start walking the beach looking for clams. There are a few things to look for.
The most obvious are holes in the sand. If the holes are small they might be sand shrimp rather than clams – especially if higher up on the beach. Ignore those and move on. Razor clam holes tend to be a bit bigger – about the size of a dime, and usually don’t have as much of a mini volcano around them.
A less obvious sign is a depression in the sand. Just imagine what a dime size hole might look like if some sand fell back in.
If you are digging in areas where it has been a while, say more than 10 mins, since the water has been over it, then these holes and depressions are likely to be your only signs.

If you are right at the edge of the surf where water is still washing over it, then you have a couple extra clues.
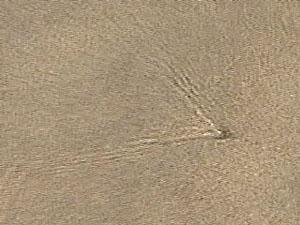
My favorite is to watch the outgoing water for V ripples. This indicates something interrupting the smooth flow of water. If you don’t see something obvious causing it like a rock or piece of shell, then it could be the neck of a clam exposed above the sand. It will often retreat when the water is out, so don’t be surprised if you don’t see the neck.
The most unmistakable sign of a clam is to have the clam shoot water out, often several inches high. This seems to occur fairly recently after the wave has receded and might be triggered by walking nearby or pounding the sand with your gun.
In my experience the clams tend to be in clusters. So wherever you found a clam there is likely more within a couple feet. Completely cover an area around known clams before moving on down the beach.
Shovel Power
If you are using a shovel, then position yourself between the clam and the water. Get down on your knees and start digging on the water side of the clam show. Dig quickly and deep. You’ll likely need to go down 18 to 24 inches (2 feet). You might feel the shovel hit the clam, or see the clam. When that happen reach into the hole and grab it.
While digging remember the to be mindful of waves that might be coming in behind you.
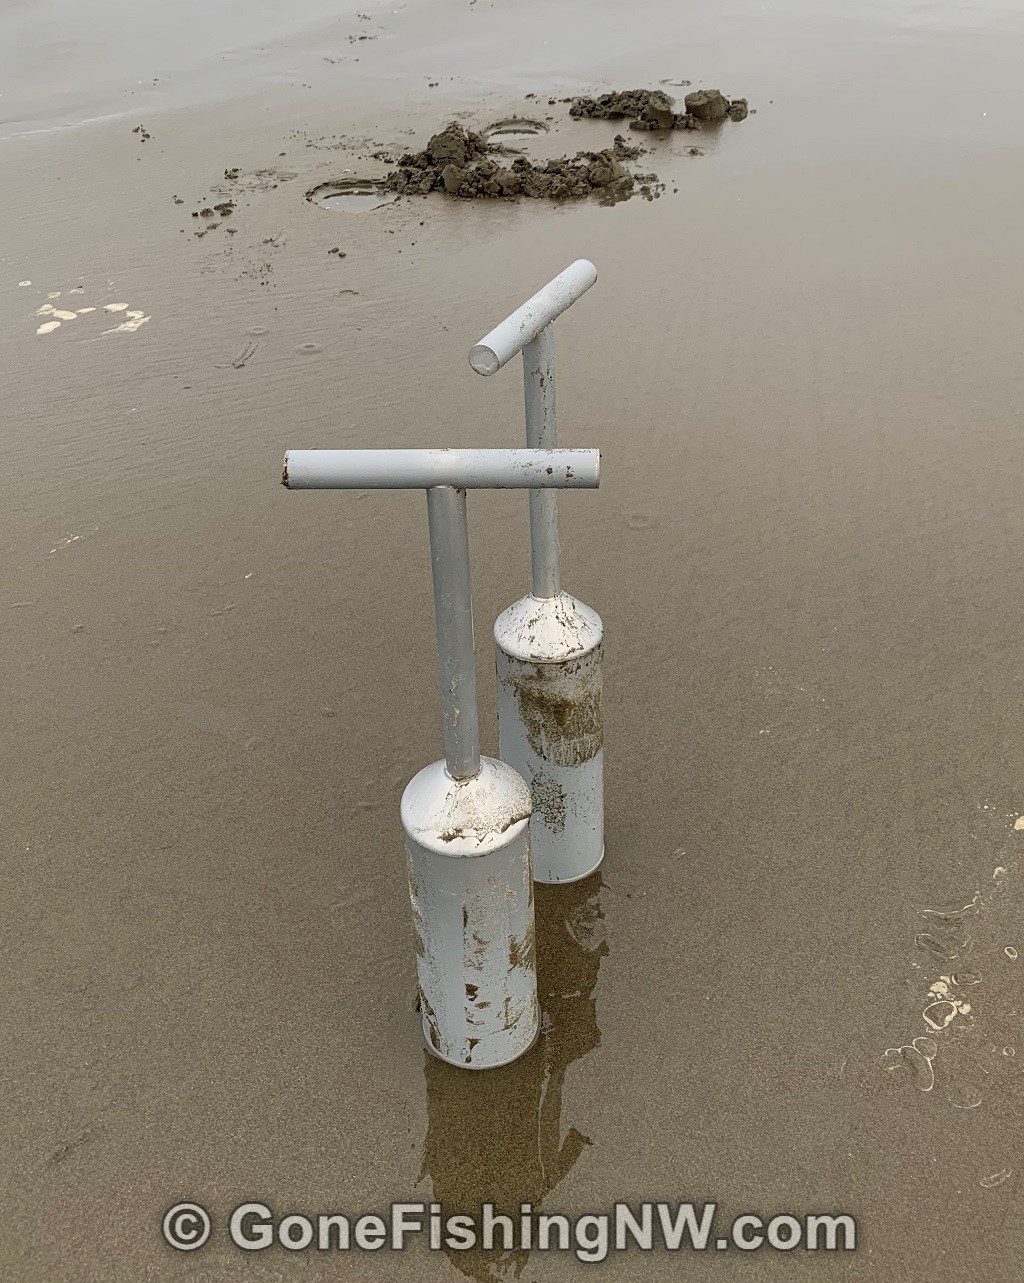
Working the Gun
If you are using a clam gun, then position yourself on the land side of the clam show. Put the gun over the show with the show being a little off center, so more of the gun is between the clam and the water. Angle the gun slightly towards the water.
Then push down as hard as you can. Wiggle it a bit back and forth. You’ll want to push the gun down about as far as you can.
Then put your thumb over the hole and lift. Pull the gun completely out of the hole. Point it to the size and move your thumb. The sand should then fall out. You may need to shake the gun or tap it with your foot to get all of it out.
If all went well you should see the clam in the sand you dug up. Knock the sand pile a little if not in case the calm is a little buried.
If the clam didn’t come up then check out the hole. Sometimes you just missed the clam and it is just sitting in the hole half exposed. You can also put the gun back in and pull out another foot or so of sand. This technique has worked well for me.
Carrying Clams
Once you have your clam put it in your bag. In Washington each clam digger is supposed to keep his own clams in his possession. So if digging in a group make sure everyone has a bag.
You are also required to keep every clam regardless of size, or if you broke its shell.
I recommend trying to keep count in your head, as digging through a bag of 15 clams to count them can be hard to make sure you don’t double count and that you count each one.
I like to rinse my clams off in the surf when done, just so there is less sand going home with me. Once you are done and back at the car you can combine everyone’s catch into the same container.
Stayin Alive
Most people take their clams home before cleaning them. It is best for the clams to stay alive until you clean them. If home is close you can just drive home and not worry to much about how to keep the clams alive. However if you are like me it is a multi-hour drive.
Some people recommend transporting them in a bucket of salt water, along with an air pump to keep the water oxygenated. This is an ideal setup, but the most complex.
I bring a cooler with lots of ice in it. I then put the bucket of clams in the cooler with the ice around it. The bucket doesn’t have any water in it, so the clams don’t attempt to breathe. The ice slows their metabolism, which helps them survive out of water longer. You can cover the bucket with a damp towel, but that isn’t necessary unless it will be longer than about 4-6 hours before you clean them.
Make sure not to put ice or fresh water in the bucket with the clams as that will kill them.
I recommend cleaning your clams as soon as possible when you get home, and overcome the temptation to rest and leave that task for tomorrow.
Cleaning Your Catch
Cleaning the clams is pretty easy. I’ll describe it as best I can, but highly recommend watching a video like this one.
The cleaning goes fastest with 2 people working it. One person handles opening the clams and the other does the actual cleaning.
The easiest way to open the clams is to have a pot of boiling water. Put a clam in the water. After a few seconds the clam will pop open. Immediately pull it out, and place the clam in a bowl of ice water. You don’t want to cook the clams yet.
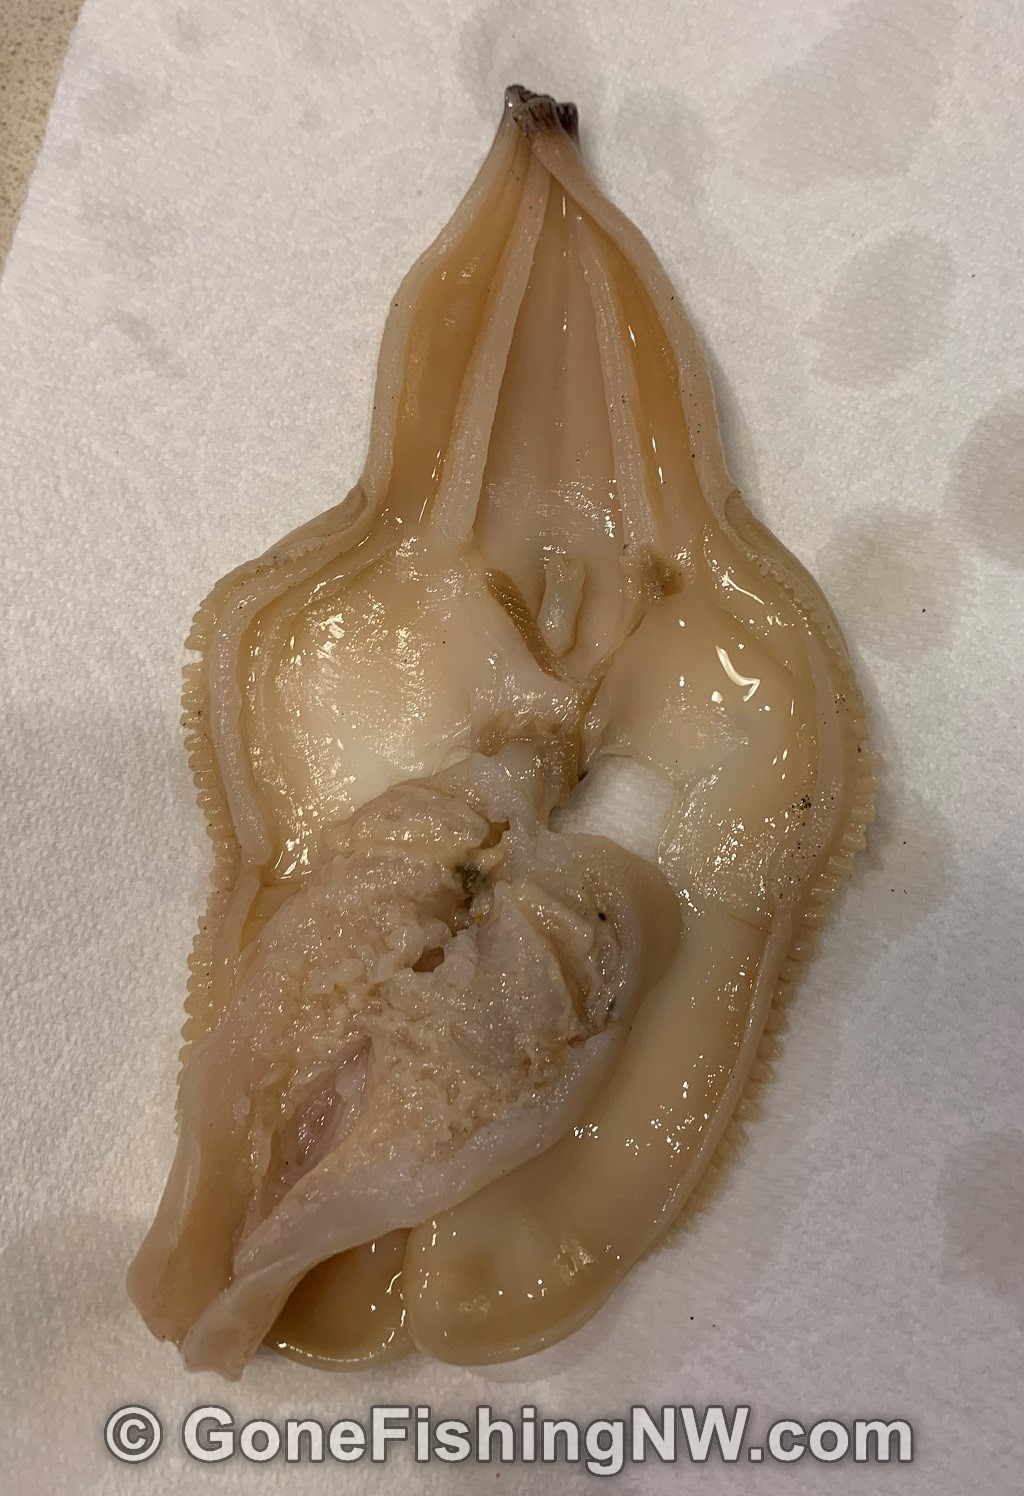
Once the clam is open and cooled down, it is really easy to separate the clam from the shell. Using a pair of kitchen shears cut the clam open – all the way from top to bottom.
You’ll see a couple darker spots in the middle of the clam. These are the gills. Cut them out.
Using the shears cut both valves open.
Flip the clam over and you’ll see the dark stomach. Cut that out. Squeeze around it so that dark stuff comes out.
Flip it back over and cut the digger foot open.
Rinse the clam to get out all the sand and dark bits. The end result should look like this.
If you aren’t going to cook them fresh, then vacuum pack them and freeze.
Recipes
Now that you have a mess of clams time to cook up a meal. My favorite is New England style clam chowder – especially served in a sourdough bread bowl. Another good choice it to make them into clam fritters.
Wrapping It Up
I hope now you feel armed and ready to go dig some razor clams. It really is easy, and even first timers can get their limit. Good luck and tight lines.