I like having light when I’m going fishing in the dark. If you’ve been following my articles you have probably have picked up on this as I installed lights in the boat and backup lights on the trailer.
I’ve been pleased by the results of those projects. However I’ve noticed that while backing up to launch the boat, that my car’s backup lights have limited effect because the boat blocks the majority of the light. So I set out to improve that.
Built In Lights
The first step was to upgrade the built in backup lights in the car. I looked up the bulb number for the backup light in the owner’s manual. Then I went searching for an extremely bright LED equivalent.
I went with LEDs for 2 reasons. First was because the long lifetime, so I’ll never have to replace them. Second is the lower power consumption, so additional lights in the circuit will not cause an issue.
I found these nice bulbs which not only have bright LEDS, but have a lens on the top which serves to focus and project the light straight back.
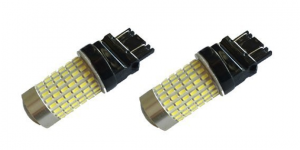
Once they arrived it only took a few minutes and a screwdriver to replace the existing bulbs with these new ones. Being LEDs you have to get the polarity right. I had a 50/50 chance and got it right the first time. But if you are doing this and the bulbs don’t light, then just take it out, turn it 180 degrees and reinsert.
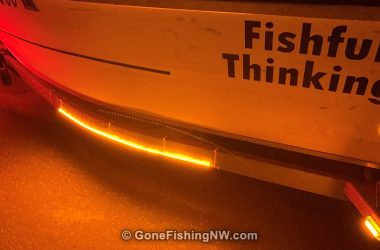
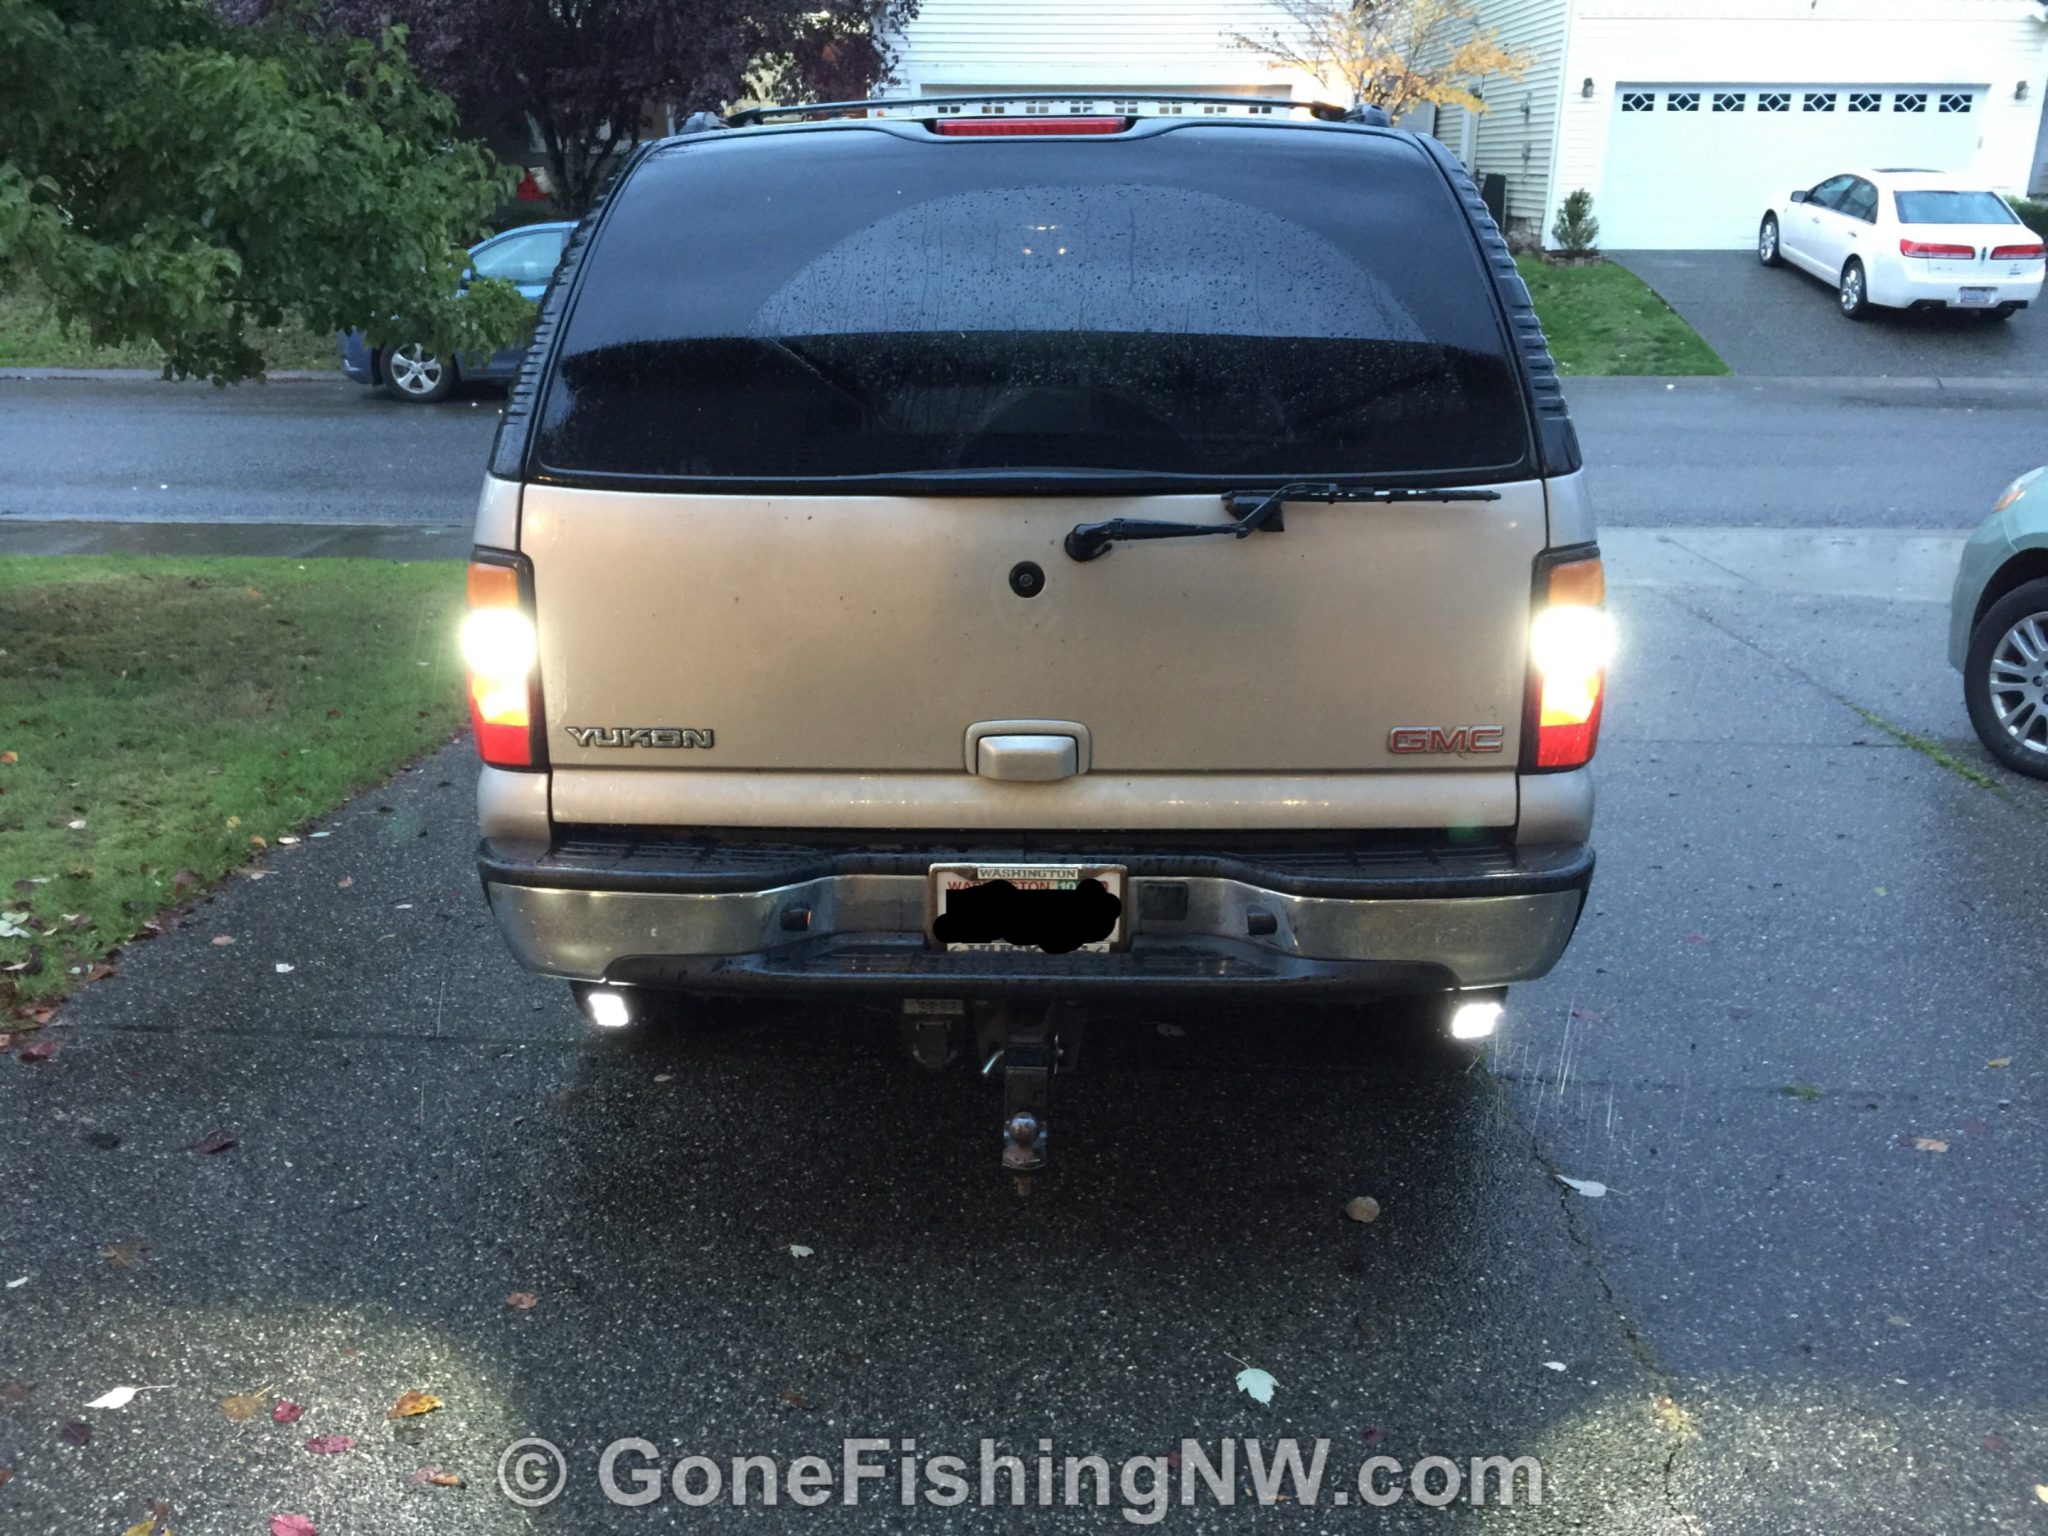
The difference was immediately obvious. The lights were much brighter, and the projector worked as advertised – lighting up whatever is behind the car.
Even if you aren’t interested in brighter lights for backing up boats, these are a big improvement for every time you backup in the dark. I’m planning on doing this for every vehicle I own.
Additional Backup Lights
Next I wanted to add more lights. These I wanted to angle down so they light up the ground – which the car’s backup lights don’t cover that well.
There are several different models you can find to buy. I went with a pair of these LED lights.
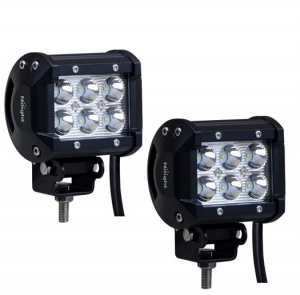
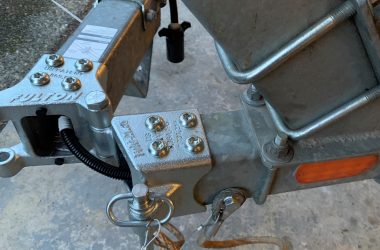
Mounting them was pretty easy. I looked under the back of the car and found a good place to put them. There was a flat piece of metal as part of the frame which had enough room for the light and the bolt. It also had enough room to work the tools – which is very important too.
I drilled a pilot hole in the metal, and then followed through a larger bit so the bolt would fit. Some work with a wrench and ratchet and the lights were securely fastened. Make sure to use a lock nut or washer, so it doesn’t eventually vibrate loose.
Next I got a length of marine duplex wire. I used 14 AWG because I had some from a different project. However 18 AWG would probably have been a better choice. I used marine wire because it is well suited for running through the spaces in the car frame, and can withstand the vibration and wet environment that happens under the car. I needed about 3 feet total given where I mounted the lights.
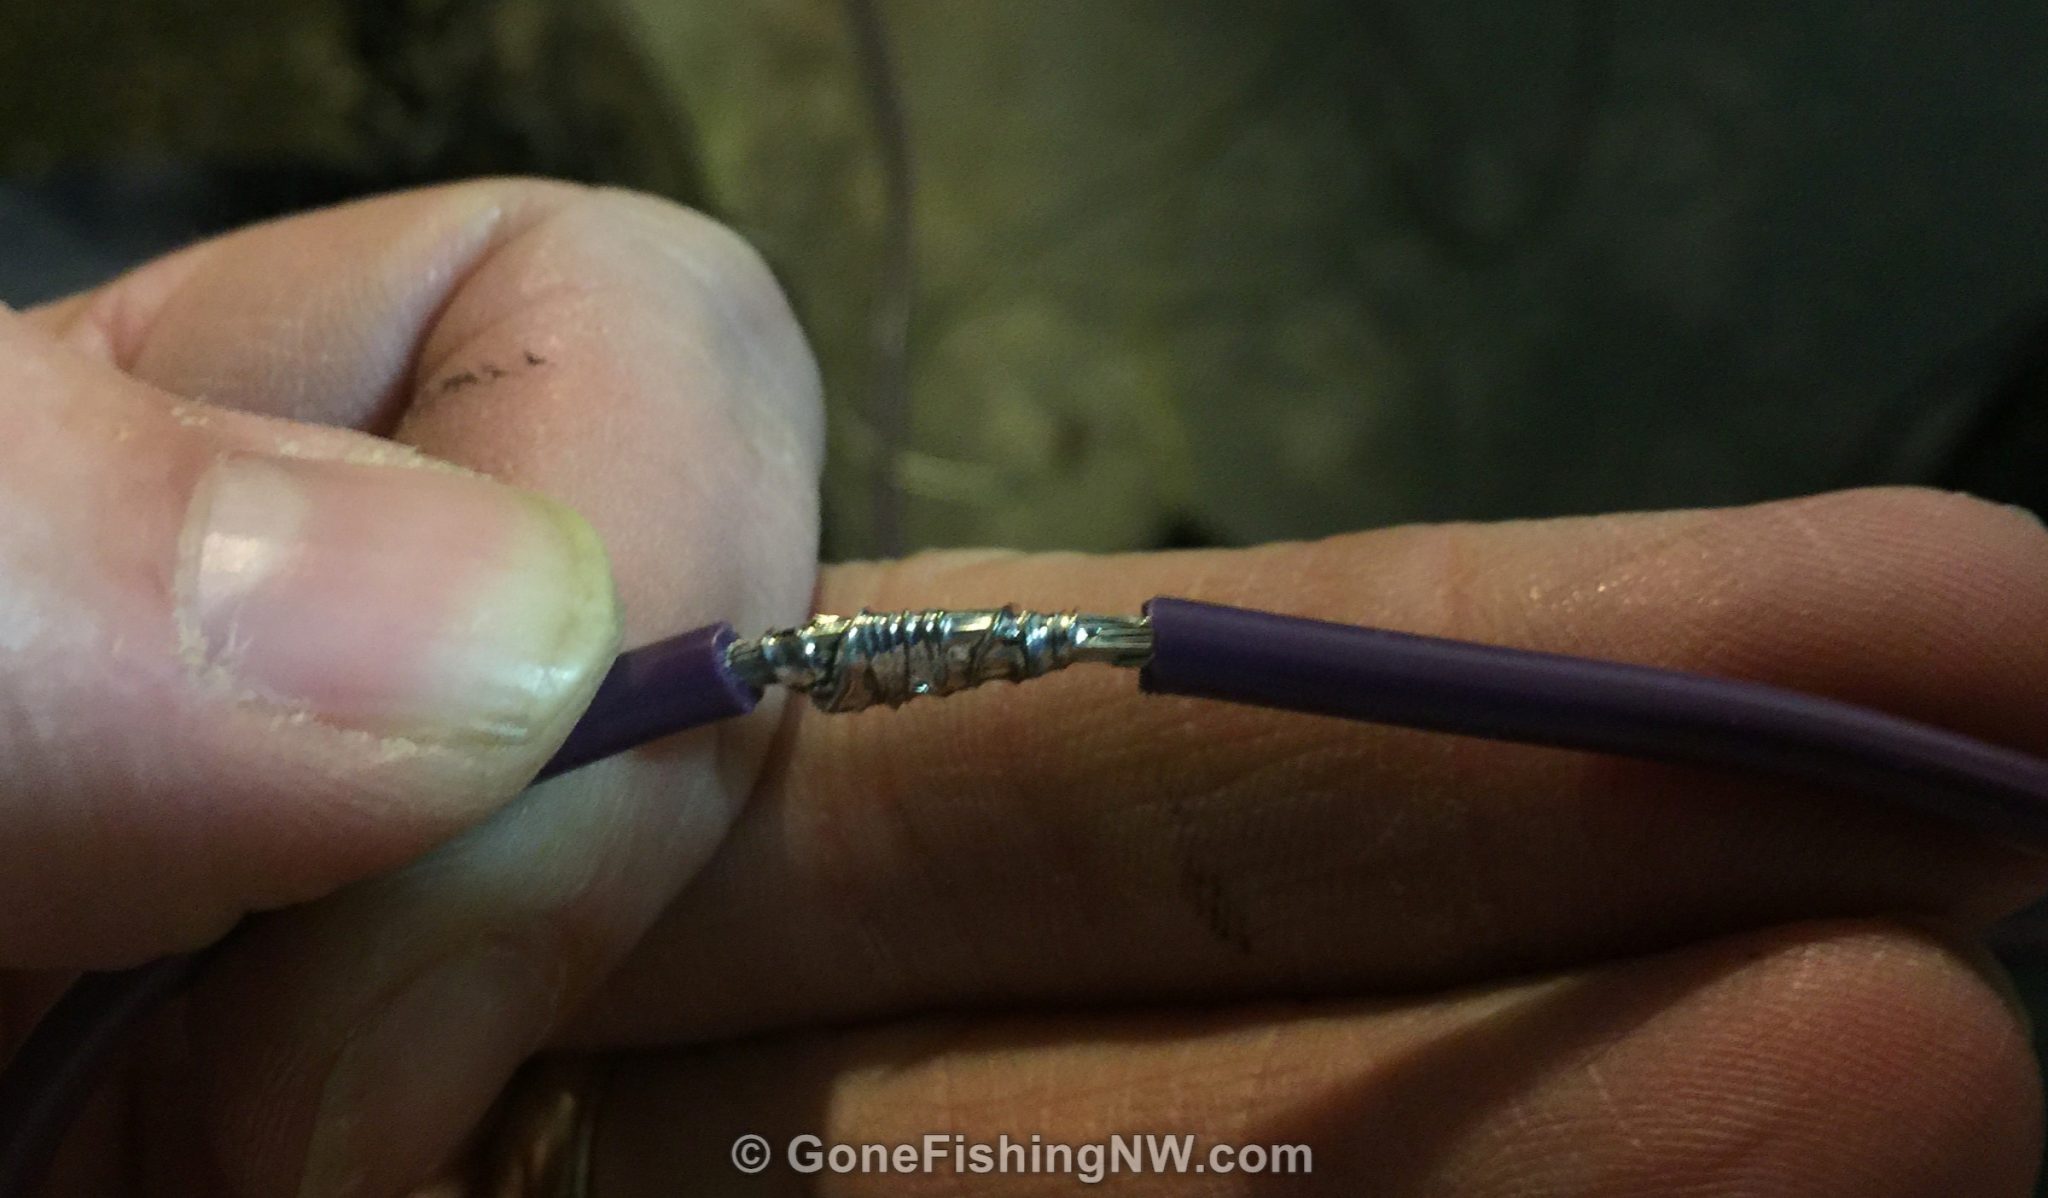
I then soldered one end of the wire to the wire coming out of the new lights. Afterwards the connections were wrapped tight with electrical tape. Doing the connections that way make them very secure, with a good electrical connection, and waterproof.
If you don’t have experience soldering then a good second choice is to use a heat shrink butt connector. Simply insert wire in each end, and crimp down nice and tight. Then apply some heat and the tubing will contract around the wire insulation and make a waterproof seal.
I then opened up the rear light section on the car. Once that was open I was able to snake the wire up into that compartment.
Next I attached it to the wires leading to the built in backup light. I made a 3 way splice and soldered the connection. Like before I wrapped the connection tight with electrical tape to make it waterproof.
As an alternative I suggest using a mid line tap connector. This connector lets you run 2 wires side by side, and then bridge across them. The wires don’t have to be the same size, but need to be similar in size. I suggest wrapping the finished connection in electrical tape.
A quick test, and then I closed up the rear light section. The other side went the same way.

The results were all that I hoped for. Lots of illumination down low and on the ground.
Electrical Details
I’m sure some people are wondering if this is going to blow a fuse, or melt a wire. Well it isn’t.
Based on what I could find the original backup bulb used 27 watts.
The new LED backup bulb uses 6.5 watts and the new light assembly uses 18 watts. That is a total of 24.5 watts.
So we went from 27 watts to 24.5 watts per side. Double that and we have 54 watts to 49 watts. Since it now uses less power we shouldn’t have any problem with blowing fuses or melting wires.
That is one of the great things about switching from incandescent to LEDs.
Talk Back
What do you think of this project? Have you done anything similar, if so how well did it turn out?