Several years ago I was telling a friend how I had just started tying flies. He said “That’s cool. When are you going to start building fishing rods?” I said laughed and said “Never!” Turns out my friend knew me better than I know myself, as I’m now building fishing rods.
There are several reasons to build your own rod rather than stick to owning commercially manufactured ones. For me the most important reason is that you can make it exactly how you want it. For others it is having rods which have decorative rod handles and guide wraps. Rod building also gives you skills to repair rods. But it is also a fun fishing activity to do – especially during those times of year you might not fish much.
In this article I’ll cover the basics to building a rod. You’ll want to consult a book or other online resources as well – especially for advanced techniques.
Gathering Supplies
You will need some supplies and tools to build a rod. Before getting online and buying everything, check if your fishing friends already have some of the tools needed. It is much cheaper to borrow for a few weeks instead of buying everything. Local fishing clubs may also have tools and equipment available for their membership to use.
Tools and Supplies Needed
Several tools and supplies are needed. Most are things you might already have on hand:
- Razor blades
- Masking Tape
- Mineral Spirits
- Paper Towels
- China Marker
- Tape Measure
- Handle Reamer
- Disposable Mixing Cups
- Mixing Sticks
- Small Paint Brushes
- 5 minute Epoxy
- Thread Epoxy
- Hot Glue Stick
- Rod Wrapping/Drying Jig
Lucky for us the manufacturers of rod making equipment know that most of us just need enough supplies for a couple rods and have produced kits targeted at that. For example, there is an epoxy kit that comes with both kinds of epoxy, mixing equipment and brushes.
There are also starting kits which include a rod wrapping jig.
Undoubtedly the most expensive piece of equipment is the rod wrapping and drying jig. There are some alternatives to the commercial versions.
For wrapping the rod you can use a fly tying bobbin and just hold the rod in your spare hand. Quick hint – a bobbin threader is a very handy tool.
You can also make a wrapping jig out of carboard or wood.
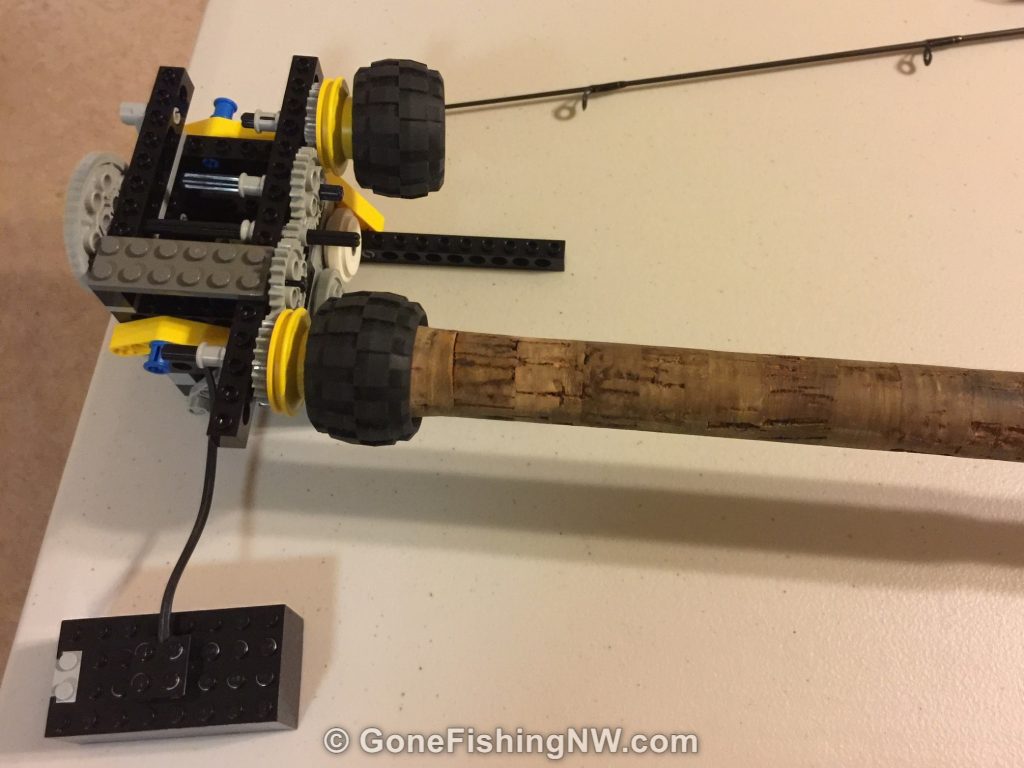
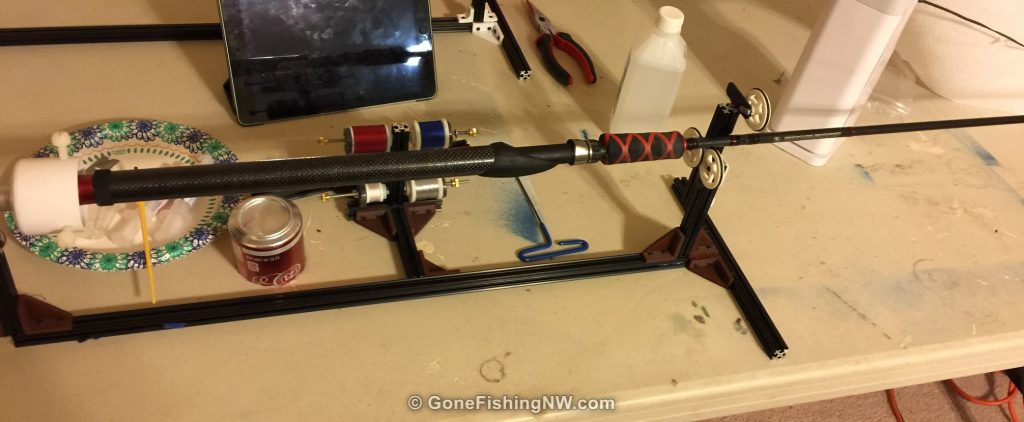
The hard part is finding something that will rotate the rod while the wrap epoxy sets. For my first rod I used one I made out of Legos. For my other rods I borrowed a drying rig that a friend had made with Open Beam and 3D printed parts. There is a variety of DIY rod drying jigs you can read about online.
Rod Parts
Now you need all the parts which make up the rod. I find it is worth some time looking in catalogs and such to learn what is available for guides, handles, reel seats and such – especially if you want something that is going to stand out from commercially produced rods. You will need to decide what type of rod you want to make – casting, spinning or fly and basic parameters like length, power and action.
For most rods the parts you will need are:
- Rod Blank
- Handle Grips – Rear and Fore
- Butt Cap
- Winding Check
- Reel Seat
- Guides
- Wrapping Thread
There are several stores online where you can pick out everything you need. My favorite is MudHole.com. Not only does it have a good selection, but they also have lots of resources to learn how to master the rod building craft. For your first rod you should consider one of the kits they sell which come with all the parts you need for the rod.
All About the Blank
The blank is a very important part of the rod, as it is the actual rod. Blanks come in a variety of length, powers and actions.
The power is expressed in terms such as Light (L), Medium (M), and Heavy (H). This should match the type and size of fish you will be targeting – for example an L for trout, and H for king salmon. Unfortunately, the power rating has no industry standards – which mean one brand’s Medium may be another brand’s Medium Light. I find the suggested line and lure weights to be a better indicator of actual power.
A rod’s action describes how it bends. The action descriptions range from Extra Fast to Slow. Slow action rods bend quite a bit before having a stiff butt section, and fast rods only bend right at the tip. You should choose the action based on how what techniques you plan to fish with it. Techniques like twitching jigs tend to work well with fast action rods. Slow action rods work well in downriggers and side drifting.
Rod Handle Options
Cork is a good default choice. These handles come in various lengths and shapes, like tapered or with various ridges and flares. The downside of cork is that it can get nicked and beat up – especially when used a lot in rod holders.
EVA is a foam like material which is quite durable. Like cork it comes in a variety of lengths and shapes. This isn’t my favorite material to hold, so I stay away from it – but that is just personal preference. There is nothing wrong with an EVA handle.
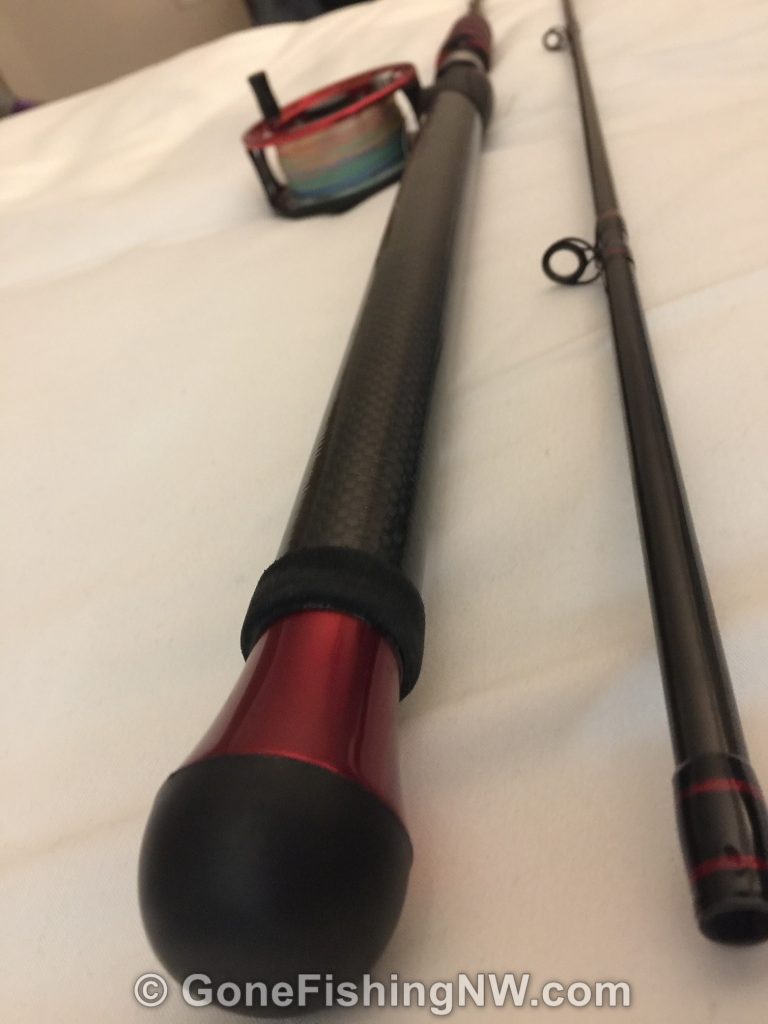
Carbon fiber handles are my favorite for downrigger rods, since they spend a lot of time going in and out of rod holders. These handles slide through the rod holder well and will not get nicked or scratched up.
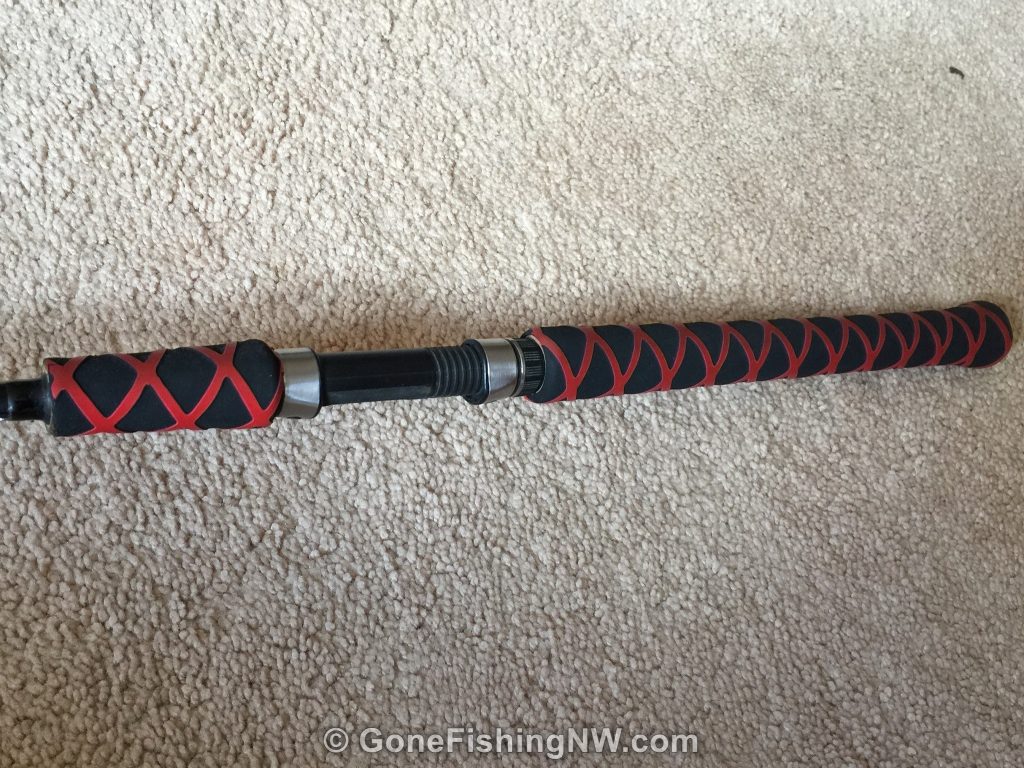
There are also handle wraps and shrink wrap tubing that can be used over cork or EVA to provide a custom look and colors. These products also work well for repairing nicked up handles.
When picking out rod handle pieces I suggest not only considering how you will use it – but also measuring the handles on your favorite rods to get an idea how long you want the fore and rear grips to be.
Don’t forget a butt cap for the end of the rod. This can be a simple cap, or something more decorative. There are even weighted caps if you are looking to achieve a certain balance with your rod.
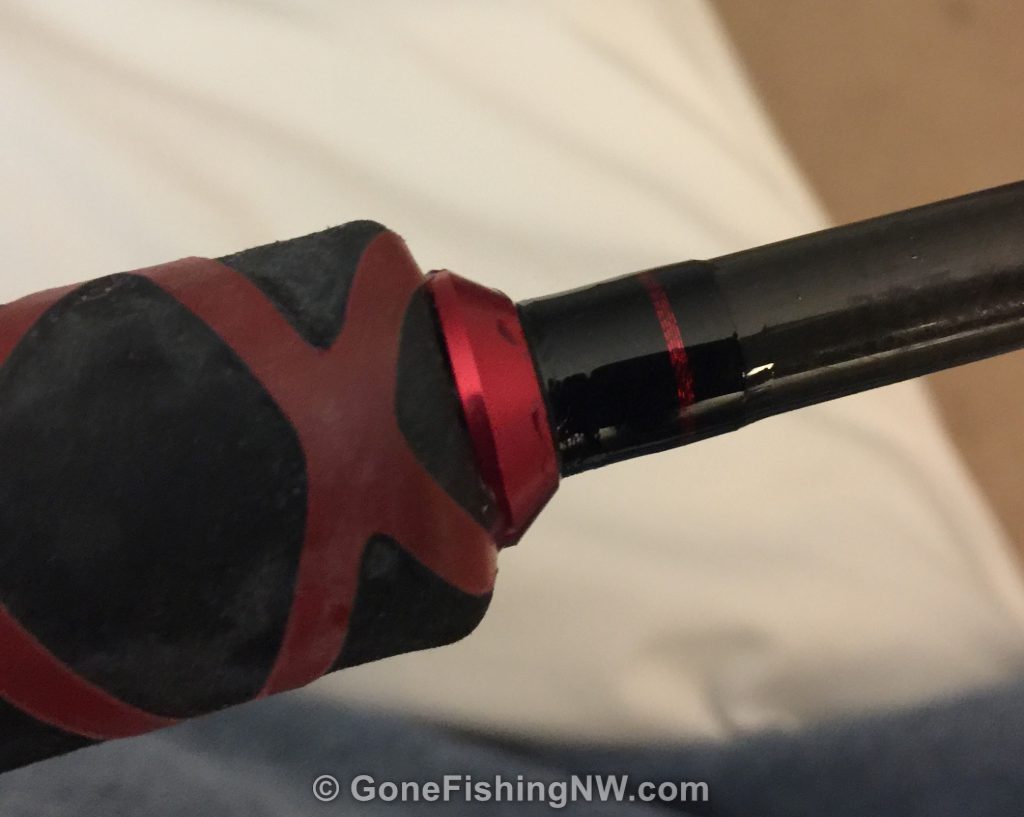
For where the fore grip ends you’ll want to have a winding check. A winding check will help make the end of the handle look good, and provide a nice transition to thread wraps. A micrometer can determine the width of the blank, so you can get the right size.
Reel Seats
The reel seat is the part the holds the reel. There are different types for the different type of reels – spinning, casting and fly. Most are the simple ones you are no doubt familiar with on your commercially produced rods. However more fancy ones exist with locking nuts, different colors and designs.
Guide Possibilities
And of course we have the line guides. These also match the type of rod – spinning, casting or fly. Usually the rod blank manufacture has a recommended guide size and spacing. You should stick with that recommendation, until you get comfortable customizing rods.
Most guides come in just a few colors. Go with what you think looks good.
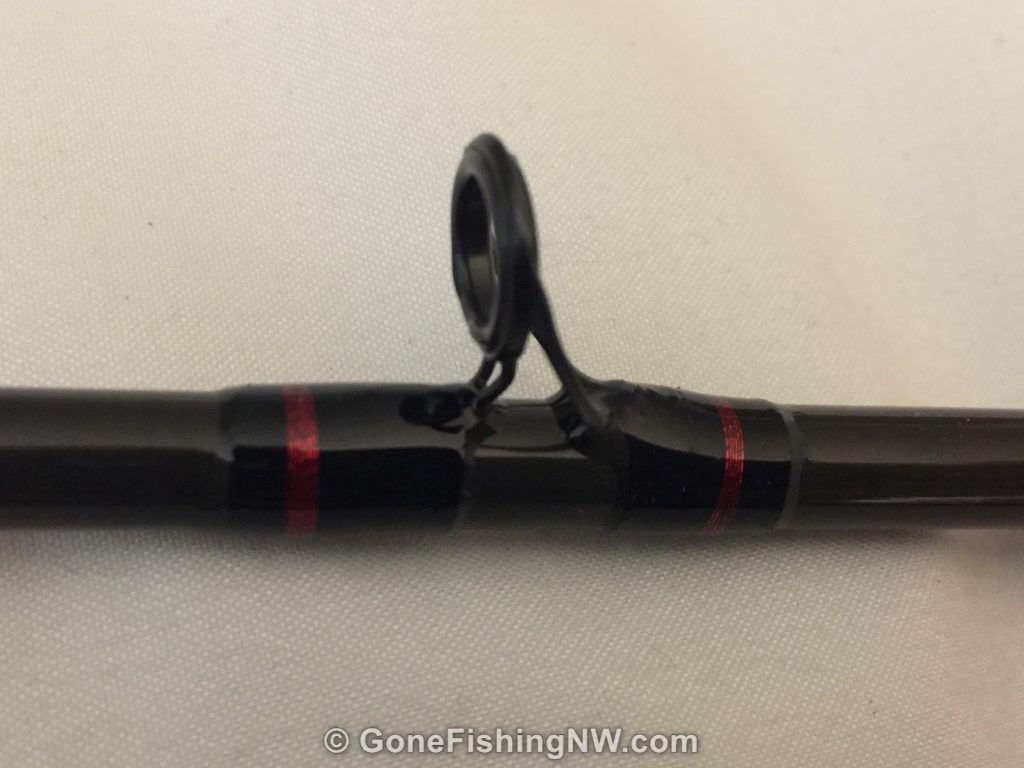
One thing to note is that two footed guides take twice as much time to wrap. Two footed guides will also stiffen the rod more than single footed guides, so if you are going for maximum flex – like for a noodle rod – then single footed guides would be best.
Wrapping Thread
The wrapping thread is another opportunity to add some color to your rod. However, be aware that colors similar to the rod blank will help hide imperfections – which may be helpful for your first rod.
The thread comes in different sizes. A is the smallest and D is the largest. For light rods with small guides size A is best. For a surf rod with large guide size D should be preferred. A 100 yard spool is more than enough for many rods.
I recommend getting thread which has been pre-treated with a color preserver, like ProWrap ColorFast. That will save you a step later.
Metallic thread is usually use for accents in the wraps. Just a few wraps can really make the rod pop.
Lets Build
Now that you have all the equipment, supplies and parts all picked out and assembled it is time to start the build. The order of assembly goes like this:
- Find the spine
- Install handle and reel seat
- Place and wrap guides
- Apply and dry epoxy
Lets walk through each step in detail.
Find the Spine
Each rod blank has a natural place where it prefers to bend. This is called the spine. By installing the reel seat and guides oriented on the spine, you will create a rod which will feel much nicer to use.
To find the spine put the butt end of the blank on the table, then while holding it down left the tip up towards the ceiling. Increase the pressure, until the rod has a nice bend in it. Then start turning the rod along its axis. You’ll notice a certain spot where the rod seems to “snap” as you rotate. That is the spine.
It is not unusual for there to be more than one of these spots. Pick whichever seems dominant.
Mark the spine with the china marker. I like marking the side of the bend the guides go on. For a spinning or fly rod that is the inside of the bend. For a casting rod it is the outside of the bend.
Repeat this process for each piece of the blank.
Dry Fit Handle And Reel Seat
We first want to dry fit everything before we epoxy it into place. For simplicity I’ll assume you are using cork handles.
Take the rear handle and slide it down the blank from the narrow end towards the thick end. Likely it will only slide about half way down before it gets tight. Slide it off, and then get your reamer and make the inside of the handle bigger.
Check the fit often, since you don’t want to make the hole too big. The hit should be a snug, but not tight. Do not force the handle into position. If it doesn’t fit then ream the hole bigger.
As you work on this, make sure to account for whatever room you need at the bottom of the blank for the butt cap.
With the rear handle in place, slide down the reel seat. It will be quite loose right now. We’ll fix that in the next step. Mark the top of the reel seat with a china marker.
Using that mark repeat the ream-and-fit process until the bottom of the fore handle fits into its spot.
Securing Handle and Reel Seat
We start this step by mixing the 5 minute epoxy. Use a wide stirring stick, since that will be handy when applying the epoxy to the rod. I suggest wearing gloves while working with epoxy.
Using the stir stick transfer a good amount of epoxy to the blank, covering the area where rear handle will go. Then slide the rear handle down into place. It can be helpful to twist the handle a bit as you push it down.
As you do that there you’ll notice quite a bit of epoxy being pushed down the rod. That is normal. Just occasionally use the stir stick to transfer that excess pack back to your mixing bowl. Once the rear seat is in place, add a bit of epoxy on the end and install the butt cap. Cleanup any excess with the paper towels and mineral spirits.
Next built up an arbor where the reel seat goes. You do this by wrapping masking tape around the rod until it reaches the desired thickness. You’ll want three arbors for the reel seat – one near each end and one in the middle. Like the handles you’ll want the reel seat to be snug, but not tight.
On the reel seat tighten the screw down, and put masking tape on the ends. This will keep epoxy off the reel seat.
Smear epoxy on and around the arbors, then slide on the reel seat. Remember to align the reel seat with the spine.
Installing the fore handle grip works just the same as the rear grip. Epoxy the blank, slide the handle on and cleanup the excess epoxy.
Lastly slide on the winding check, with just a little epoxy to hold it into place.
Make any last adjustments, remove the tape from the reel seat and cleanup any excess epoxy with the mineral spirits. If you can, let it dry overnight before starting the next step.
Placing Guides
Start by taking the guide spacing recommendations from the manufacturer and marking the spots with the china marker.
Install the tip top guide by cutting off a small bit of the hot glue stick and put it in the tip top guide. Melt it over a small flame or heat gun. Then slide it onto the rod and align it with the spine.
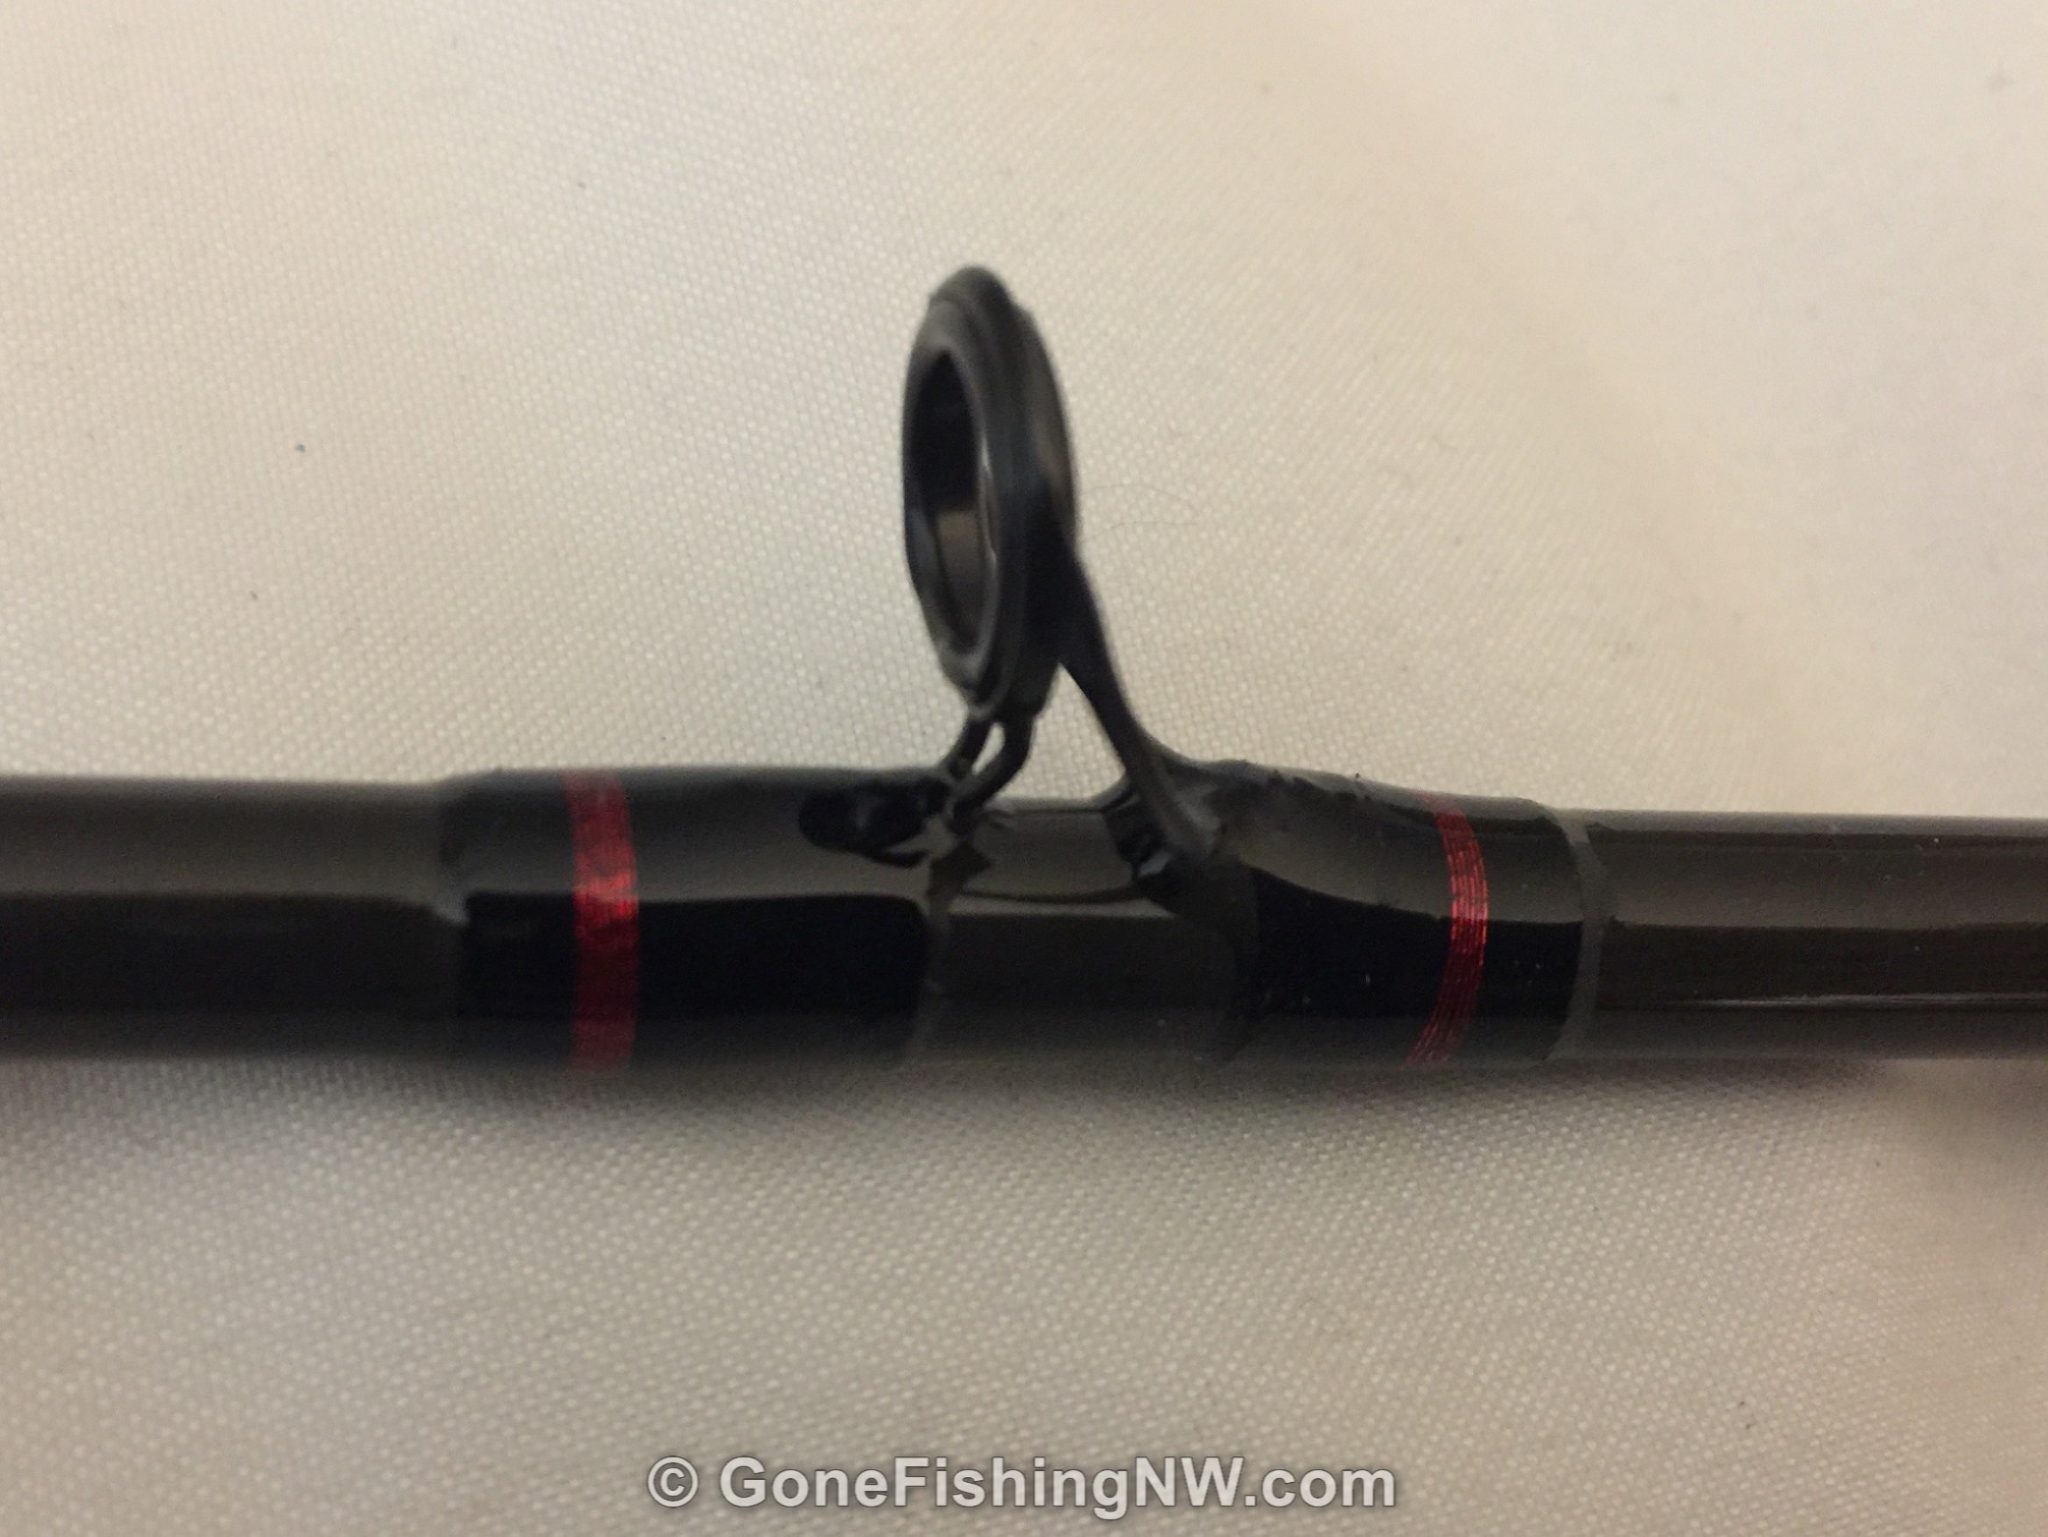
Next prepare your footed guides. Make sure the feet of the guide rest level on the rod. Use sandpaper to cleanup any burrs and give the thread a smooth surface to wind up on.
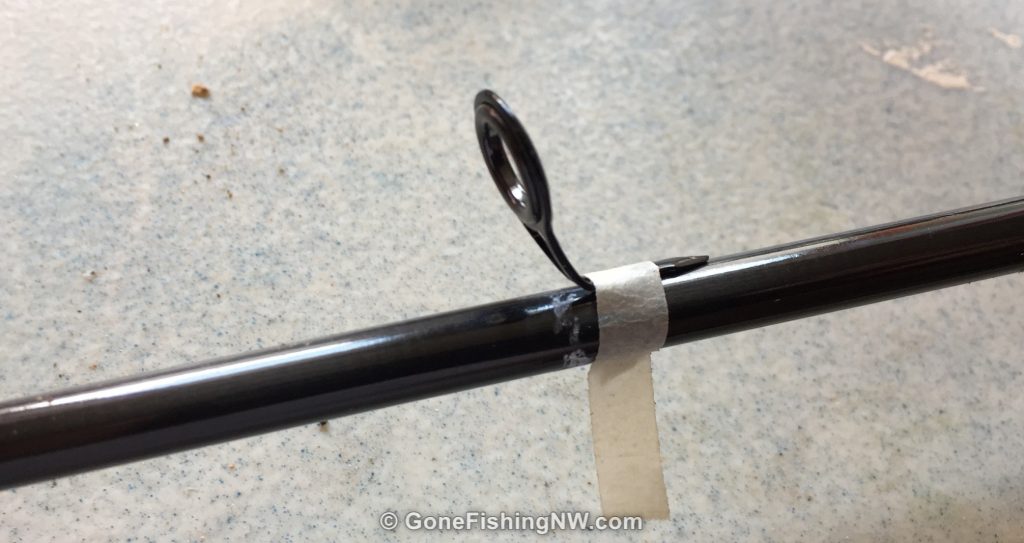
Secure the guides into place with masking tape. The guides should be roughly aligned with the spine.
Test the guide placement by running a line through the guides and pulling it tight to bend the rod. The rod should have a smooth bend, and the line should stay off the blank. Reposition the guides if needed.
If you are satisfied with the guide positioning, secure them for wrapping. You could just leave them in place with the masking tape. My preference is to remove the tape and use a very small dap of the hot glue.
Wrapping Guides
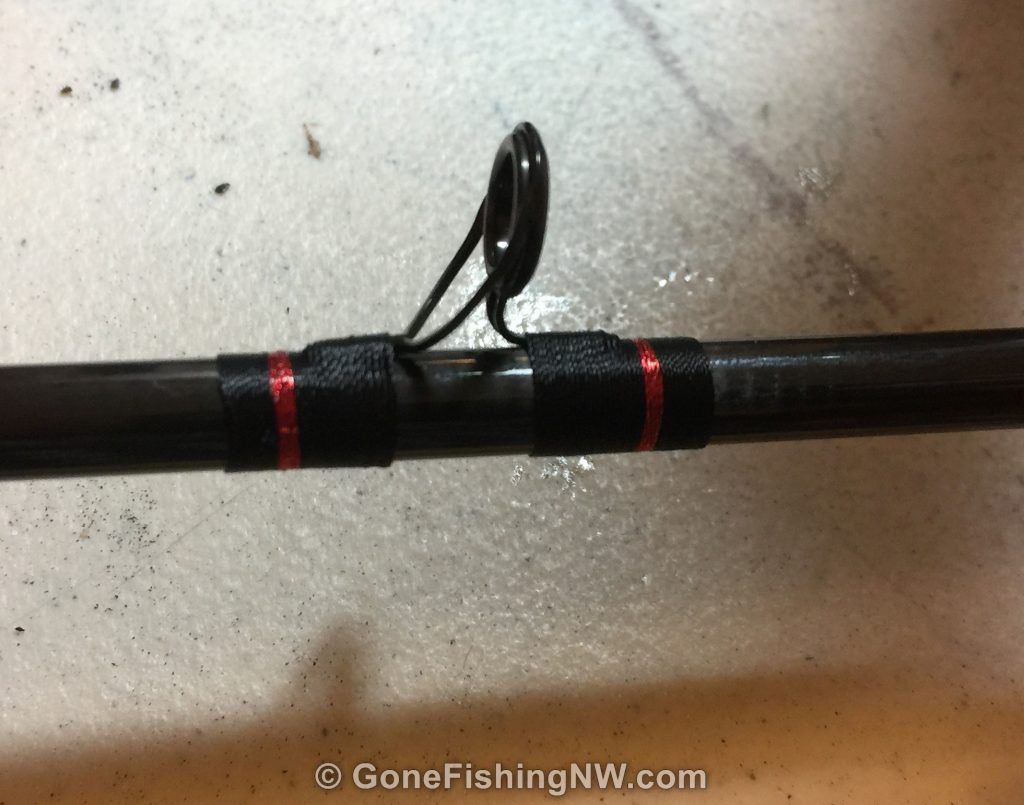
You now wrap the feet with thread to really secure them. I’ll assume single footed guides for these instructions. I’ll also assume the blank is oriented in the wrapper with the butt section to the left and tip to the right. That means the guide’s foot points to the left.
Place your thread spool in it’s holder and adjust the tension so wraps will stay tight, but you can still pull out thread as you wrap.
Using a piece of tape secure the thread to the blank to the right of the guide. Turn the rod a couple of times while pulling the thread to the left. You should get the thread to where you want the wraps to start. This is typically about a quarter inch from the end of the guide foot.
Next slowly start wrapping the line, laying down each consecutive wrap to the right of the previous wrap. Keep the wraps tight to each other. I occasionally use the nail of my finger to push the line together.
After about 6 or 8 wraps that “starter” thread should be well secured underneath the wraps. Remove the tape and cut the tag end close to the wraps with a razor blade.
Continue wrapping, marching the wraps over the foot of the guide.
When you are about 6 wraps from being done to take a 6 inch length of braided fishing line and form a loop with it. Tape this loop to the rod. The loop end should be to the right and extend past the guide. The two tag ends should extend to the left of the guide.
Continue the wrap, but this time you’ll be wrapping over the loop end of the braid, as well as the rod and foot. When you’ve reached the end of your wrapping, cut the thread – leaving 3 or 4 inches for the tag end. Push the tag end through the loop. Now grab the two loose ends of that braided line and slowly pull. The loop will get smaller and smaller, and eventually go under the wraps – pulling your wrap tag end with it.
Once the loop is pulled completely through cut the tag end of the thread as close as possible to the wrap.
Using your finger nail, or a tool push the wraps together so there isn’t any gaps. If the cut end of the wrap thread is “fuzzy” then you can burn that off with a match or lighter. Beware if you get the flame too close you may burn through the wraps.
Repeat this process for each guide – working one by one down the blank.
Finishing Touches
If you are installing a hook keeper then position it where you want, and wrap its feet similar to how you did the guides.
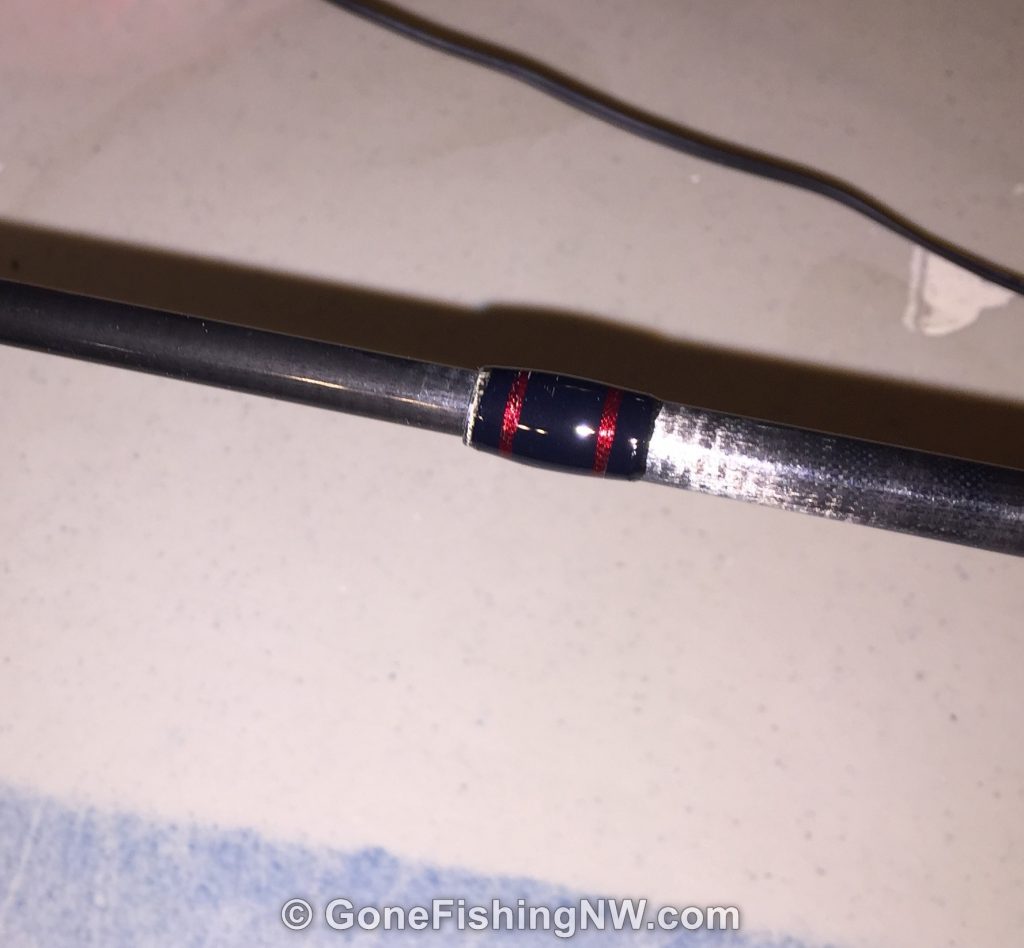
If your blank has multiple sections then it is customary to wrap the ferrule (which is where the rod section joins). One section will have the male ferrule and the other the female ferrule. If you can’t figure out which part is which, then maybe you should have a talk with your parents. This wrap goes around the female end, and is typically about an inch long, and should start about 1/8 of an inch from the end.
The last non-guide wrap to do is near the fore grip handle, right up against the winding check. This wrap is typically about half an inch long.
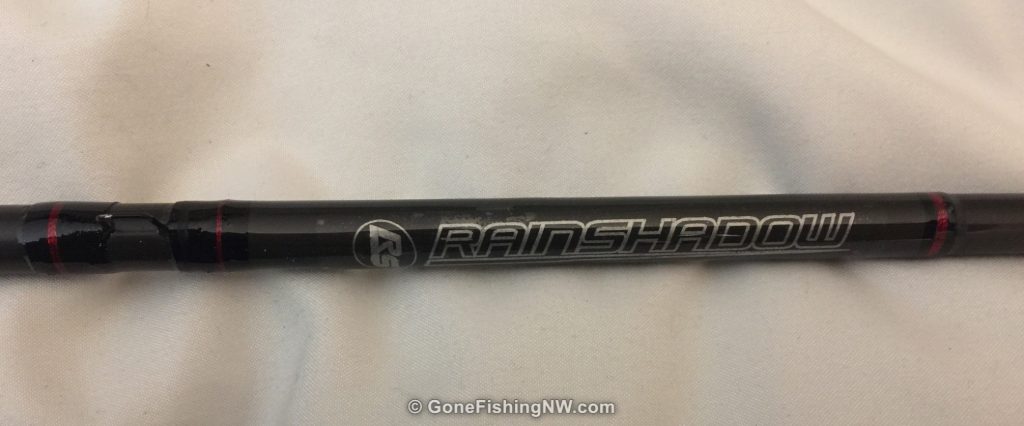
Many people like having a decal on their rod just above the fore handle. Often the rod blank will come with a sticker you can apply. Other premade stickers are available at sites like mudhole.com or you can get a custom sticker made.
Epoxy Coat
The last major step which is securing those wraps with epoxy.
Make sure all the guides are properly aligned with the spine and each other. For the butt section the guides should be inline with the reel seat. For the top section they should all line up with each other. I usually do this by eye ball, looking with a single eye down the length of the rod.
To adjust a guide, you’ll need to grab it securely and gently push it one way or the other. Be careful not to loosen your wraps as you do that. If you used the hot glue method to secure the guide, then you may need to twist it a little to break that bond at first – which is why we use the smallest of dabs to secure it in the first place.
Once you are happy with everything it is time to put the rod in the rod jig. Go ahead and start the rod turning.
Mix the thread wrap epoxy according to the the directions that came with it. As you mix it simply move the stir stick back and forth. Avoid motions which may introduce air bubbles into the epoxy.
Transfer the epoxy to a metal container. I prefer to take an empty soda can and turn it upside down and use the “bowl” at the bottom. Let it sit for a minute to give the air bubbles time to rise.
With the rod turning on the jig, start at one end of the rod. Dip the brush into the epoxy and then coat the thread wrap. It is best to start with a thin coat of epoxy. Get the wrap completely covered. At this point you just want the epoxy to get soaked into the wrap. It is the second coat of epoxy where we’ll get that “clear bubble” you are used to seeing on finished rods.
As you finish the first coat on each wrap, move down the rod to the next wrap. If you take your time working down the rod, then the you can immediately go back to the beginning and start on the second coat.
When doing the second coat you should see the epoxy staying on the surface of the threads. Add just enough epoxy to get that nice bubble finish. Like paint it is better to have several light coats instead of a single thick coat.
Don’t forget to coat the wrap around the ferrule, hook holder and any other wraps. If you installed any decals, then a light epoxy coat will help protect it.
Cleanup any stray epoxy with mineral spirits and paper towels.
Final Steps
The rod should remain on the jig to dry – rotating the entire time. Plan on the drying taking at least 24 hours, and depending on conditions up to 48 hours. You can ensure a good cure by maintaining a steady temperature.
Questions?
Catching a fish on a rod you built is quite the feeling. Building fishing rods is also a fun aspect of the hobby you can do when the weather is bad or your favorite fishing isn’t in season.
From this guide you should know enough to get started with rod building, and have a good basis for learning more advanced techniques. Sites like MudHole and YouTube have additional resources which can help you learn more.
Please share your experiences rod building, and any tips you find helpful. If you have any questions please ask them in the comments and I’ll give the best answer I can. Good luck and tight lines!

Comments are closed.