Recently I was heading back to the boat launch after a day of fishing on the river. We were on plane and going through a shallow riffle filled area of the river. Suddenly the boat shook, and the power output of the jet dropped significantly.
We managed to get out of the riffles, where we could catch our breath and assess what happened. From out vantage inside the boat we could detect any damage, and managed to get back on plane and to the launch – but the motor definitely had to work harder than usual.
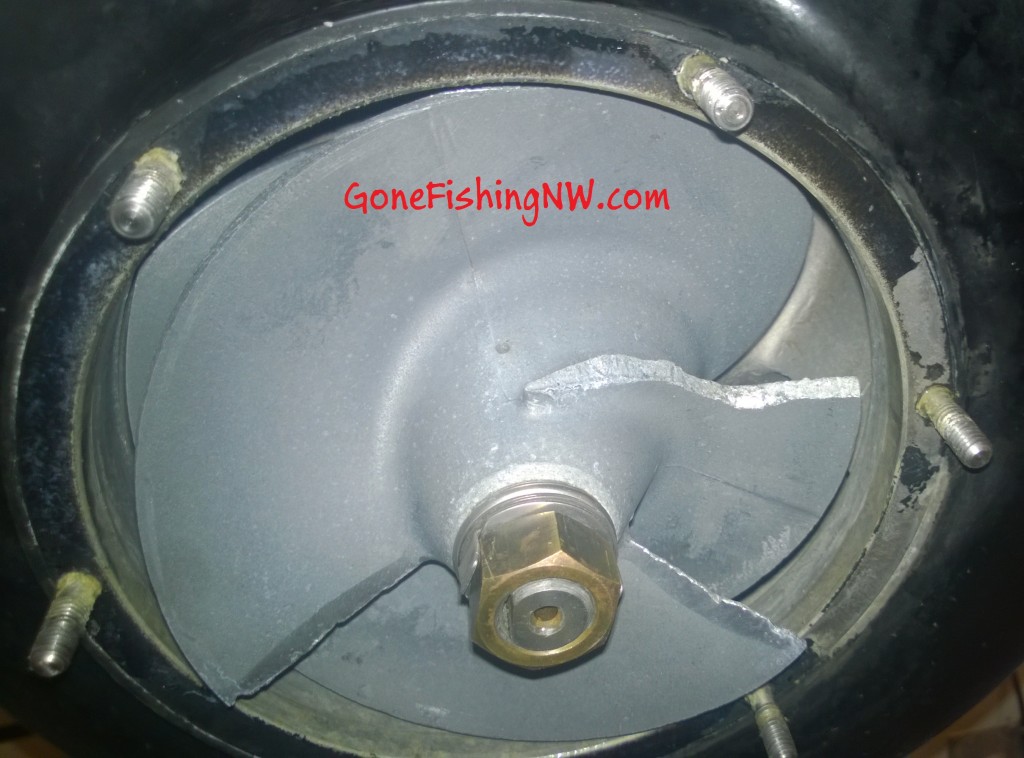
Once the boat was on the trailer we were able to see what happened – something had gotten up inside the jet intake and break one of the impeller blades, as well as ripping up the liner.
I contacted OutBoard Jets and got their recommendation for replacement parts and placed an order. A few days later the parts arrived and I was able to make the repairs.
There isn’t a lot of information about how to repair outboard jets online, so I’m sharing a few pictures and my experiences. It is not intended to be a thorough repair guide, and I’m not a mechanic, so follow this information at your risk.
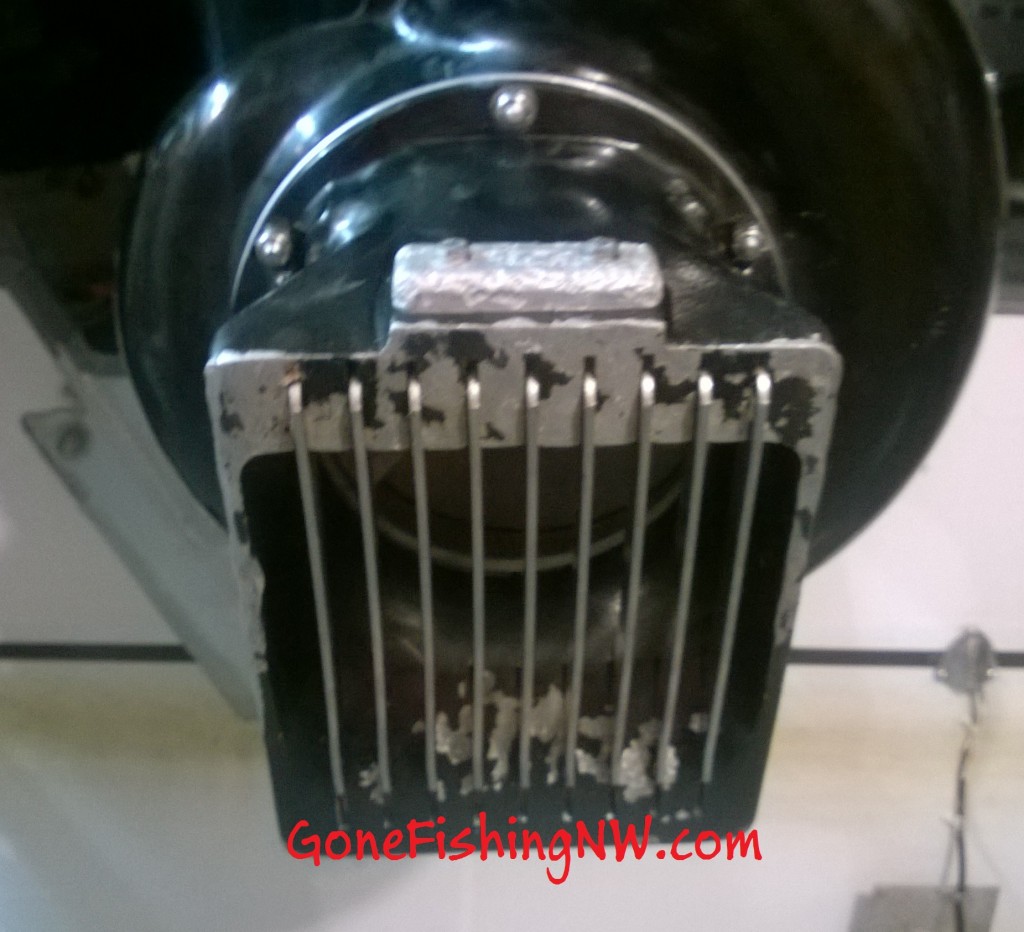
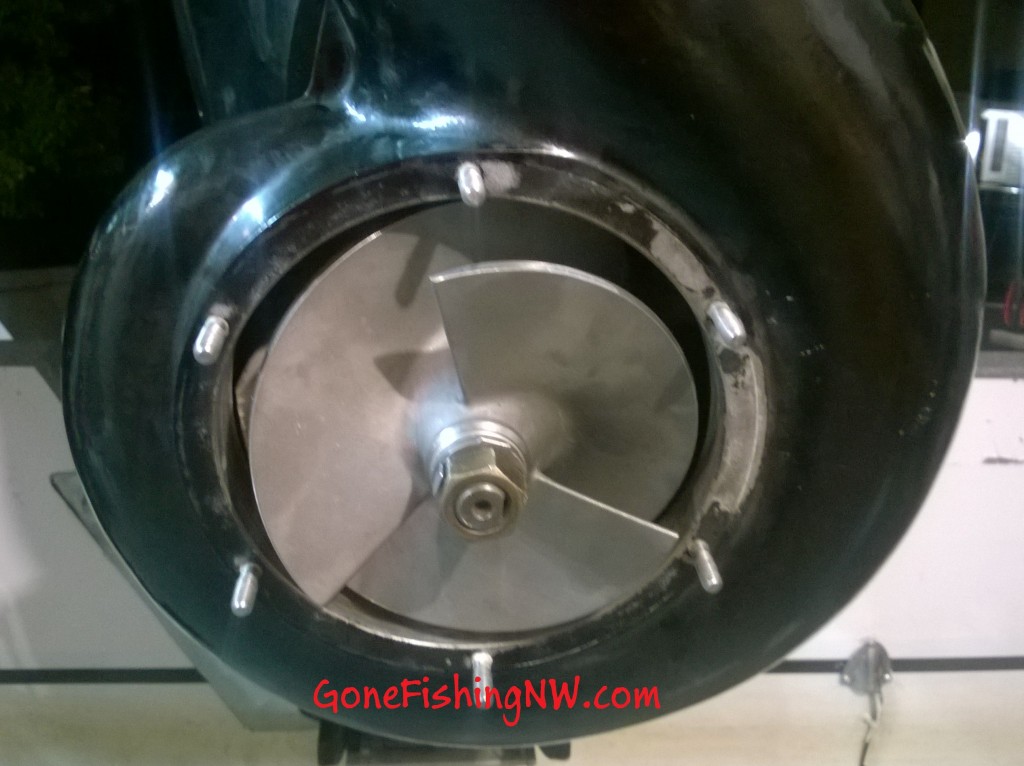
First I had to remove the shoe off the bottom of the jet. It is held onto the lower unit by 6 nuts. They were very accessible and easy to remove. You can see the top 3 in the following picture.
Once removed the shoe and impeller liner easily slide off.
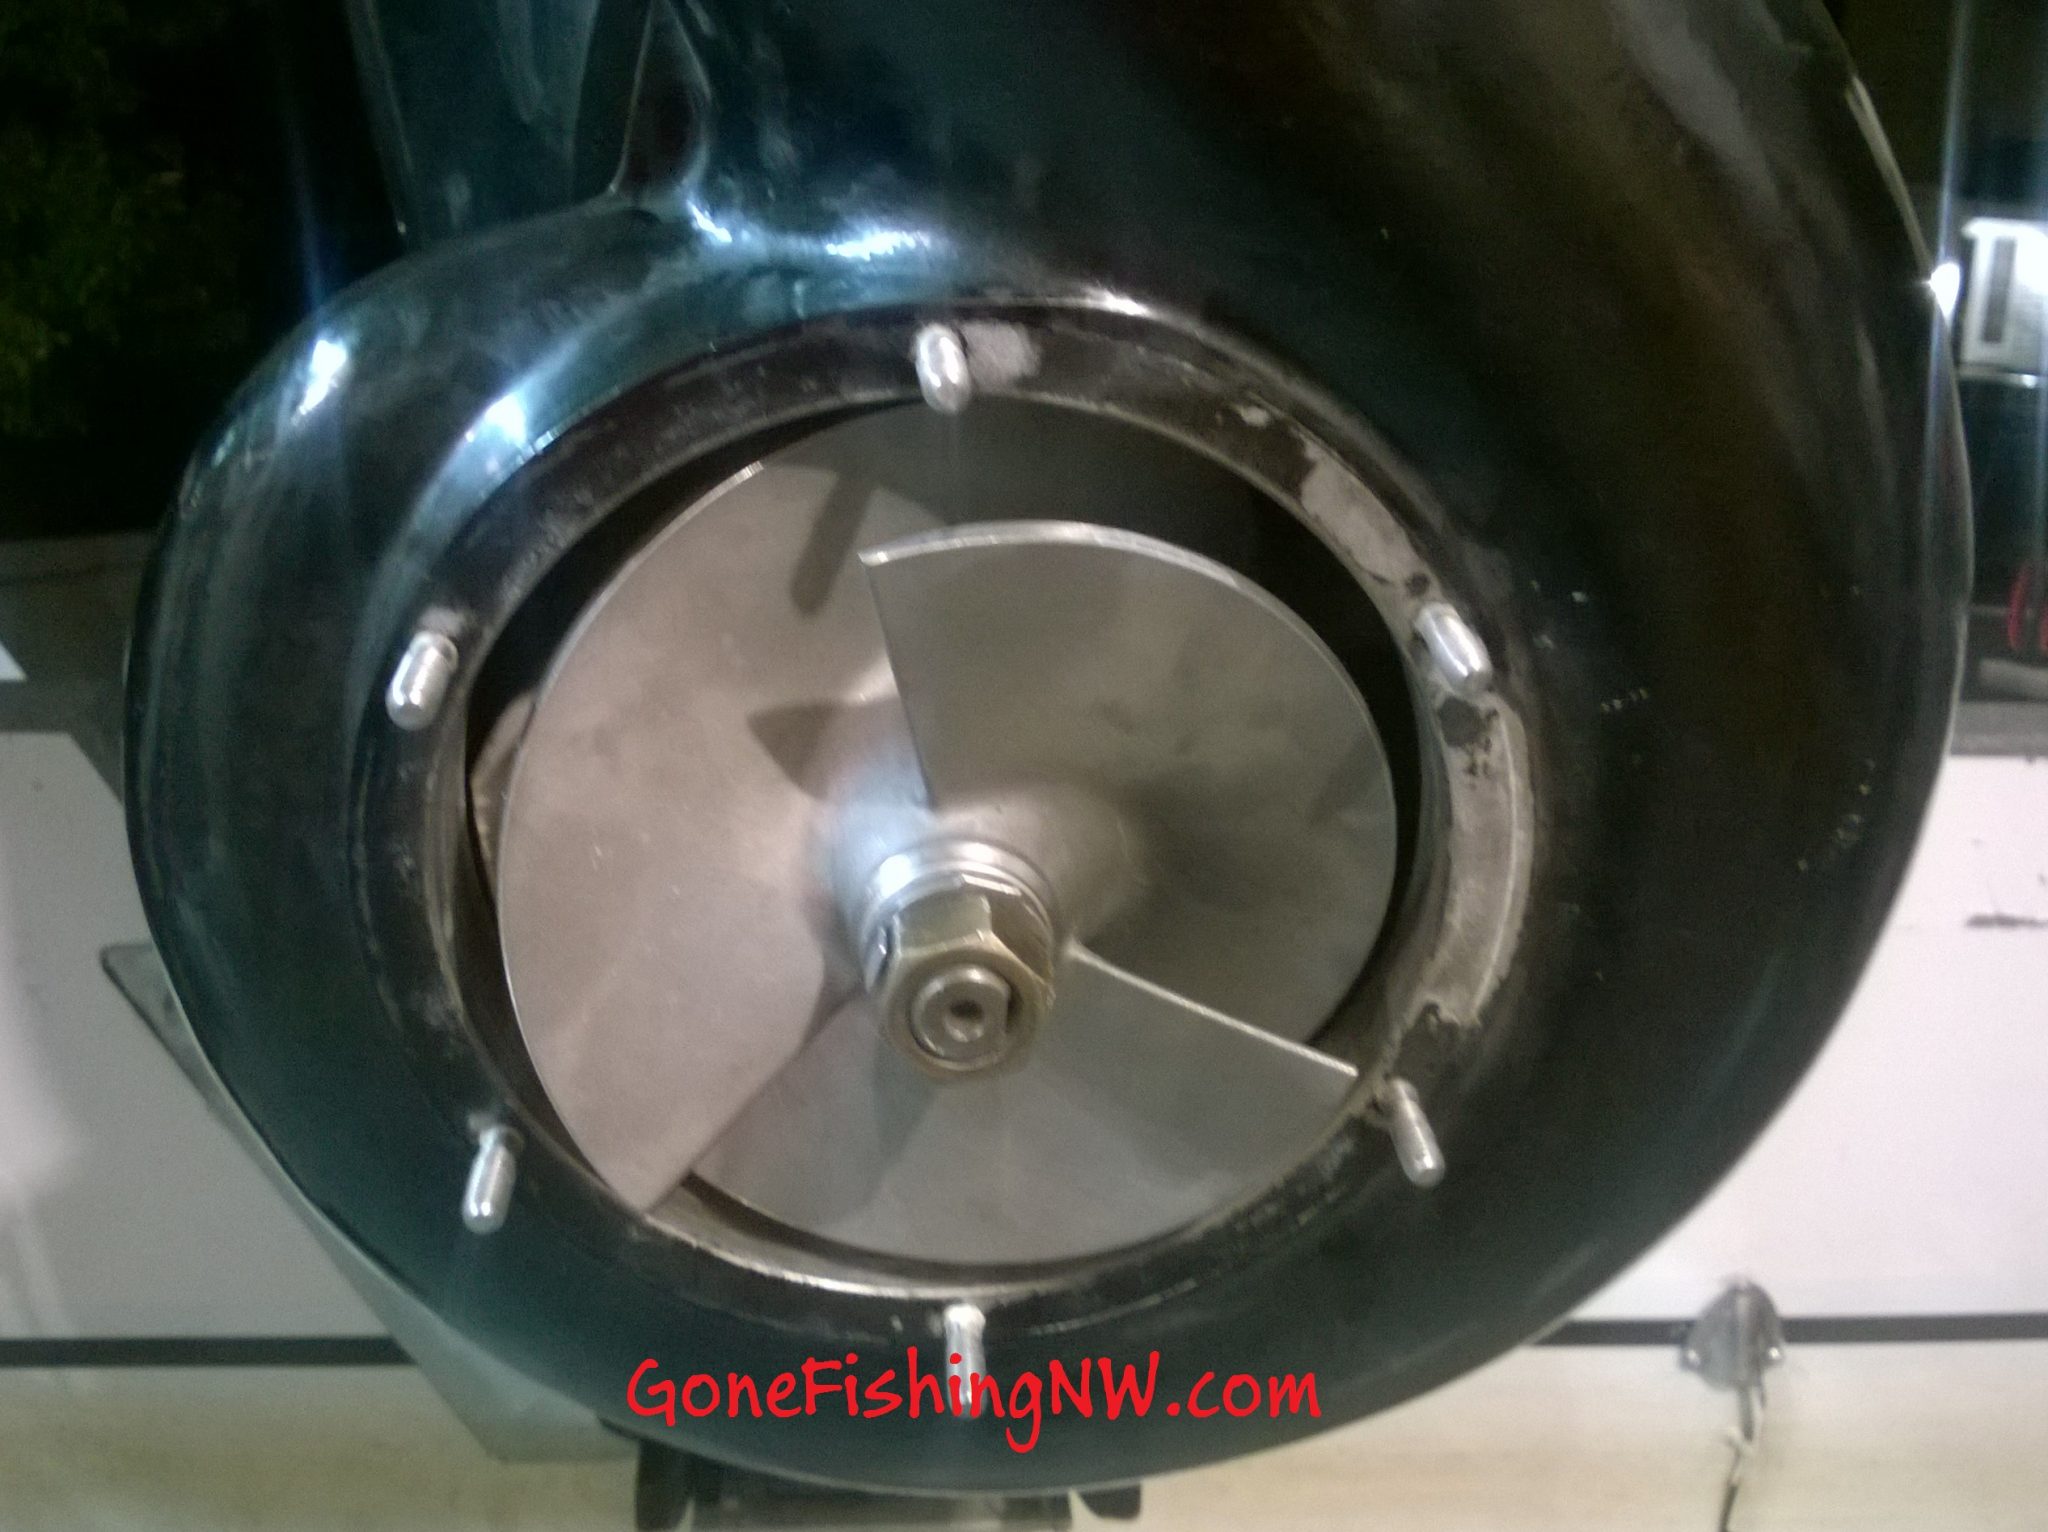
Next the damaged impeller is quite visible.
To remove the impeller starts by folding down the 2 flags that keep that big nut from spinning. Then you can get a pair of pliers on that nut and remove it.
The nut, flap washer and a bunch of other washers then slide off easily. The impeller then can slide off. It make take a little wiggling. There may be additional shim washers above the impeller.
Normally one would keep the 2 stacks separate, but since I was replacing everything the right distribution was going to change.
Not pictured is a plastic sleeve and shaft key that sit between the impeller and the shaft.
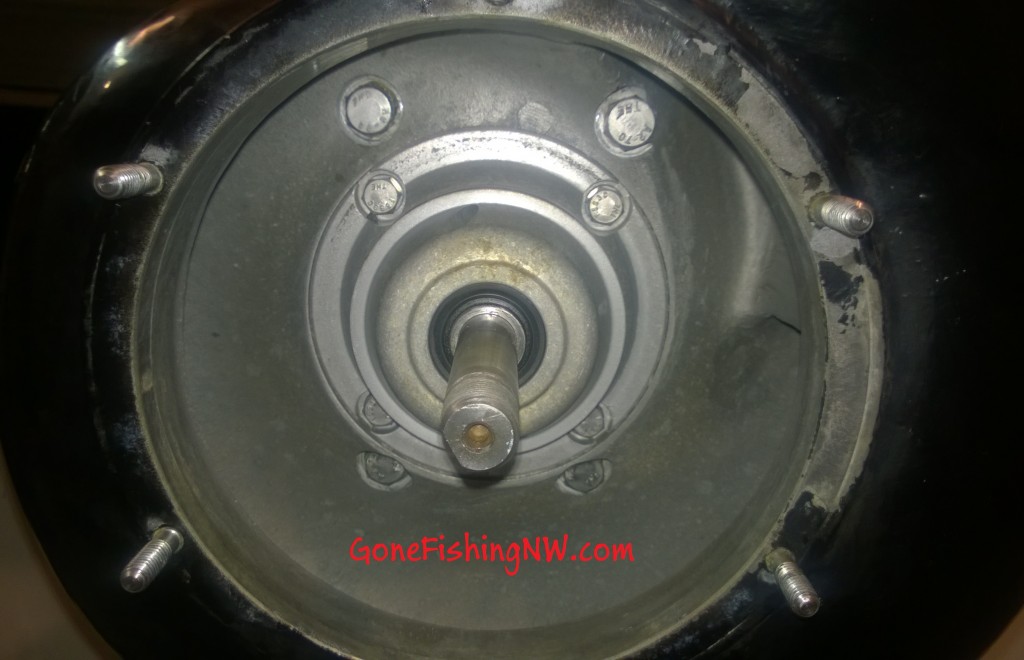
With the impeller removed, the lower unit looks like this.
Now I simply slid on the new impeller, and its corresponding sleeve and key. It takes a little work, but isn’t too hard to have it on.
Since I was installing a new impeller sleeve I put all those shim washers back on the bottom. Then the flap washer and nut.
I then put the new liner on those 6 bolts. (Sorry I didn’t get pictures of that). Using a feeler gauge I then measured the gap between the edge of the impeller blade and the liner. You want the gap to be 1/32 of an inch.
If the gap is too small, then take the impeller off and move some washers from the below the impeller to above. This will push the impeller farther down into the liner.
If the gap is too big, then take the impeller off and move some washers from above the impeller to below. This will rise the impeller a little out of the liner.
In my experience a new liner requires all the shims to be below the impeller. As the liner gets wear on it as you use the motor, then eventually you start moving shims to above the impeller. Most people should probably check this gap once or twice a year.
With the washers set right, I folded the flaps back up to hold that nut. Then reattached the liner and shoe.
And there you go – all done. The entire job takes about a half hour.
For more information about boats and boat maintenance please check out the boat page.



Comments are closed.