
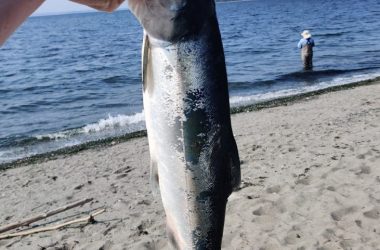
Salmon species, especially coho and pink salmon, love going after a twitching jig. There is just something about that action that drives them nuts.
Unfortunately many commercial jigs are lacking when it comes to using a twitching technique, as described here. They tend to have shorter tails and not enough movement in them. Even though more seem to be available each year, making your own jigs is both fun and productive.
Tying a marabou jig is easy and doesn’t require many materials or tools. It is also cheaper than buying commercial jigs – which is a big plus when fishing rivers where getting hung up is part of playing the game.
The jigs produced with these instructions make some of the best twitching jigs I’ve used.
If you want to tie jigs the tools you need are:
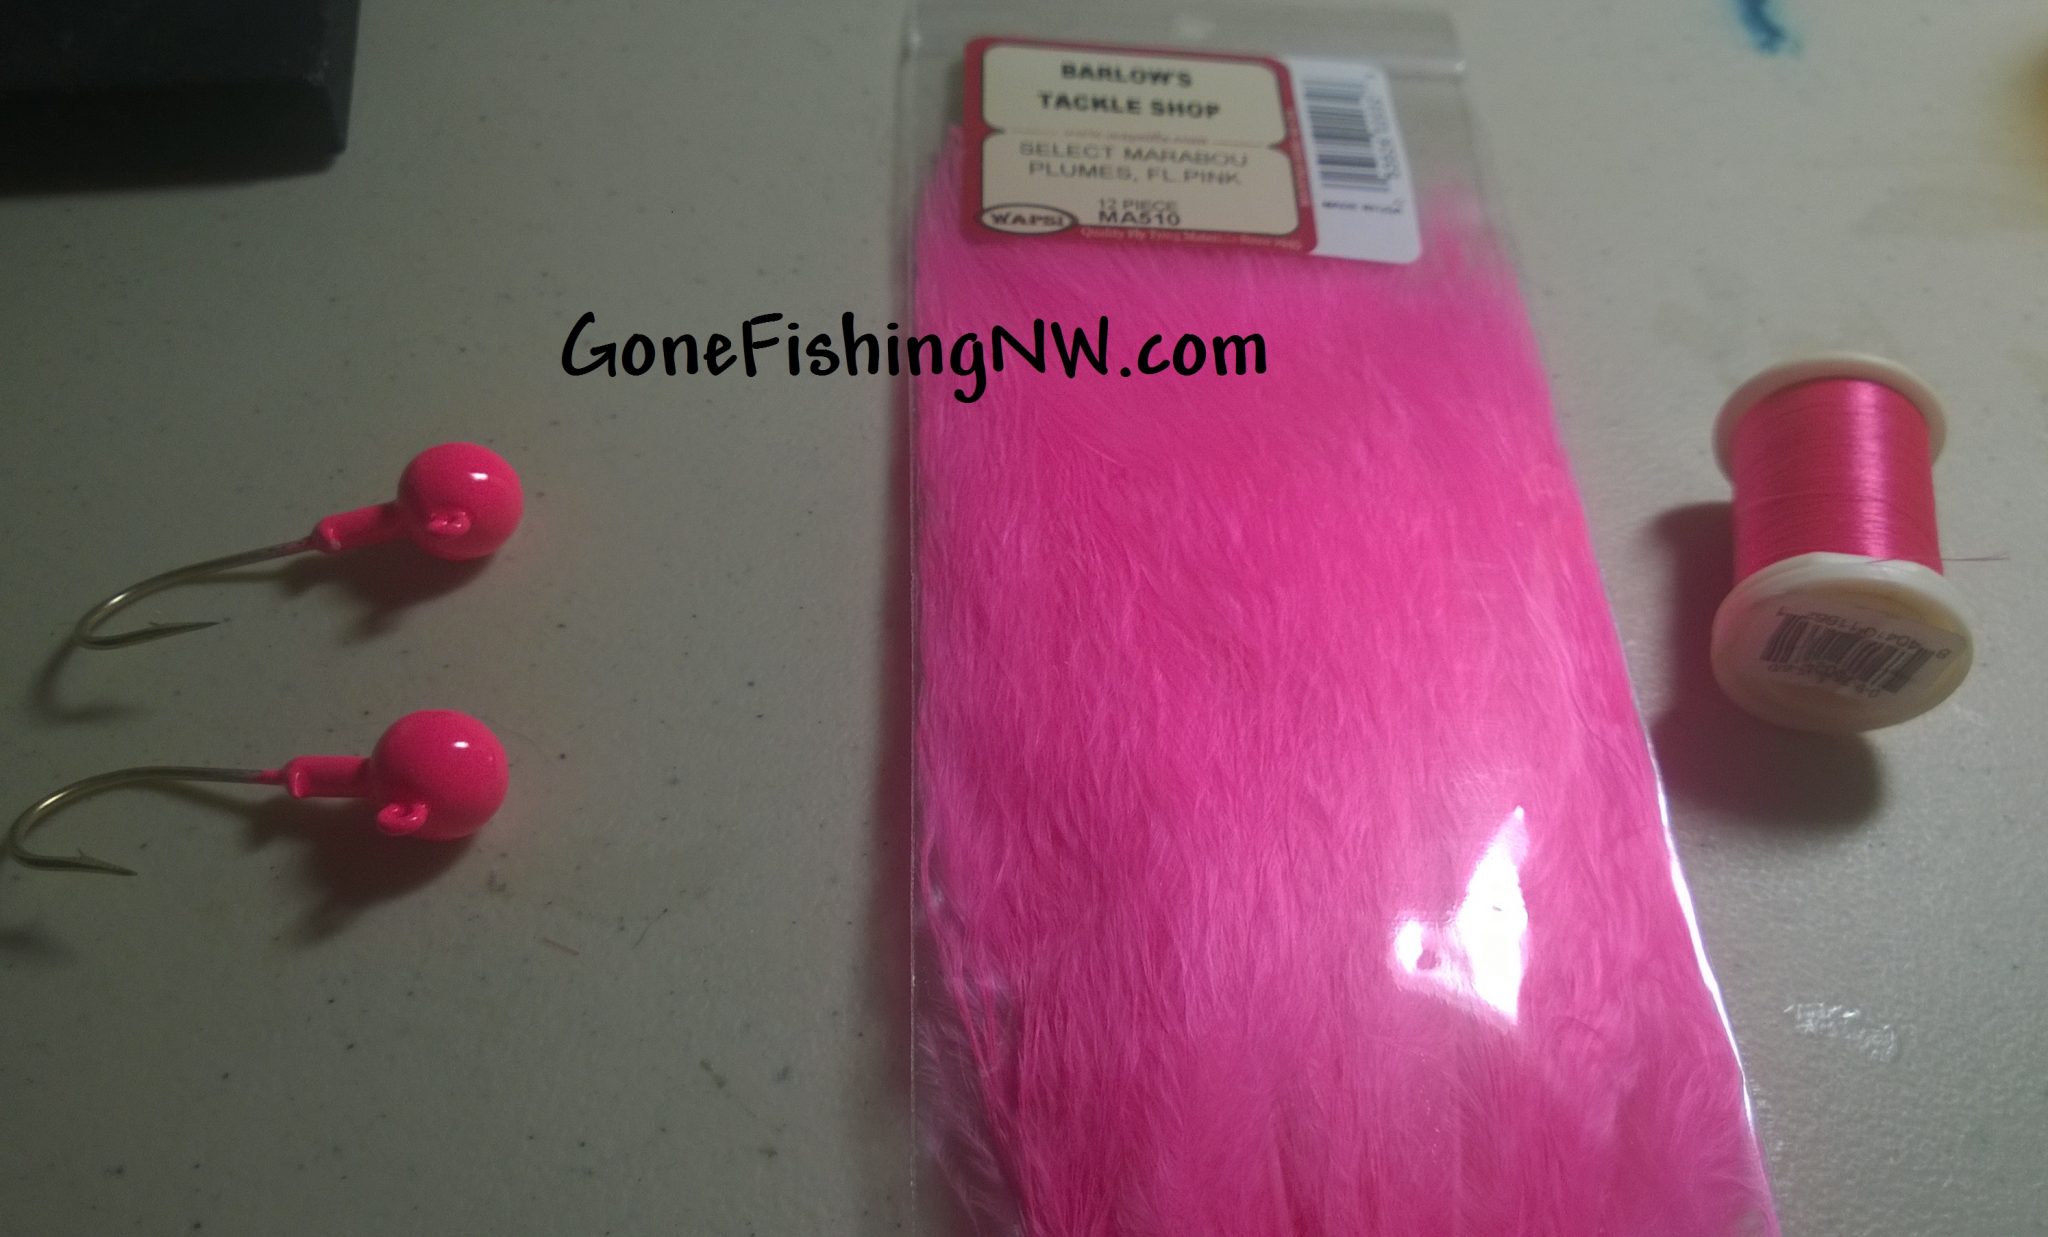
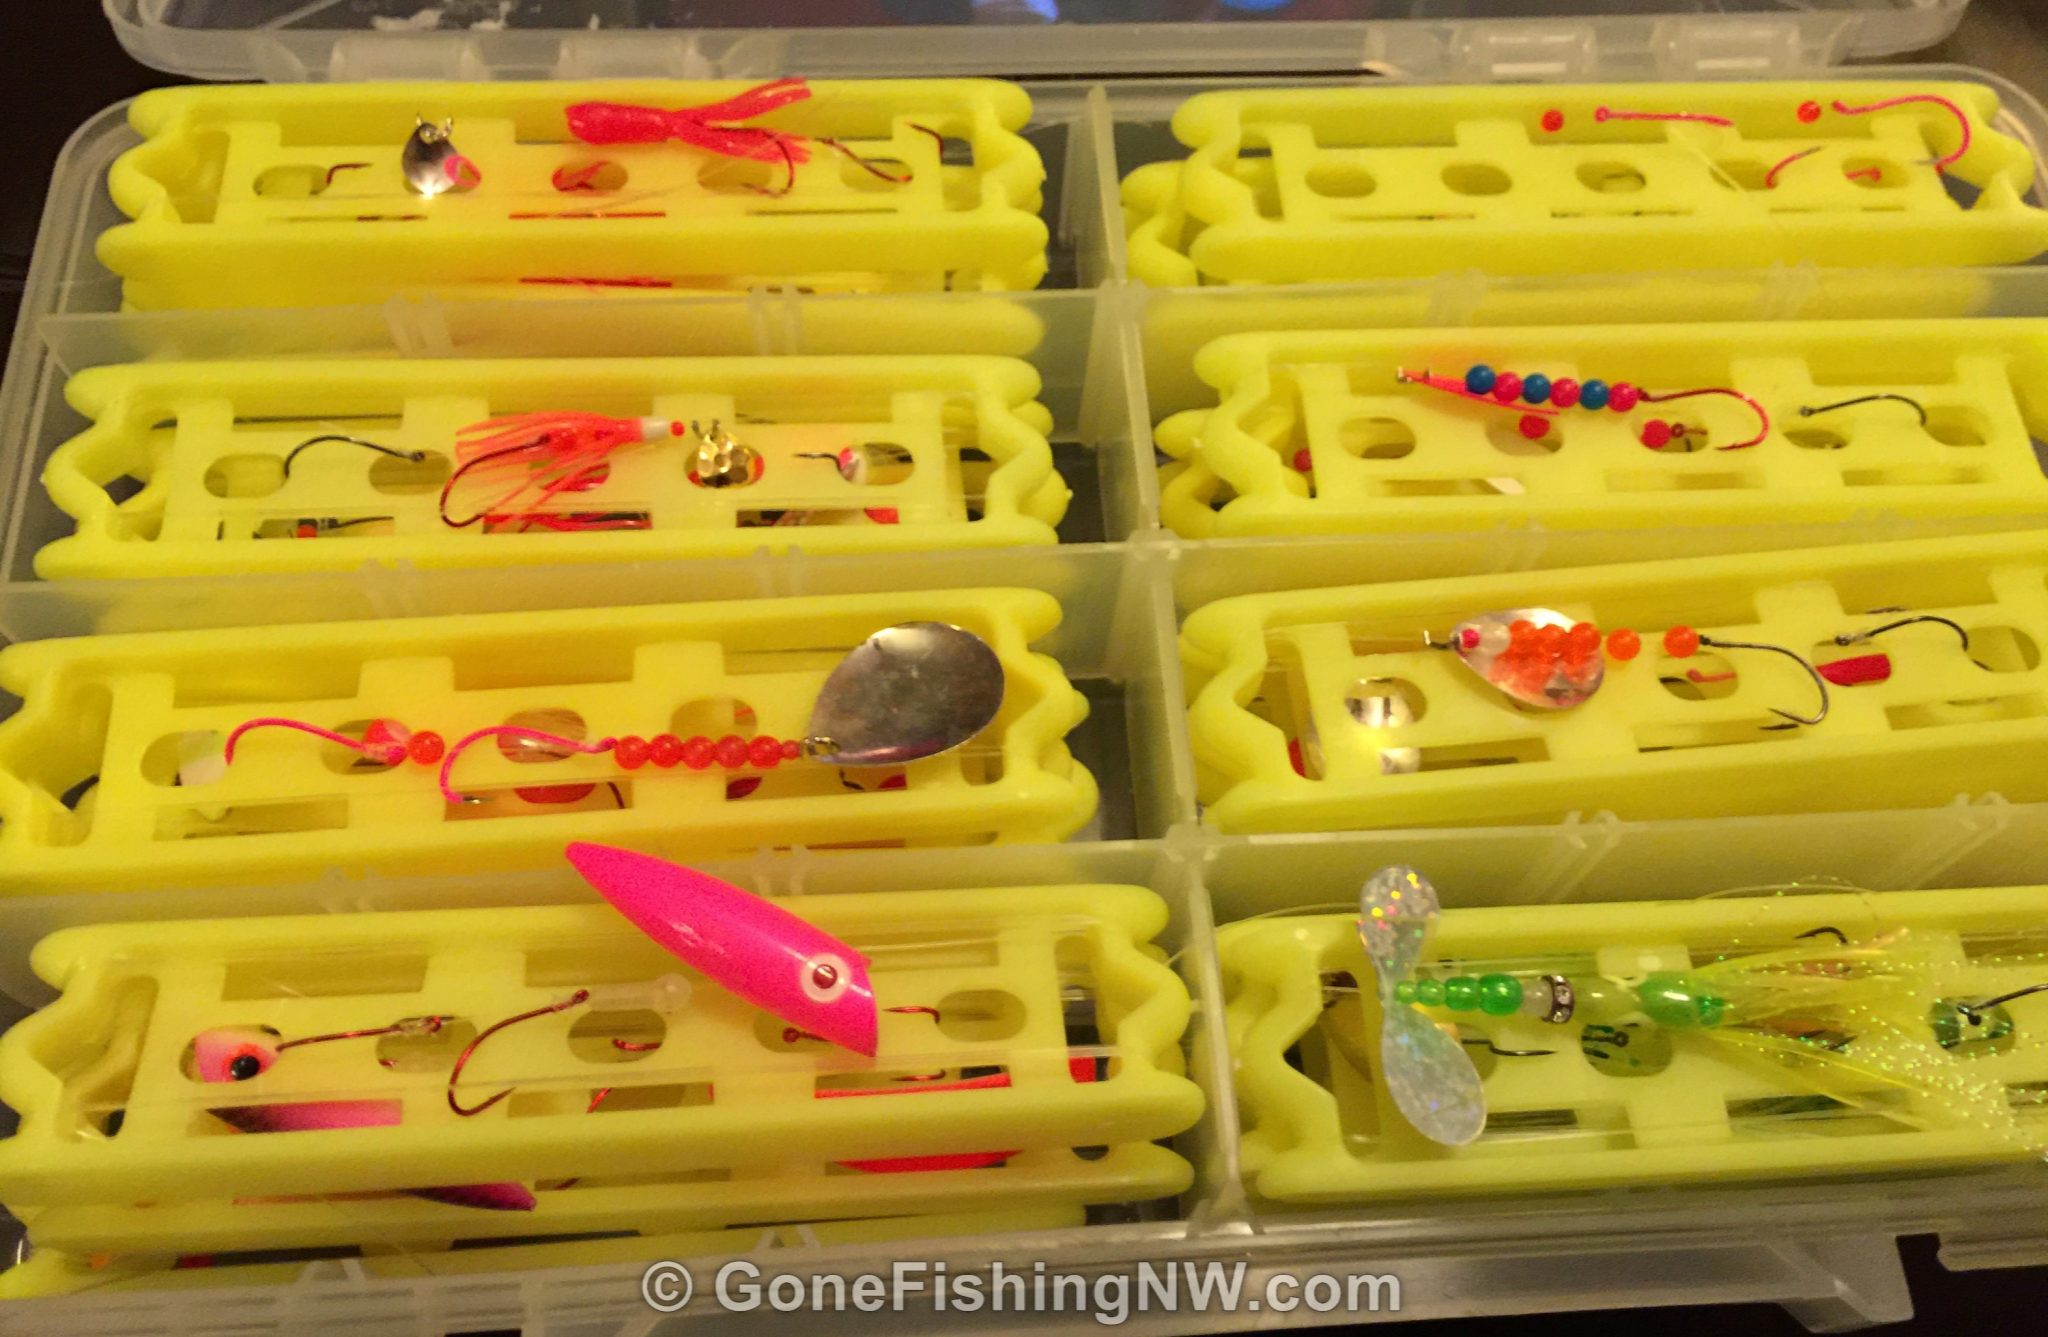
For materials you need:
- Pink 6/0 thread
- Pink Marbou feathers (I prefer the Select ones) You need about 3 feathers per jig.
- Jig heads (I buy mine pre-painted, but you can buy them “raw” and paint them yourself)
In this example I’m using a 3/8oz jig head.
For more information on pink salmon fishing – gear, tackle, techniques and locations – please check out the Pink Salmon page.
There are several different techniques from fly tying that are useful when tying a marabou jig. However I want to keep this post reasonable size. So I suggest watching some YouTube videos or something on beginning fly tying.
Now on to our Pink Salmon jig.
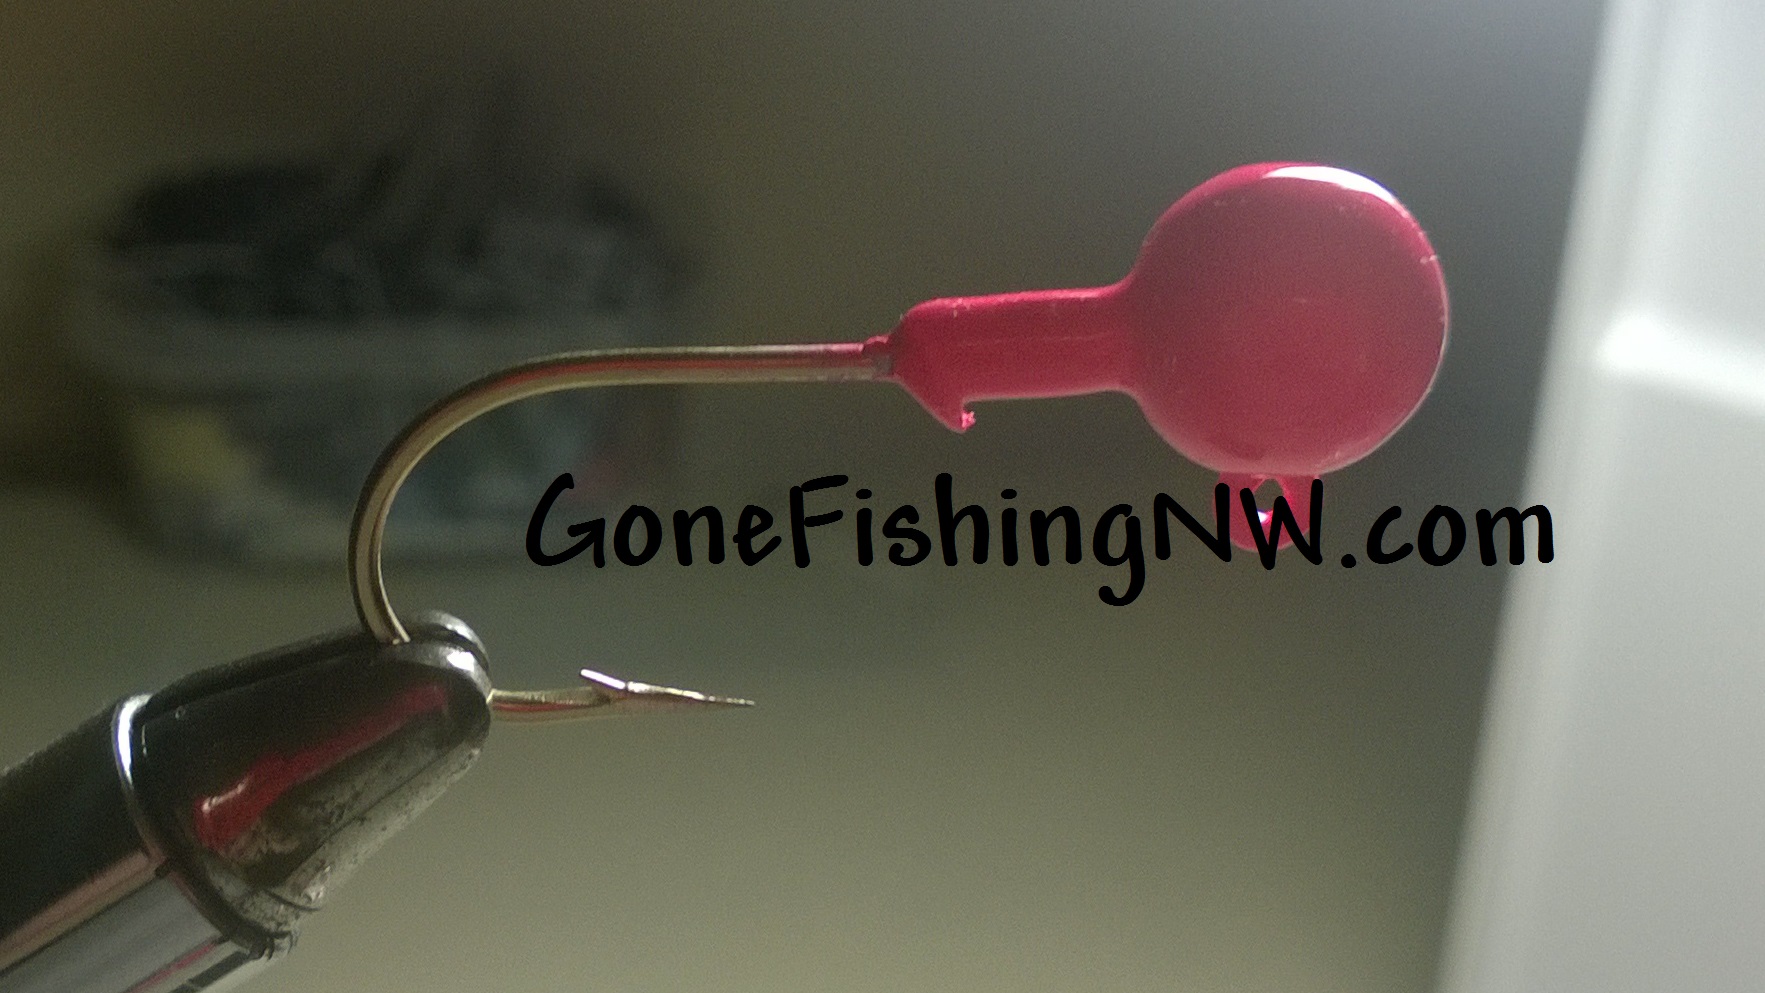
First put the hook in the vise.
Next, start the thread on the hook shaft, laying down a nice thread base for the feathers to grab.

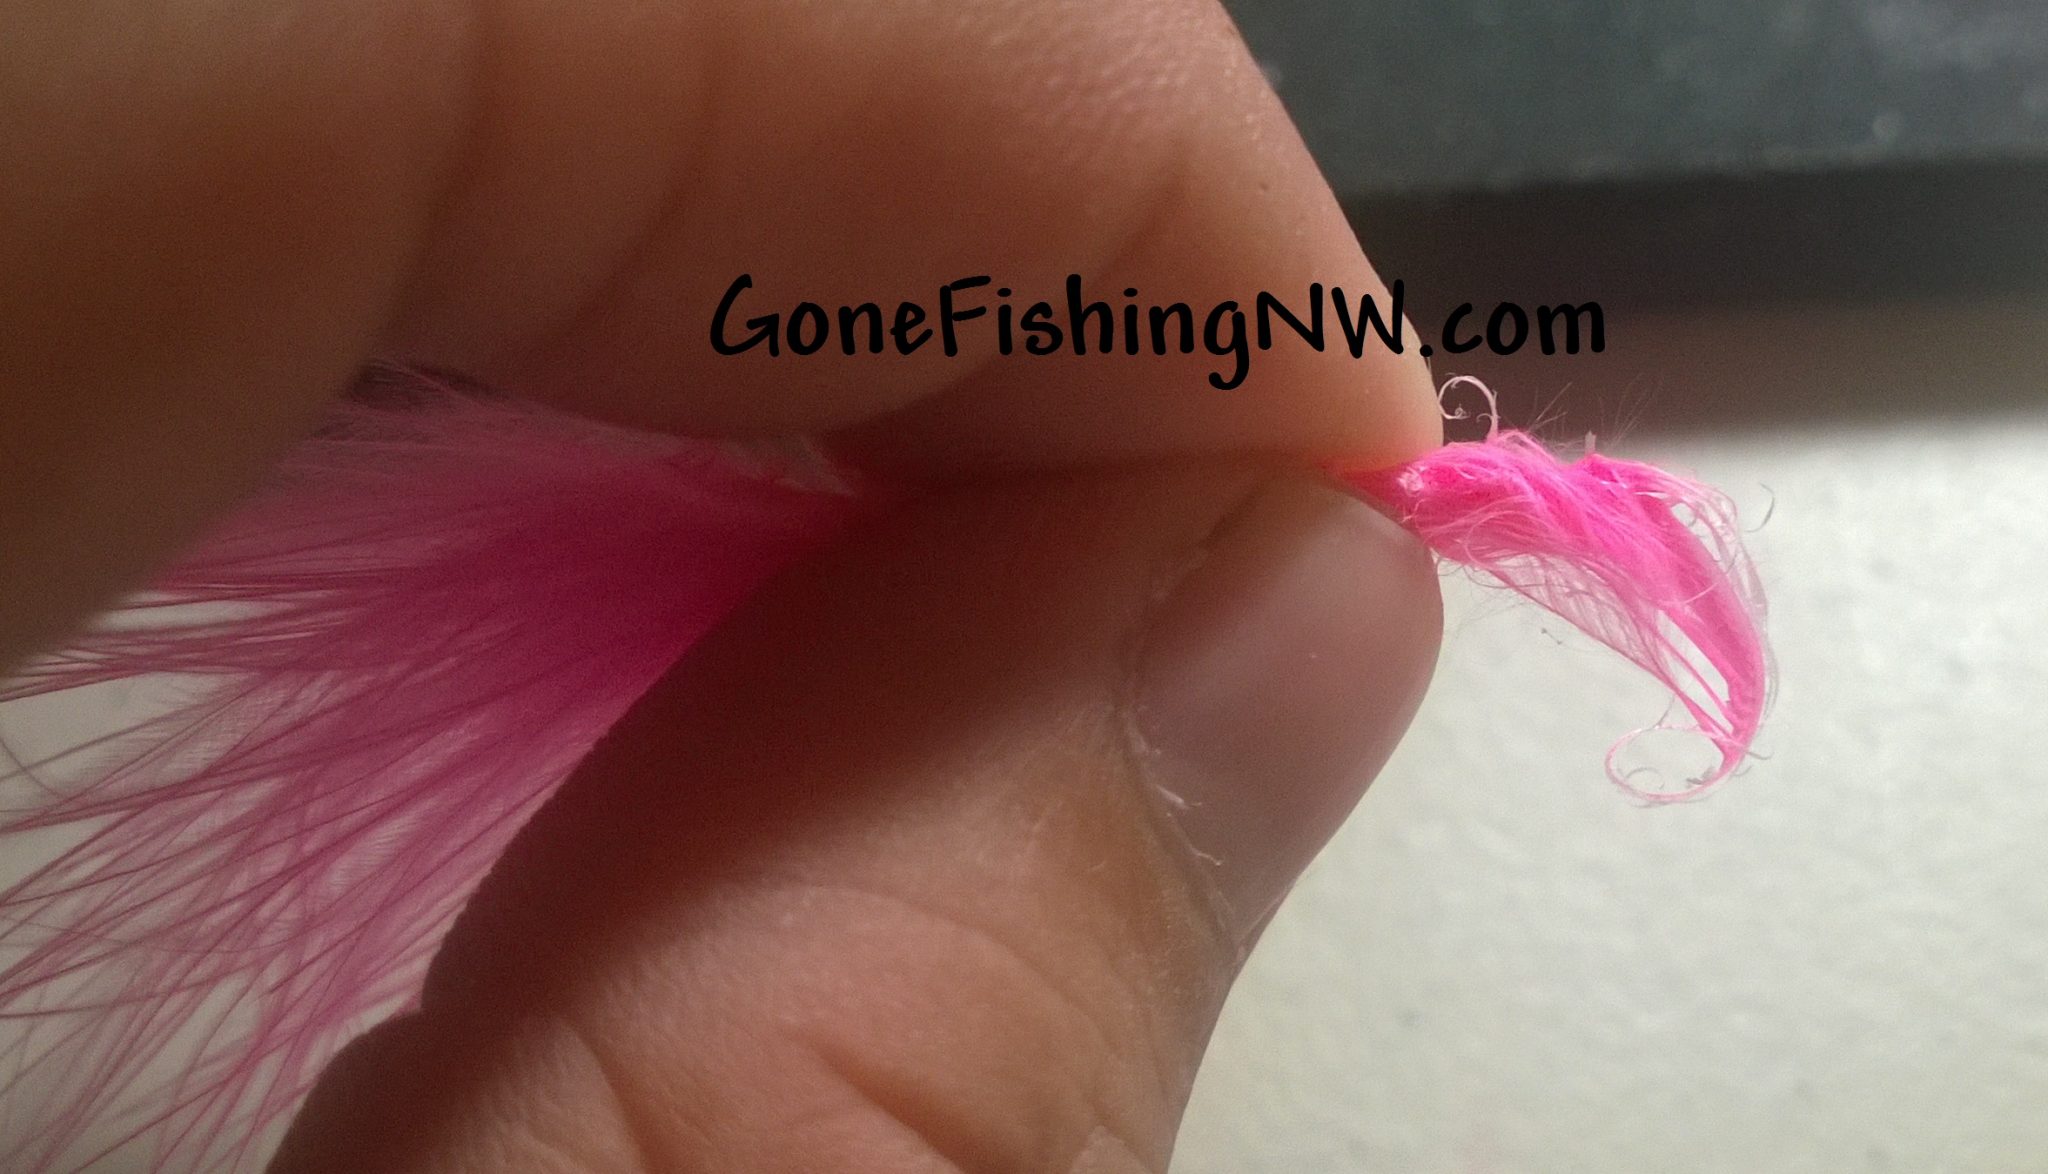
Now pick out one of your feathers. Ideally it has nice long stands and no clumps from the dying process. If you aren’t happy with the feather then get a different one – no need to use materials you aren’t happy with. The Select feathers tend to be taller and have longer strands, which is why I prefer to use them.
For each clump of marabou I tend to use an entire side of the feather. Starting at the top get a grip on some of the strands and gently pull down. They should separate from the quill. Lay these over the strands below and repeat the pulling process. When you reach bottom you should have a nice clump of marabou strands.

I then switch it around, so the fluffy ends are in my hand and I’m still pinching it near where it connected to the quill.
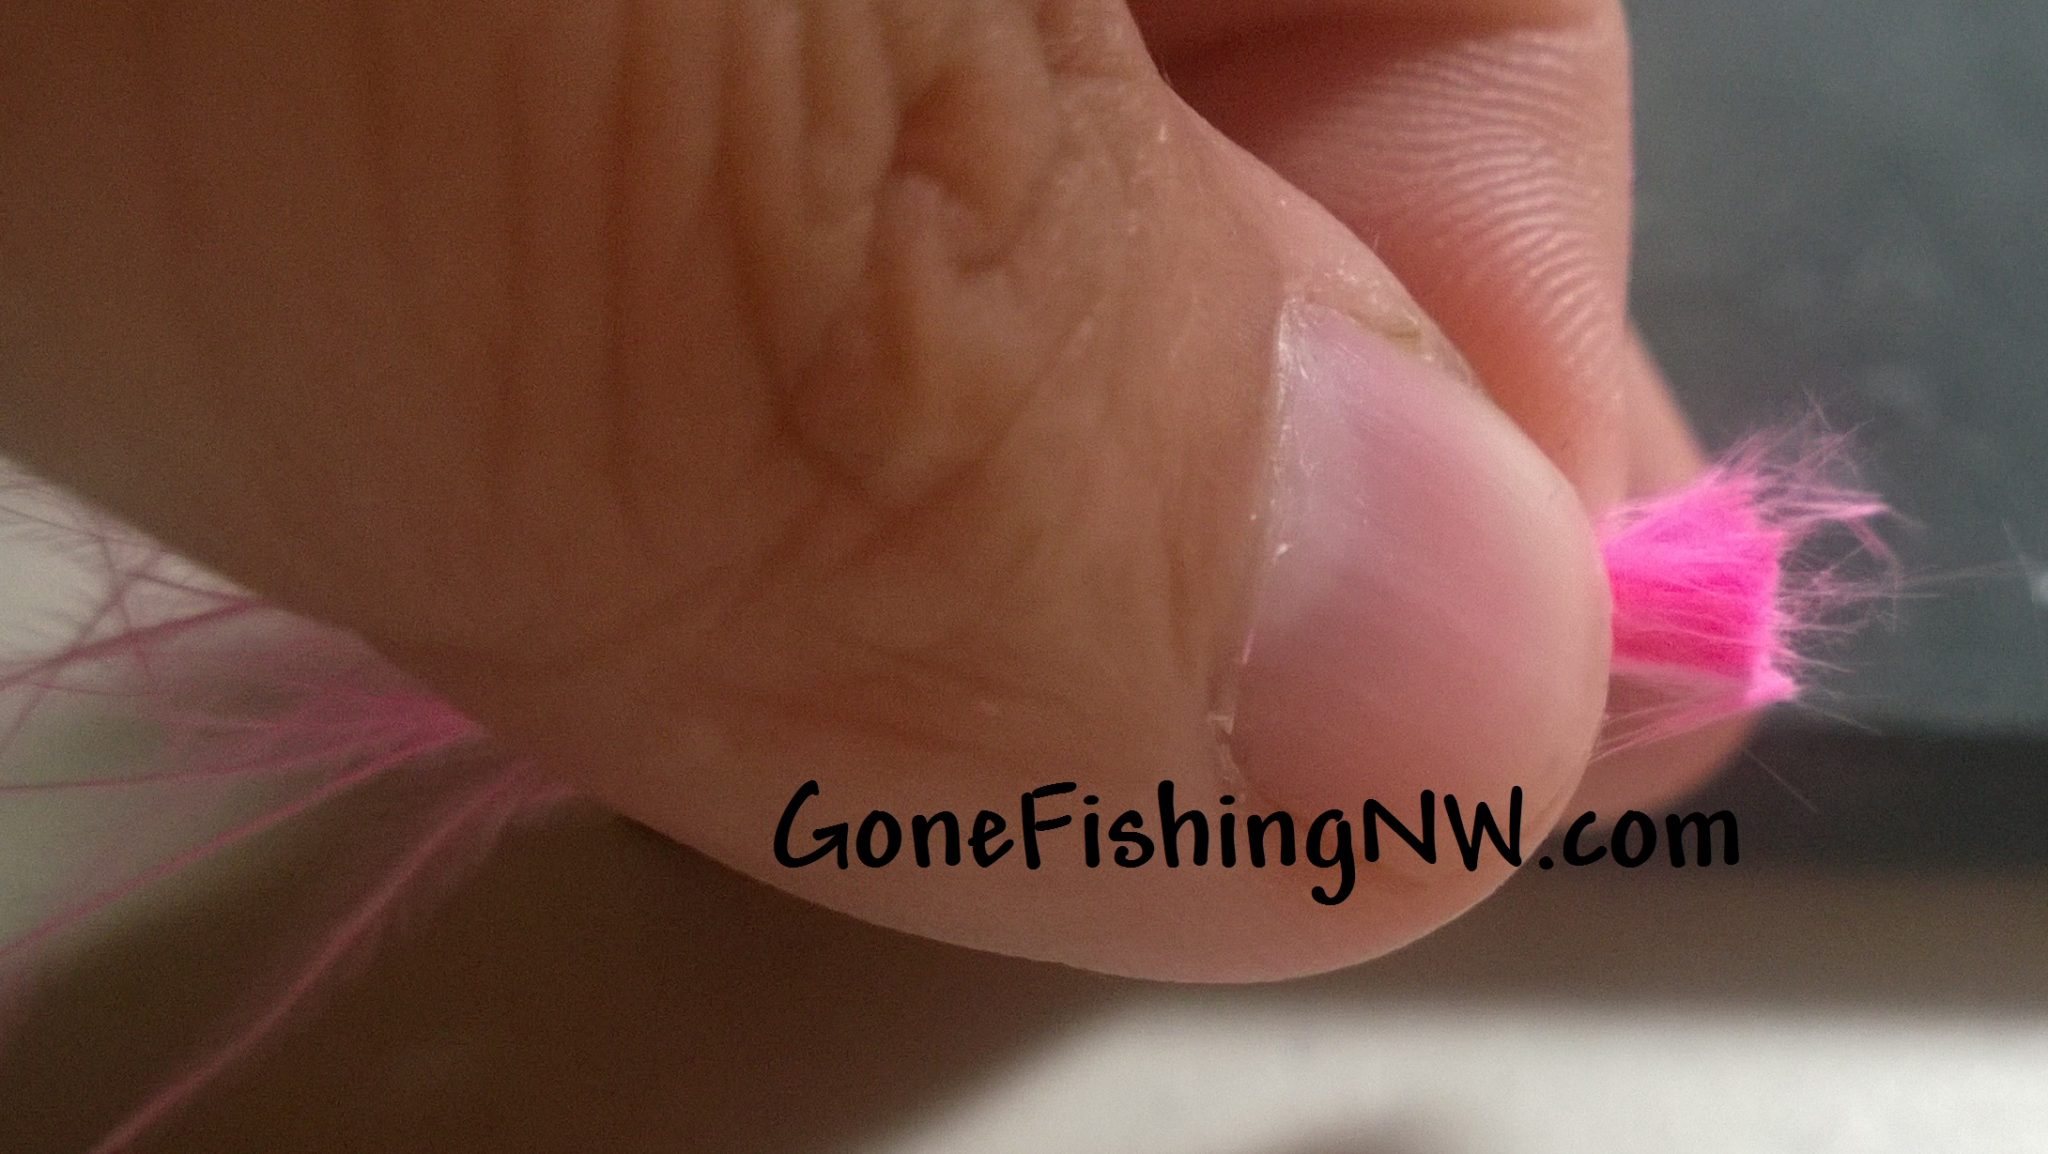
You’ll notice in the picture below that some bits of the quill are still attached to the feather.
Next, using a pair of sharp scissors I snip off that bit on the end.
Now hold the marabou close to the end of the hook – usually above where the point is. Gently wrap the thread a couple times around the end.
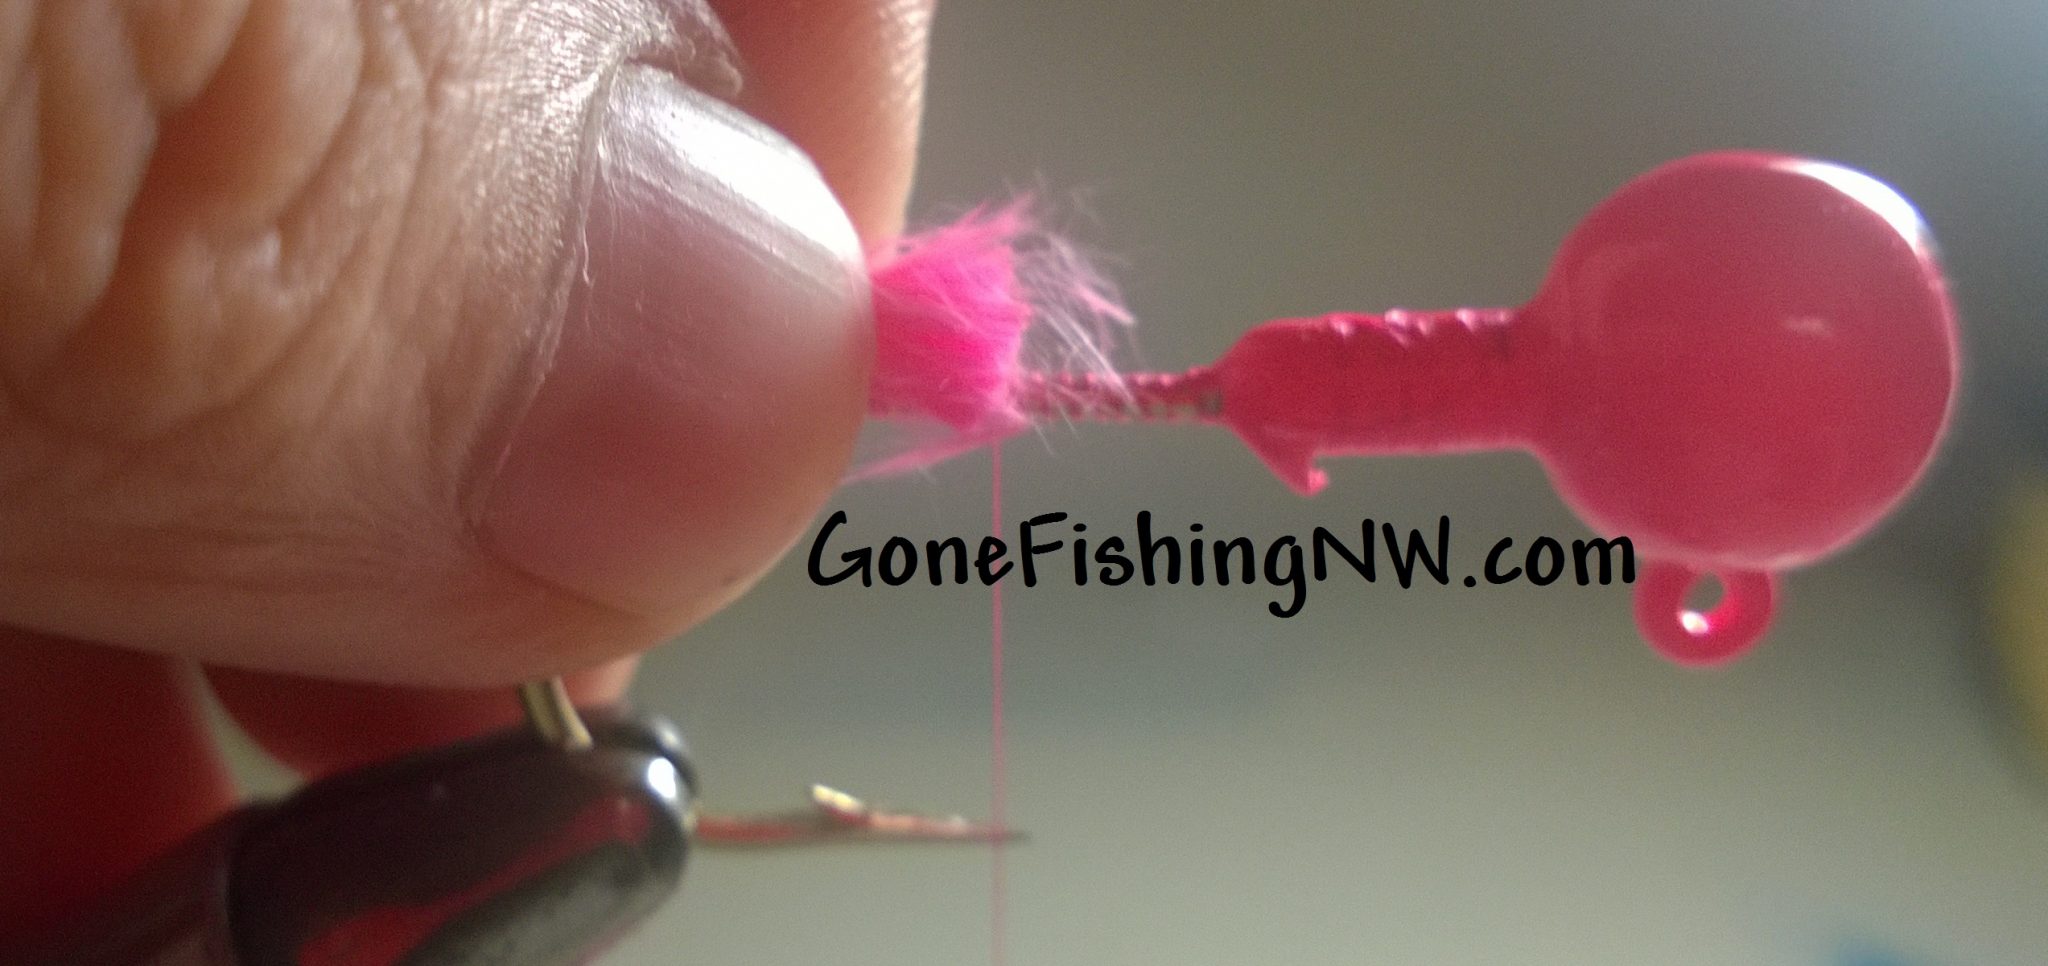
Now with steady, but firm, pressure continue the thread wrap. I usually go down to about where the barb is. It is the tightness, not number of wraps, which determine how well the material will be held in place.
Now I get another clump of marabou prepared and tie it in the same way, but a little farther up the hook.
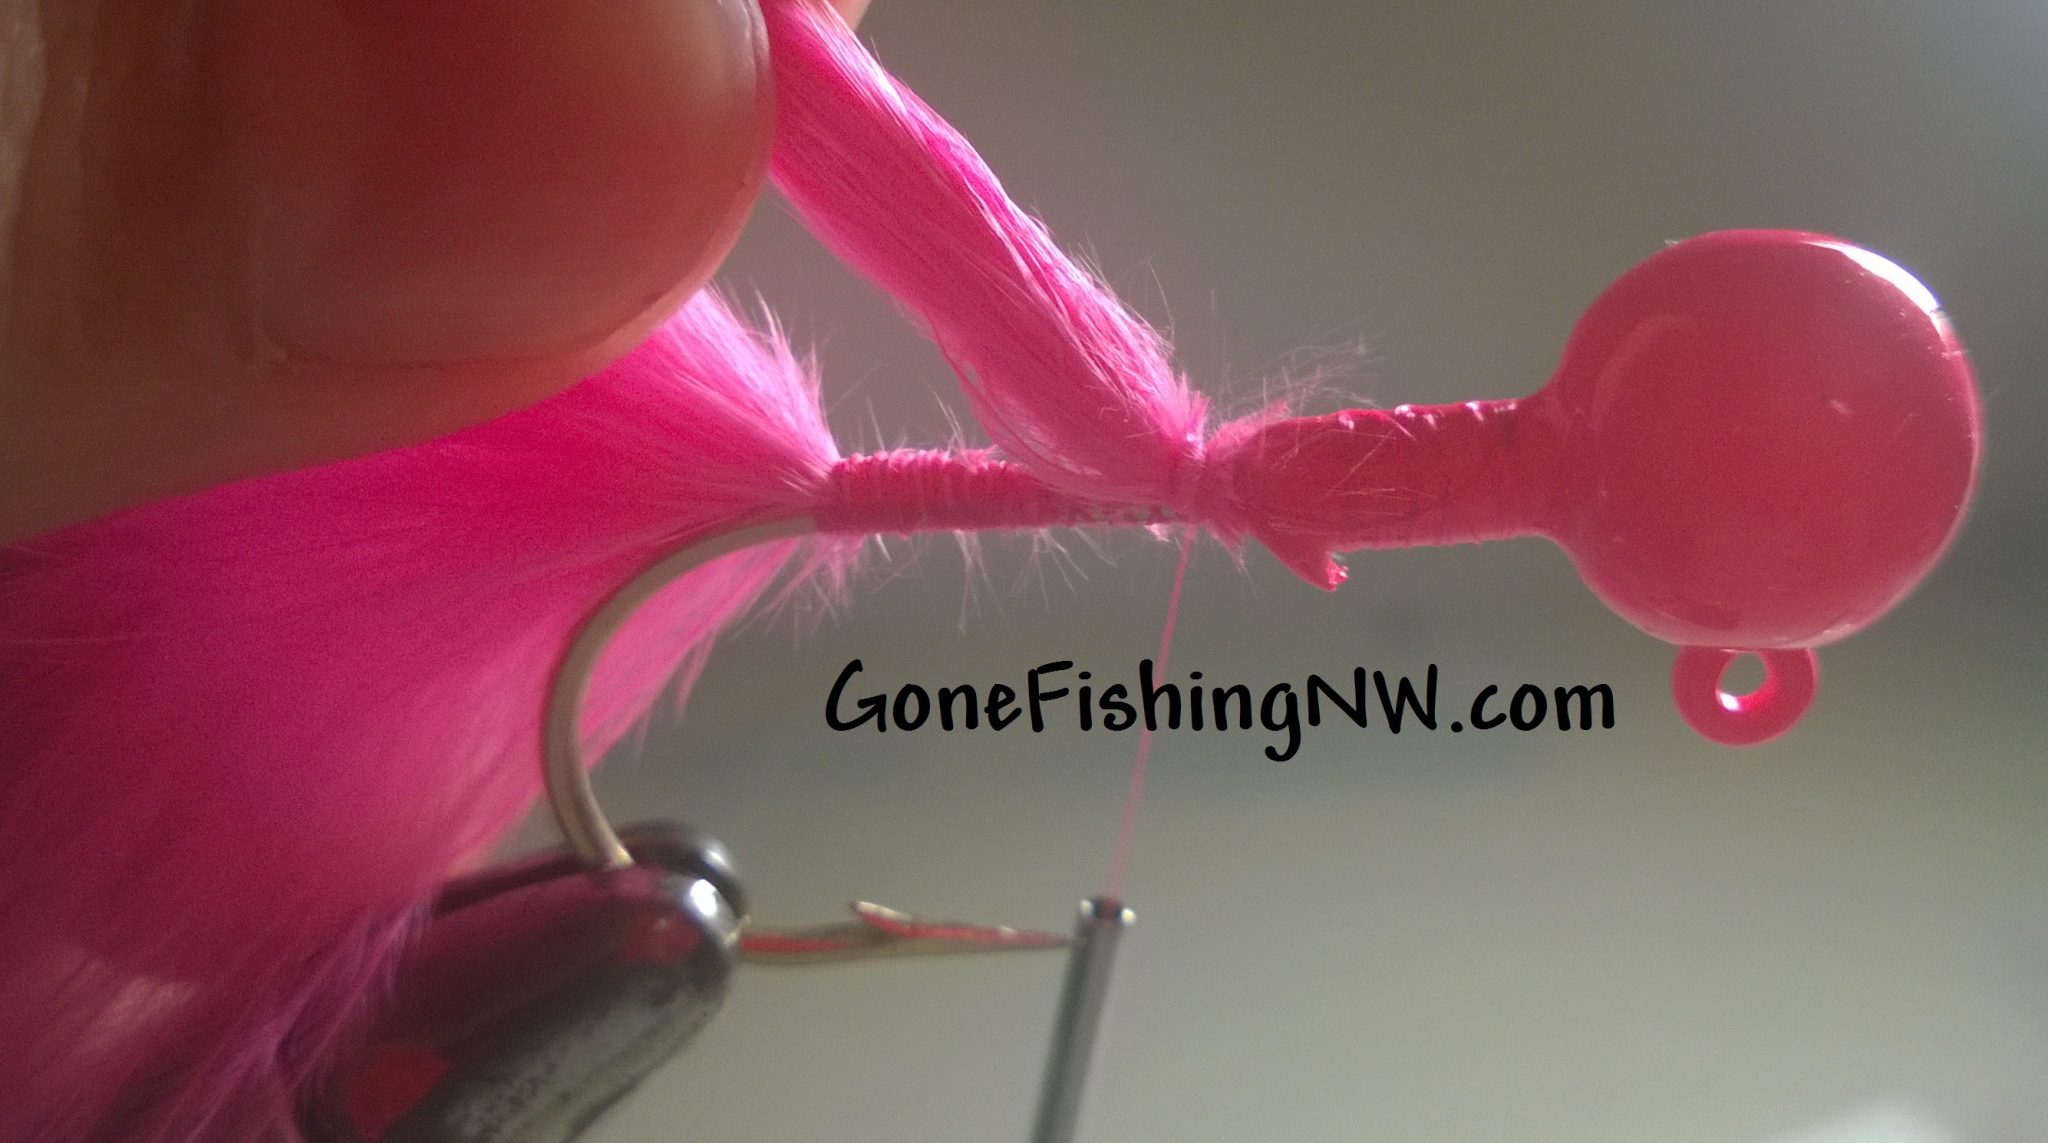
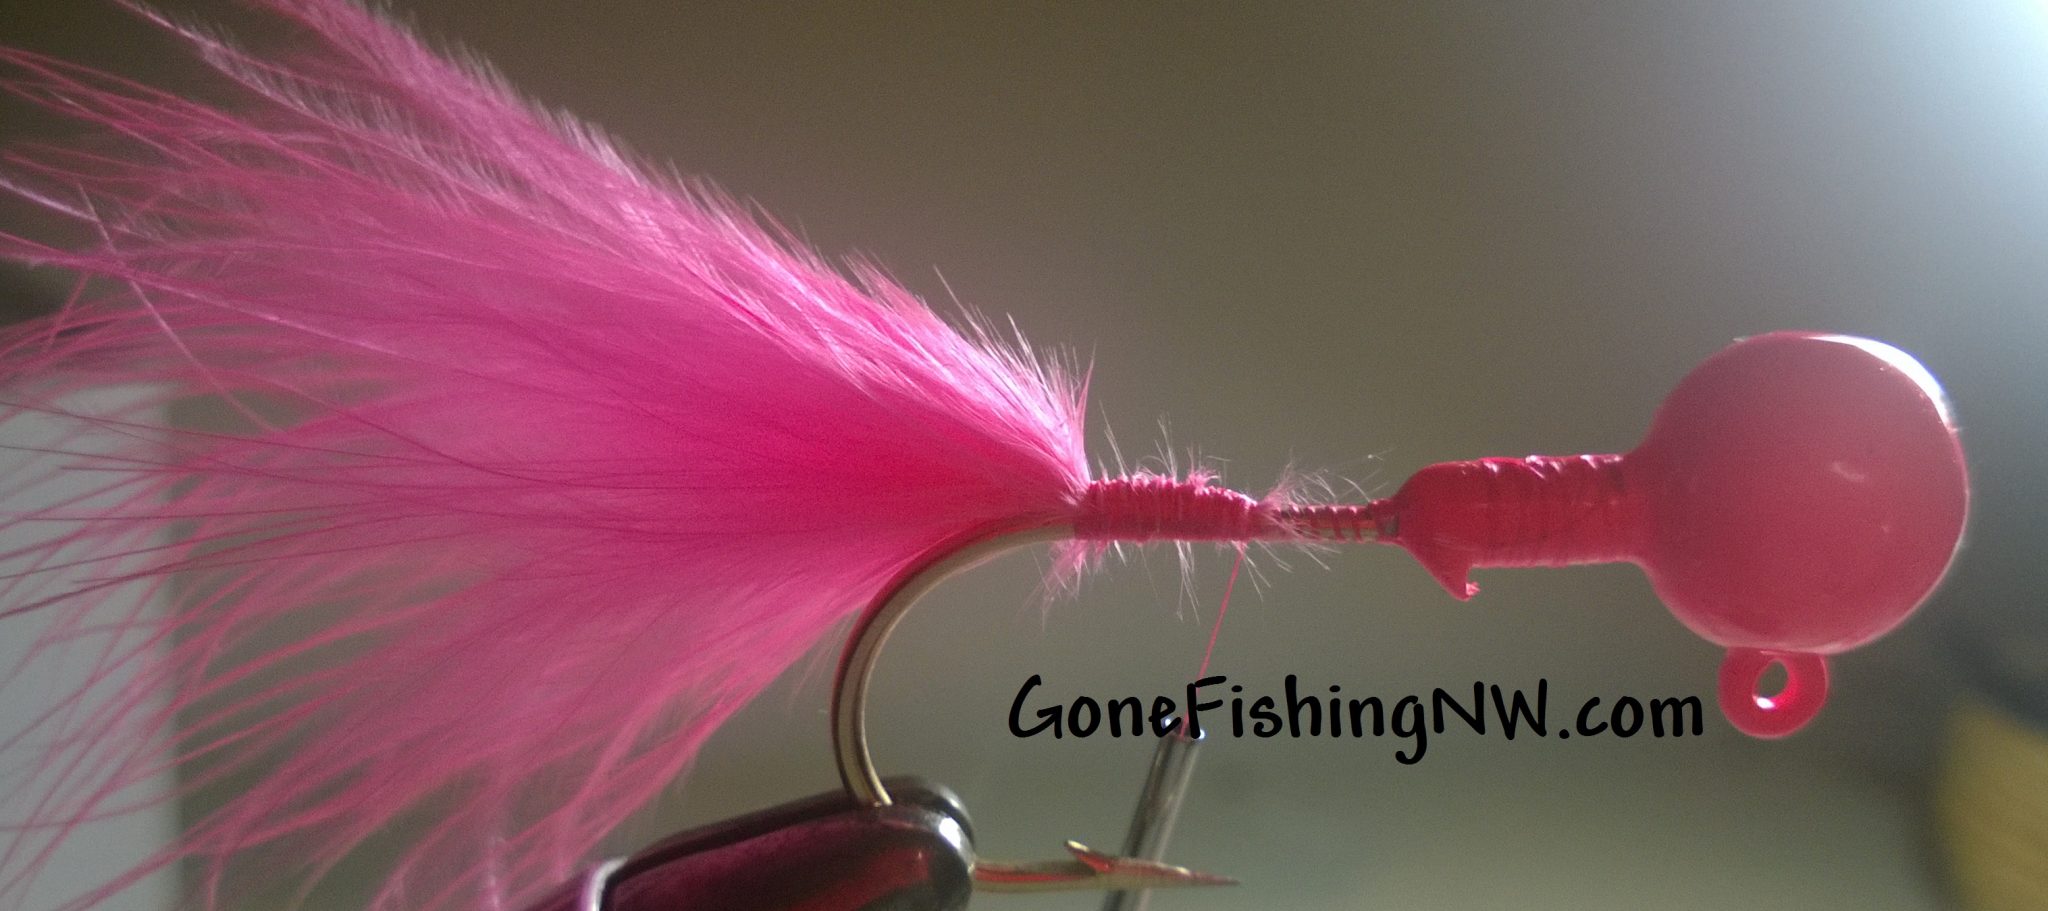
Then I get a 3rd clump of marabou and tie it on the hook near the head of the jig.

A fourth and fifth clump are added near the head as well, only more like on the side of the hook, close to the bottom. Basicly at the head we are adding 3 clumps roughly a 3rd of the way apart. Think of it like fins on a rocket.
This is easy if you have a rotating vise, but it is doable (if uncomfortable) to do it with a fixed vice.

Next build up a little bit of a layer of thread behind the head, maybe about 1/4 of an inch long. Finish it with a whip finish using the tool.
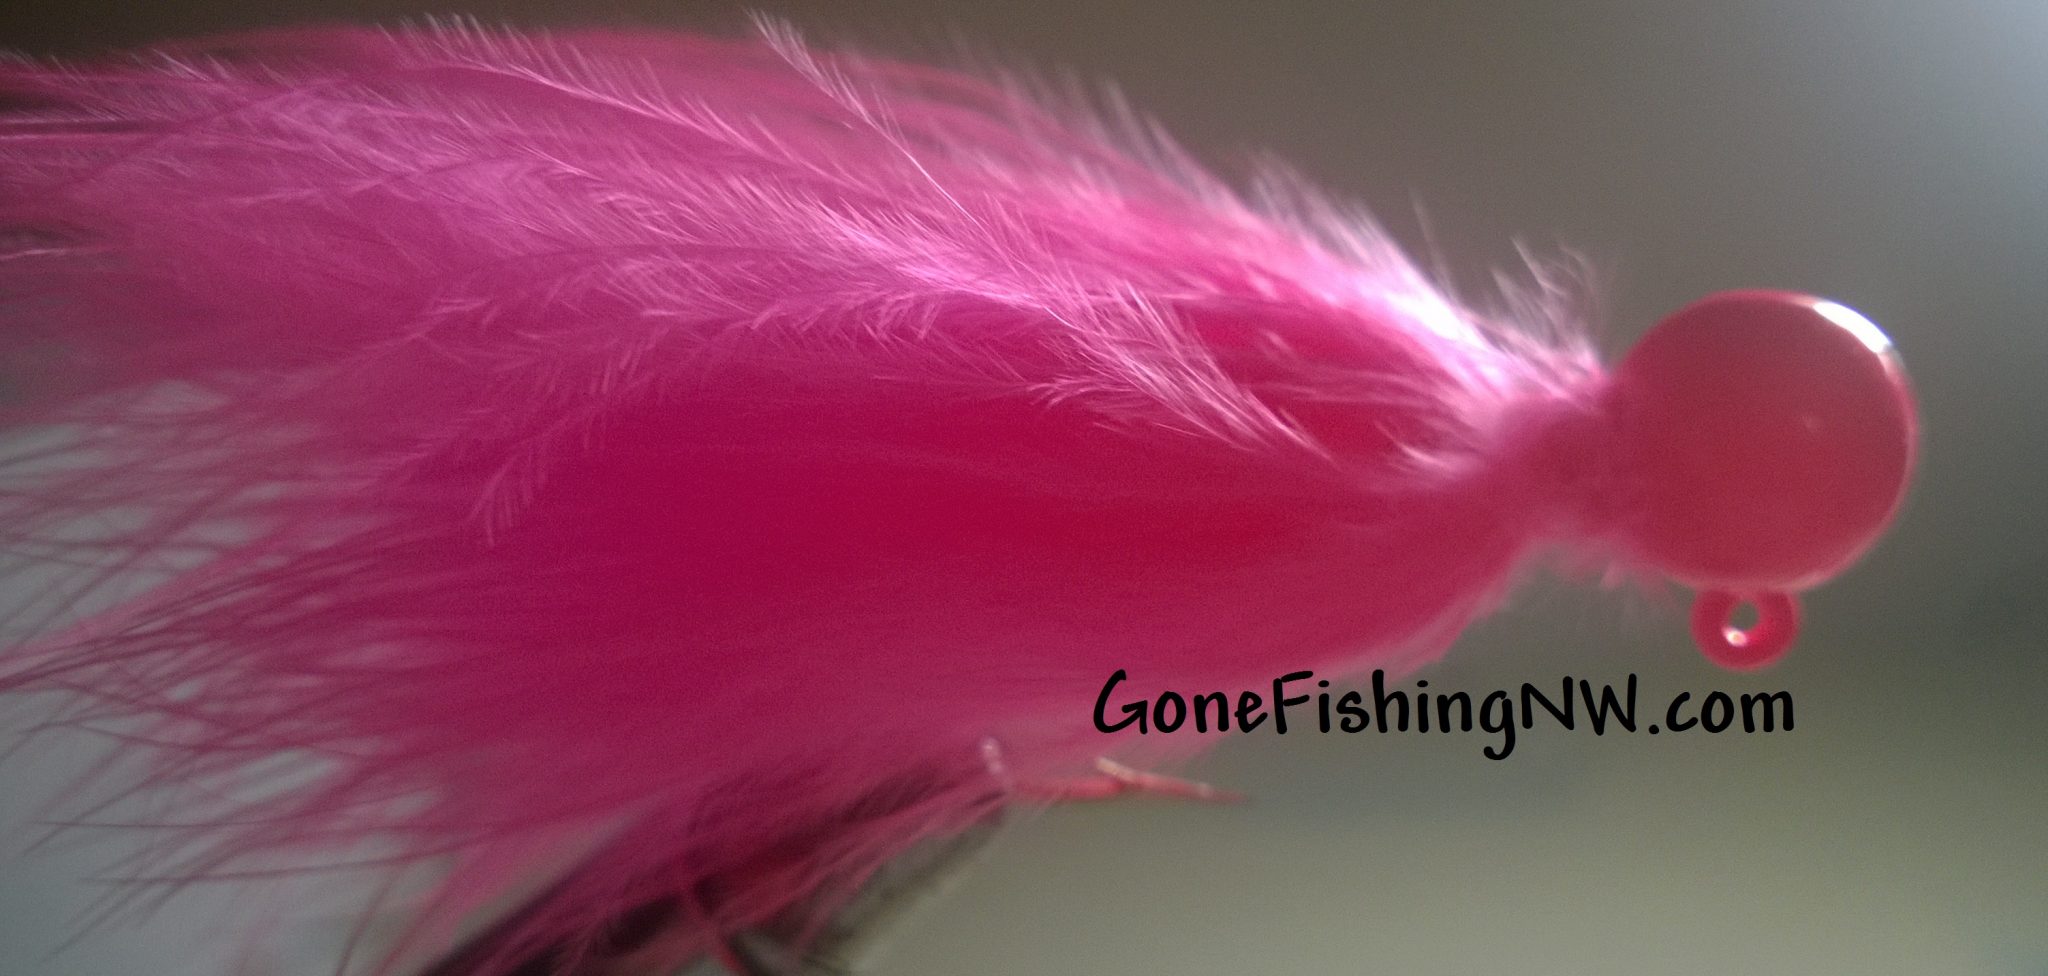
Before taking it out of the vise I gently pull the fibers back. Expect to have a few fibers pull free.
And there you go – you are all done.

1 thought on “Tying a Marabou Twitching Jig”
Comments are closed.