All the custom dodger making I’ve been doing has made me wonder what fun dodgers I could create that were totally custom and unlike anything on the market.
So I came up with Fish Skeleton dodger.
The Dodger Blank
Unless you are really doing this from scratch you’ll need a dodger “blank” and it’s associated hardware.
The easy way, especially if you only plan to make one or two dodgers, is to buy a suitable dodger at the store to modify, such as this plain chrome one.
But if you plan to make multiple and want to keep costs low then it is best to find a tackle supply shop and buy the individual parts. I get mine from Hagen’s.
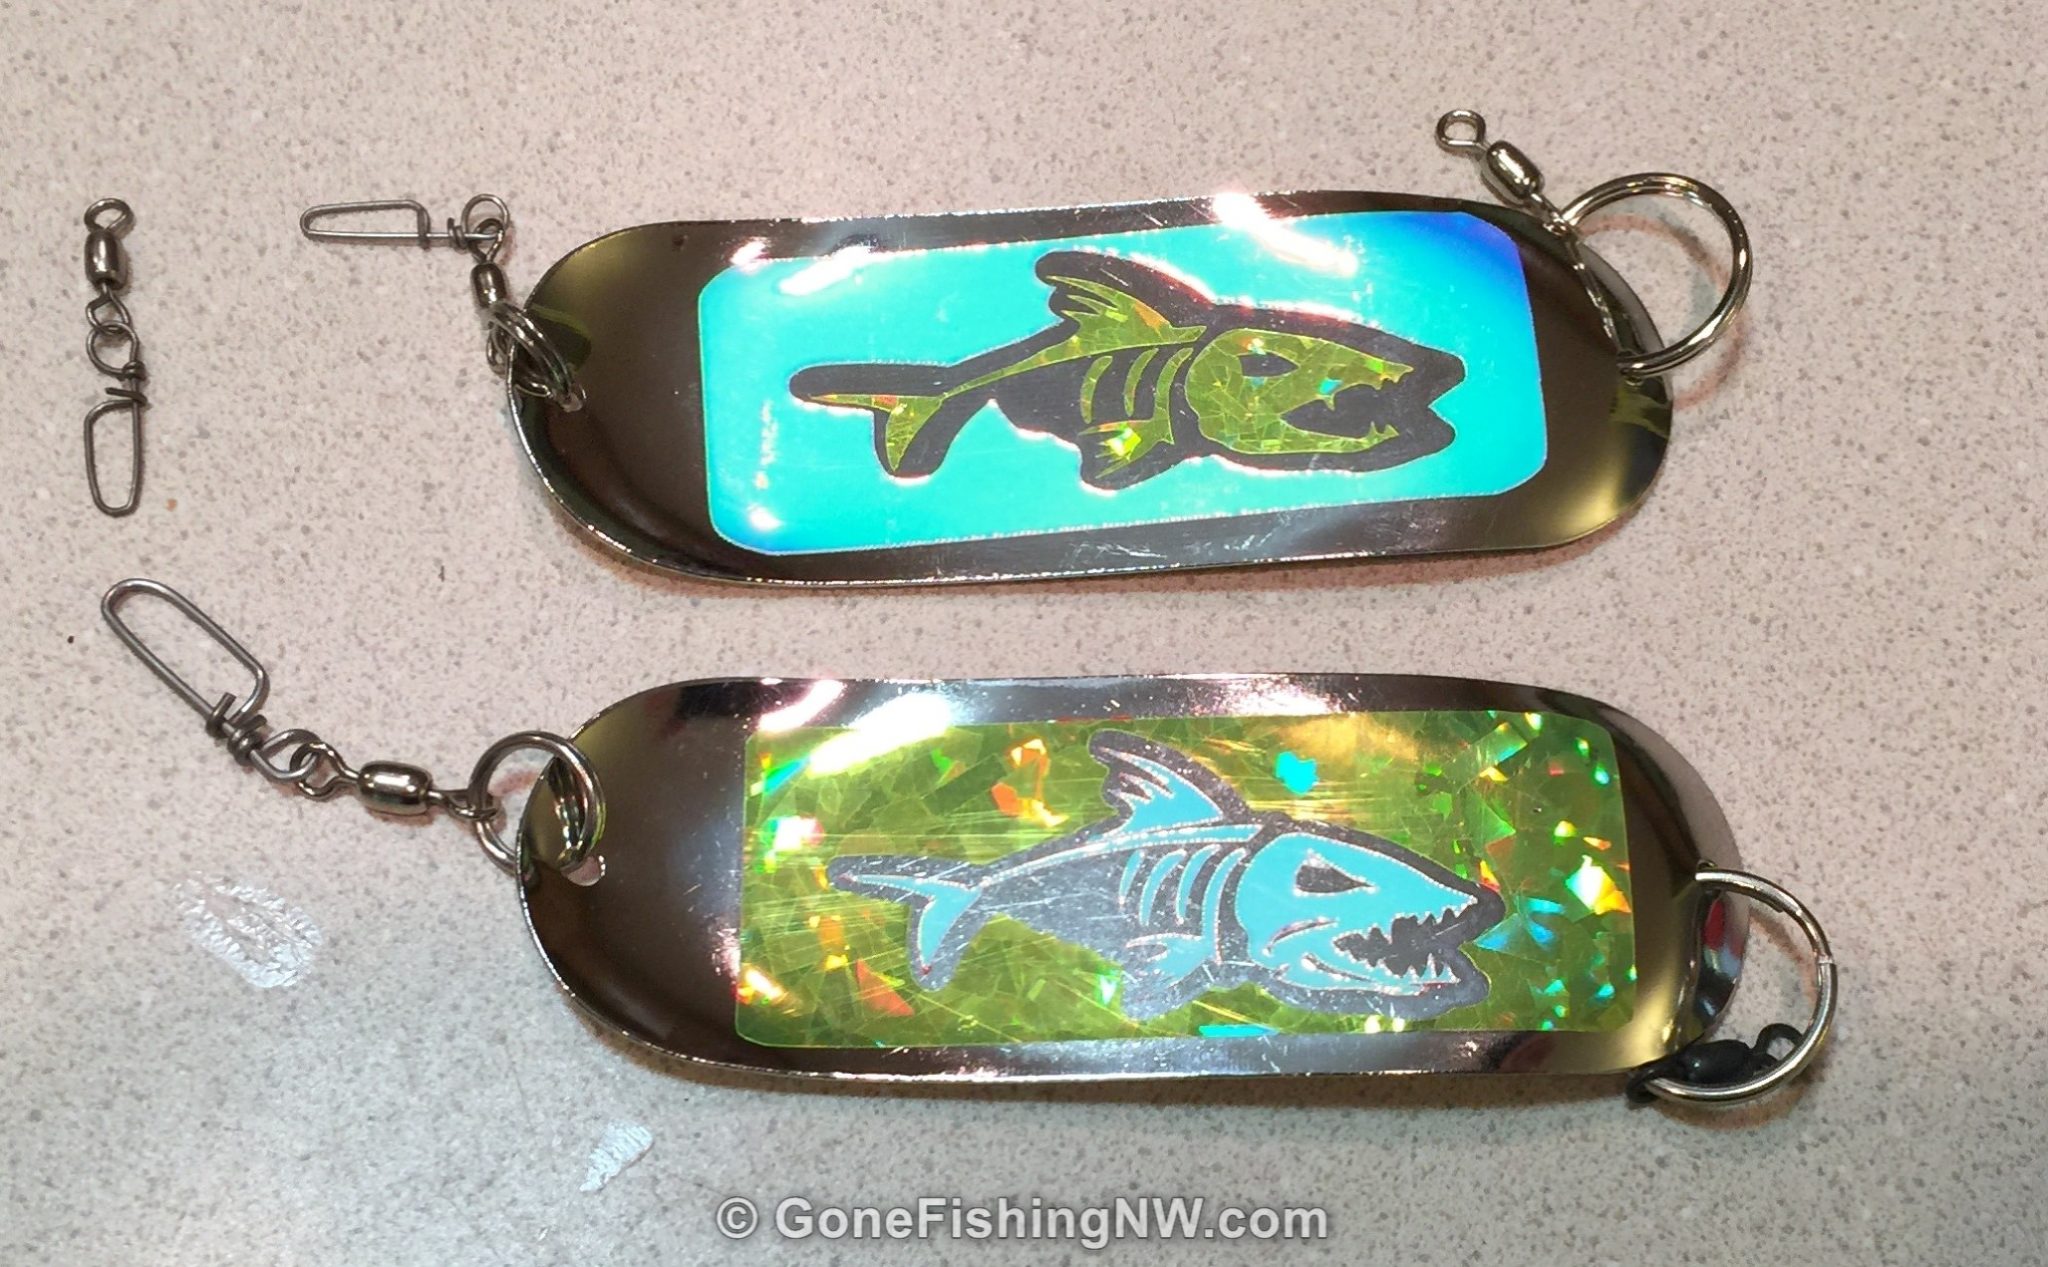
In addition to the dodger piece itself you’ll need a swivel for the “top”, along with a split ring to connect it to the dodger. For the “bottom” you’ll need a swivel snap and another split ring.
Having a pair of split ring pliers can really be helpful when attaching those split rings to the dodger and swivel.
If you are unsure what size split ring and swivels to get then get out one of your dodgers and measure it. If the description of the item isn’t enough the printed catalog from Hagens has actual size pictures.
Personally, I buy into the “big ring” theory from Holiday Sports. That is having a larger ring at the “top” of the dodger, where it connects to the mainline. The idea is that this allows the dodger to swing easier since it can pivot more on that ring, and doesn’t lose energy to pushing that mainline back and forth in the water. I go one step further and downsize the “bottom” split ring and snap swivel, so that more energy is transmitted to the leader.
The Stickers
The first thing you need is some lure tape. You can buy it online or your favorite tackle shop. The Brad’s brand works well, as does the Mad River brand. My favorite place to buy lure tape is via eBay.
This dodger is going to require two different tapes. One for the outer border and one for the fish skeleton. I went with a chartreuse sticker and moon jelly. Be aware that not all moon jelly tape is the same.
To make the stickers I used the general process that was similar to how I cut out stickers from lure tape.
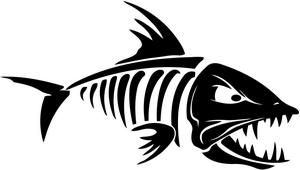
First, I found a fish skeleton picture I liked online. I imported it into Silhouette Studio and traced it into a vector. Then I drew a rectangle with rounded corners, the right size for the dodger.
Silhouette Studio has an “offset” function which does a bubble around a shape. I used that around the fish skeleton, then moved all of it into the rectangle.
From there I followed the process to import it into the Circut software and cut it. I cut the pattern four times – twice per sticker.
Add The Sticker
After the stickers are cut it is time to apply them to the dodger.
I used transfer tape to pick up the border of one color, and apply it to the dodger. Then I used the transfer tape again to transfer the fish skeleton of the other color to the dodger. The transfer tape makes it easy to see where the sticker is going to be applied, as well as keeping the sticker pieces together.
I applied the sticker to both sides.
With the remaining stickers, I did the inverse colors on a different dodger.
Overall this worked all right, but I did find that some of the details of the fish sticker are too small for either the Circut to cut, or to stick to the dodger. If I were to do it again I’d spend some time simplifying the fish skeleton image so it would work better.
Finishing It Up
Now that the stickers are applied we can attach the split rings and swivels. Here is the final result.
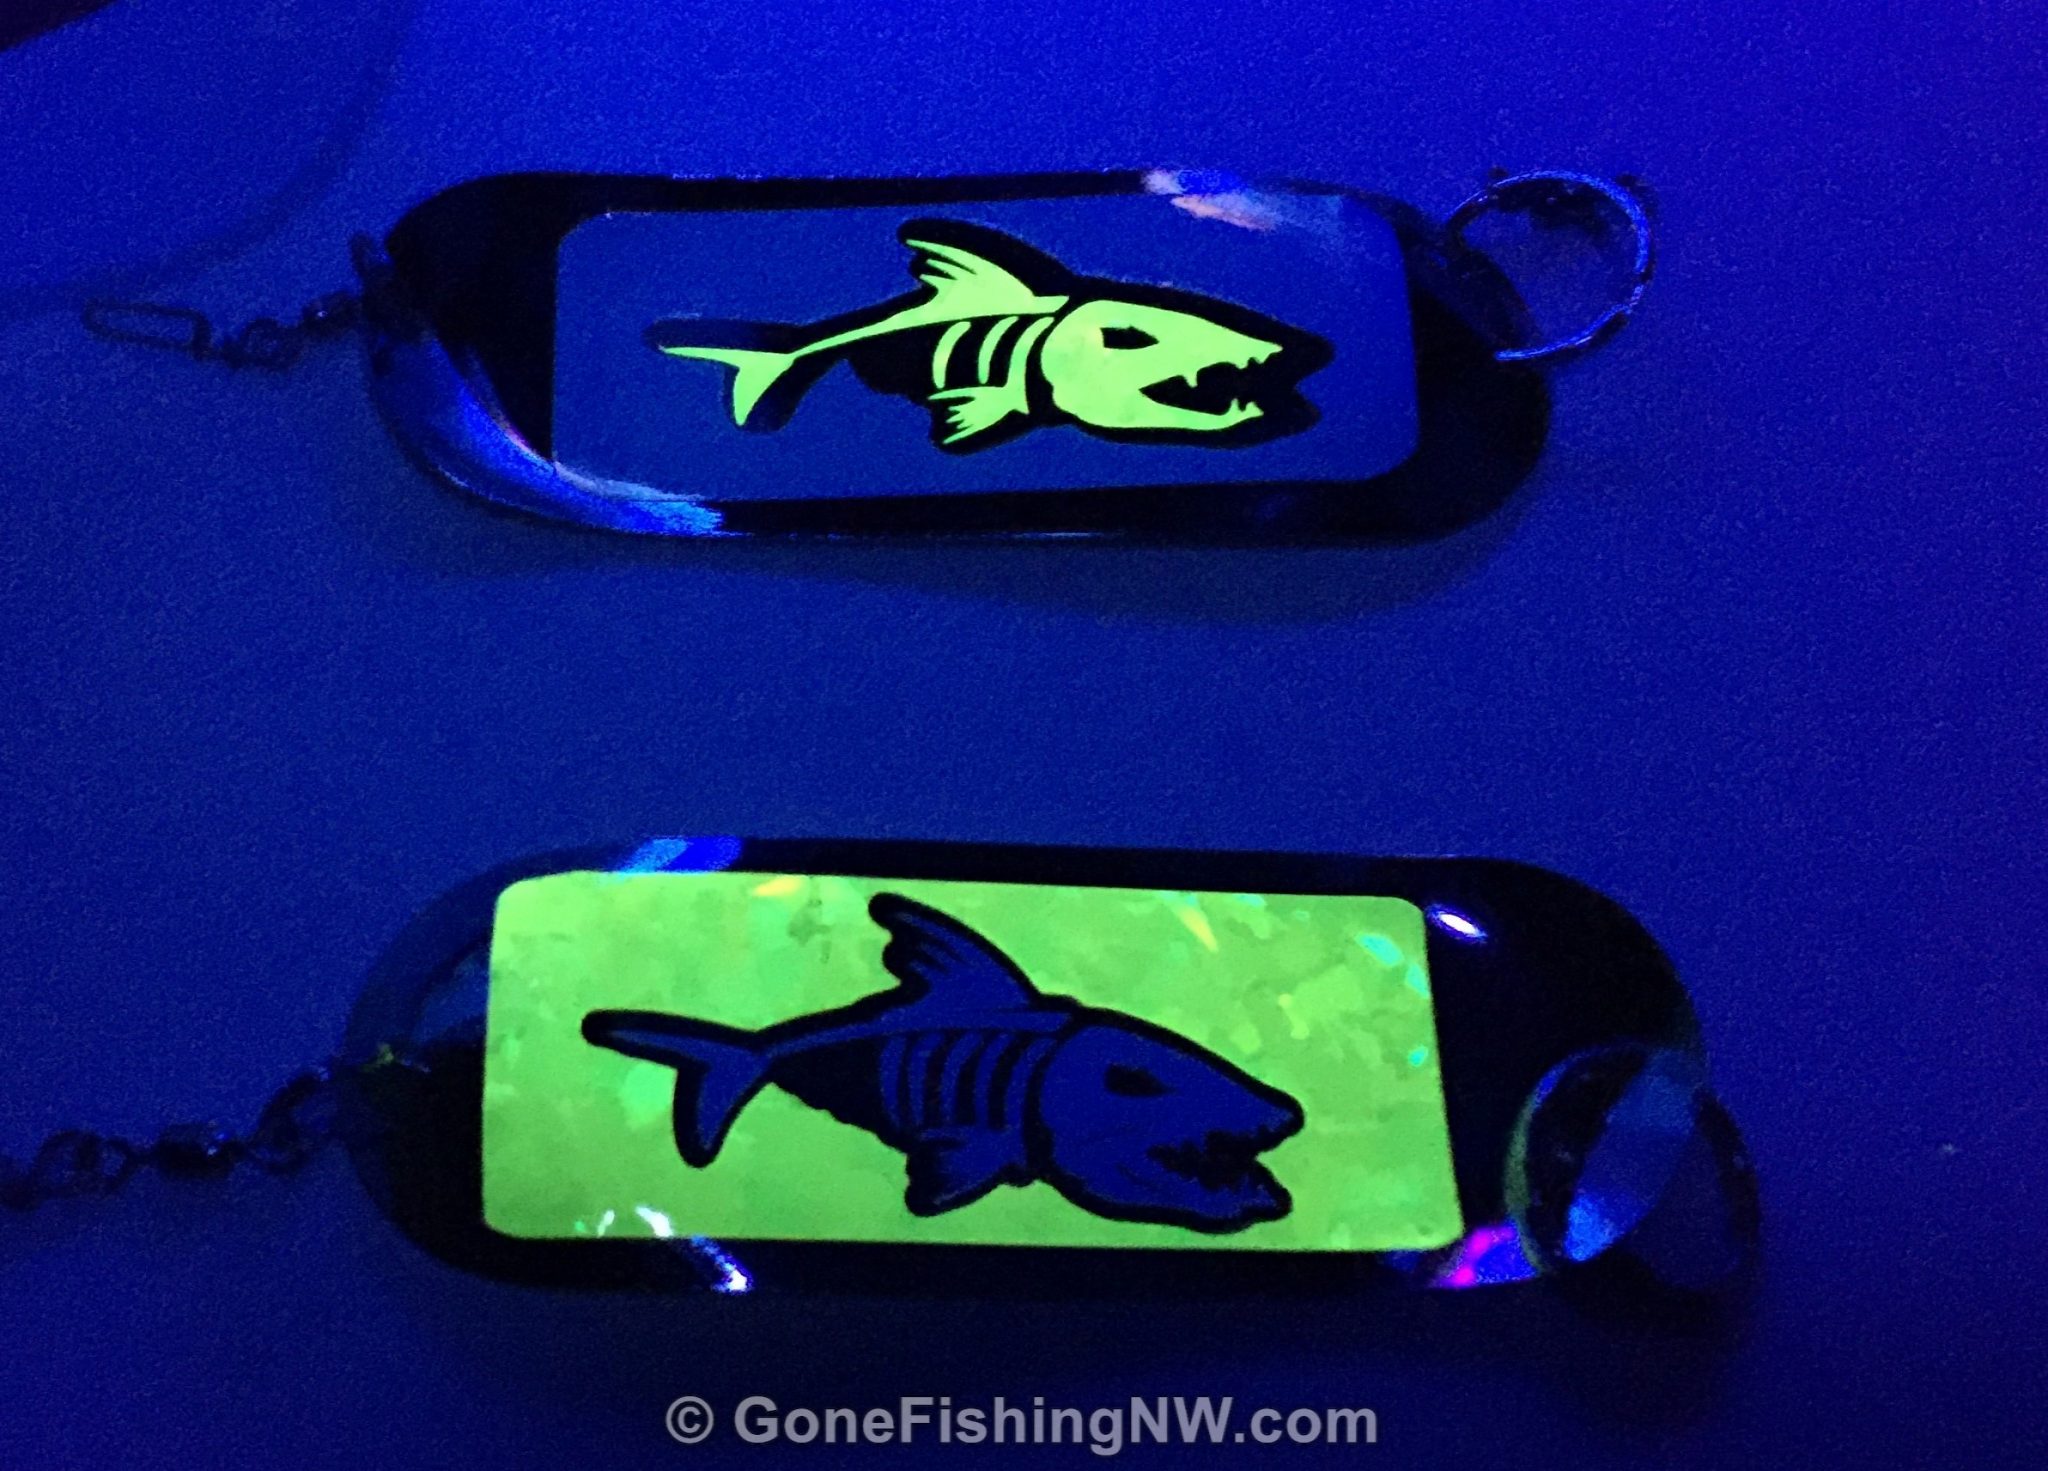
Of course, we want to check it out under UV light.
I put the finished dodgers in my dodger folder for storage.
Conclusion
Building your own custom dodger with stickers and a computer cutter is easy and fun. It can also save you money, and let you create fishing tackle that is exactly how you want.
Do you make your own tackle? Please share what you like to make.