I’ve always heard that glow in the dark lures can be quite effective when fishing deep or in low light conditions. I experimented with them, but never felt like I was giving them an honest try due to not having a good way to charge the glow.
I tried camera flashes, flashlights and UV flashlights. While the lures had a decent glow when I put them in the water, it seemed to me that the glow always wore off fast.
Then I learned about charge boxes. These are little boxes – often with UV LEDs and mirrors which expose your lure to light to charge up that glow. Gone are the days of holding a flashlight on the lure for minutes hoping it takes a charge. Just drop the lure in, do something else for a while, then put it on and fish.
However, I could never bring myself to buy one of those charge boxes because they seemed overpriced and poorly made.
Then I discovered this cool thing – LED strip lights – and realized I could easily make my own charge box. It seemed like it would be easy, and inexpensive.
When I was finished I ran an experiment comparing how long the glow lasted with the charge box via other sources of light. The results were different from what I expected.
It Was a Journey
My first DIY attempt worked okay, but I learned somethings which could be improved on, so I made version 2.0. I’m going to take you on the same journey I did – show you how to build version 1.0, and then how it was improved with 2.0.
If you decide to build your own DIY charge box, then you can go whichever way seems best for you. Maybe even incorporate some ideas I haven’t thought of.
Materials Needed
You really don’t need much in the way of materials. Essentially a box, lights and wires. Since I had a 12v power supply on my boat I rigged it to run off that, rather than batteries. What you’ll need is:
- A study plastic box with a lid – I used a Plano “shotgun shell box”
- LED light strip – I went with several feet of UV lights
- Solderless connectors
- Male/Female Connector plugs (optional – I used it so I could easily switch power supplies)
- 12v power supply plug
If you are new to LED strips, then there are a few things you should know when shopping for them:
- They come in waterproof and non-waterproof models. The difference is the waterproof has a clear rubber molded around it. Since we are using it outdoors and around water, waterproof is a no brainer.
- There are single color and multicolor versions. We only need single color for this. Which means our connectors only need 2 prongs (+ and -).
- LEDs are identified with numbers like 5050, 3528 and 2835. These numbers are the size of the LED elements. 5050 is 5.0mm by 5.0mm, 3528 is 3.5mm by 2.8mm, etc. Generally speaking, larger LEDs are brighter, but you get less of them. I went with 5050, but I’m not sure it would have made that much different in the end.
To make things easy for you, here are the parts I used for sale on Amazon.
For version 1.0 the only tools I needed were:
- Small screwdriver
- Drill
- Knife
- Scissors
- Electrical tape
Assembling Version 1.0
Here are the steps for assembling version 1.0 of the DIY charge box.
Completing the Planning
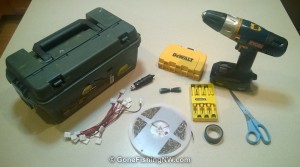
The first step is to get all your tools and materials together. This will let you focus on working, rather than having to stop in the middle to go find something.
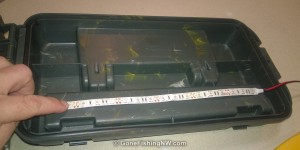
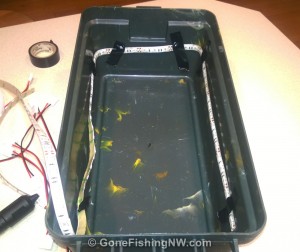
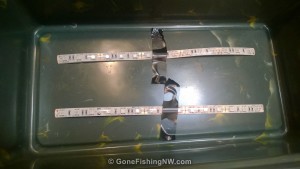
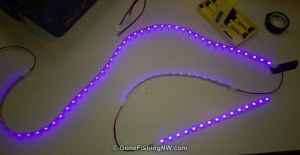
Next I positioned the LED strips, with bits of tape to hold them in place, to verify my layout and measure how it would all fit. I decided to do two strips in the bottom, one around the sides and one on the inside of the lid.
Cutting the LED Strips
Once I had everything measured it was time to cut the strips to the right length. Logistically this is easy – just a quick snip with the scissors. However, you just can’t cut anywhere. Every so often there is a cut point marked on the strip. To have all the lights work, and to be able to connect it to the other strips, this is where you need to cut.
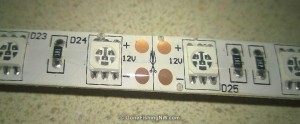
Because of that some of my strips were not quite the size I originally wanted. It wasn’t different enough to matter, but something to take into account while planning.
Connecting the LED Strips
In version 1.0 I decided to use the solderless connectors. My research indicated this was the most common way to connect the strips. It also had the benefit that the connection was waterproof.
The first thing you need to do is to strip off the waterproof covering so the connector can touch the contact points. Without that no power would flow.
To make room for the connector you have to start removing the waterproofing right up to the edge of the closest LED.
Simply cut down with the knife until you reach the actual strip. Then bend the strip at that point. You know should be able to grab the covering and pull it completely off. If some bits stick you can do some gentle scraping with the knife to remove any extra bits.
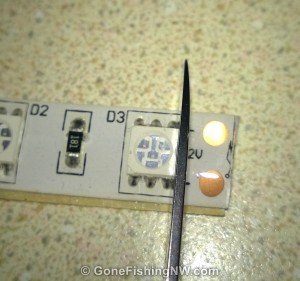
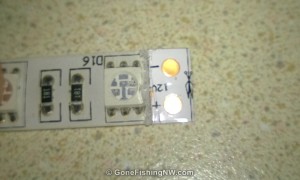
Now you can take one of the connectors and open it up. You’ll notice 2 prongs which will line up with those contact points on the LED strip. If you look closer, you can see a little grove which holds the edges of the strip when it is in the connector.
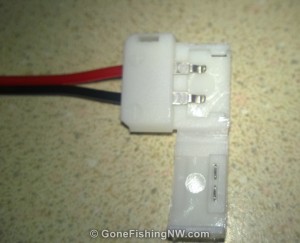
Simply slide the strip into that grove. Push it all the way in. I found it handy to pull back the adhesive covering off the back about half an inch, so that I could pull it off the rest of the way without having to remove the connector.
The connector pads should be right under the contact prongs in the connector.
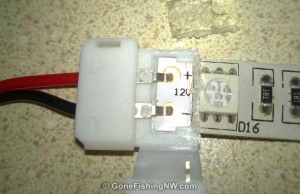
Remember the red wire should line up with the + connector. If it doesn’t then turn the strip around and use the other end. This is importance because it will not light if you get the polarity reversed. Diodes! Am I right?
Lastly snap the connector closed. It should hold the strip securely.
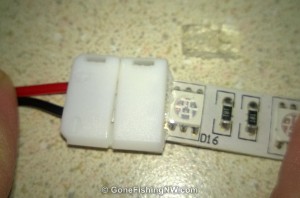
It is a good idea to occasionally connect the strip to power and make sure everything is lighting up.
Mounting in the Box
Now that my sequence of LED strips are all cut and connected it is time to get the box and power supply ready.
Preparing the box is easy. I just had to drill a small hole to feed the power line out of. Because the box I chose had a small compartment on top, I put the hole so the line feeds into that compartment. That way no water will get in when the box is not in use, as well as keeping the wire out of the way. If you want to waterproof the hole, then I’d recommend covering it with hot glue after feeding the wire through.
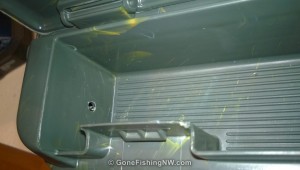
Next I positioned the LED strips, pulled off the adhesive backing, and stuck them in position. Very easy.
I also used some electrical tape to hold the connecting wires inside the box out of the way.
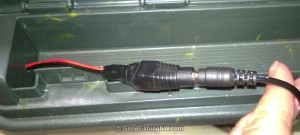
I then fed the power wire out of the hole. The end of the power wire then went into quick connector. This was really easy. From the picture you’ll notice two screws – simply unscrew them a little, insert the ends of the wire and then tighten the screws back up.
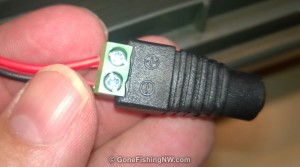
I went with the quick connector for two reasons. First so I could easily switch back and forth between power supplies – the 12v plug in the boat, or the 12v power supply inside the house (for testing). Second is the plug makes an easy on/off switch.
Building the Power Supply
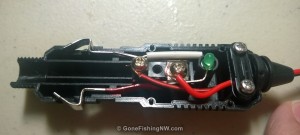
Next I took the 12v plug. In this particular model to open it I had to unscrew the tip, remove the rubber band around it and take out the screw on the side.
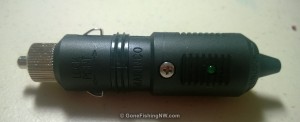
Then I was able to feed the wire through, and attach it to the endpoint screws inside the case. Then I put everything back together.
Lastly I installed a matching quick connector on the end of the wire, so it can plug into the connector attached to the LED strips.
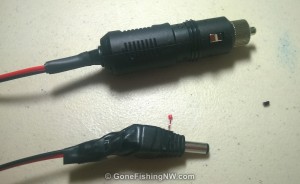
And here it is attached to the matching female connector.
Final Testing
Now it is all assembled and I’m able to give it a final test. I plugged it all in, and everything lit up right. The lid open and closed just fine, and everything seemed in working order.
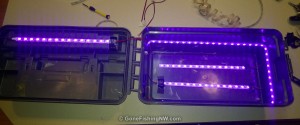
Now to see if it actually charges stuff.
I loaded the box with some glow beads and lures I had handy.
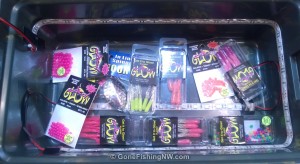
Then I powered the box on, and closed the lid.
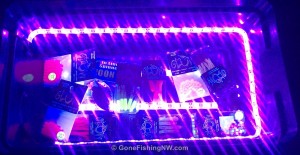
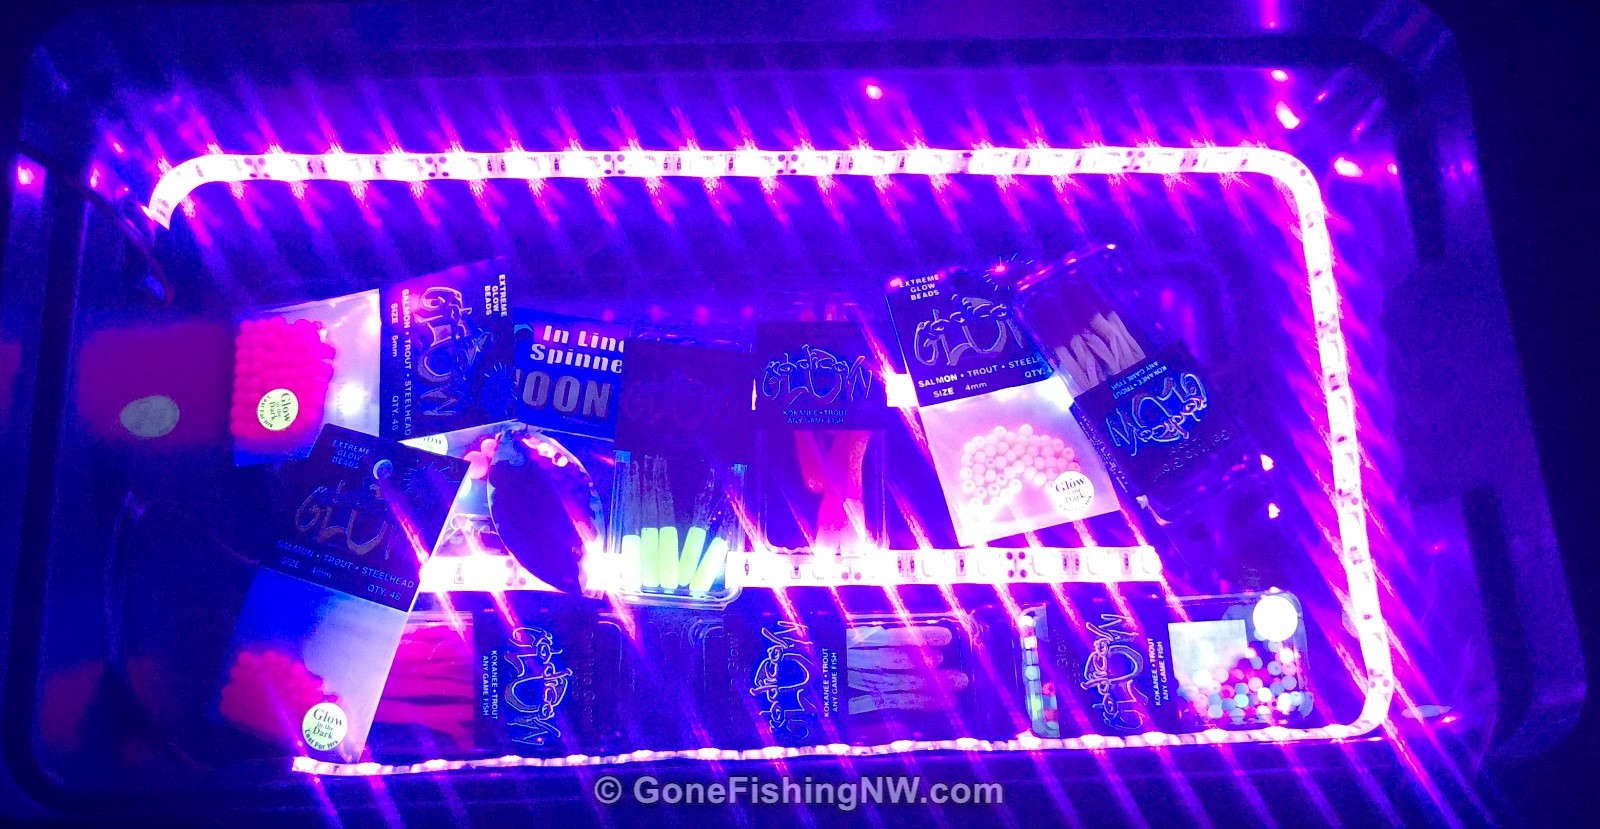
A couple minutes later I unplugged it, turned off the lights and saw everything strongly glowing.
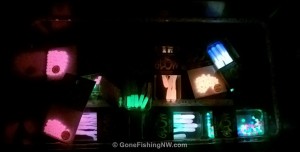
The Trouble Begins
You might think the next bit of the story is taking it out fishing and catching lots of fish. Unfortunately, there was some drama to work through first.
While mounting the LED strips in the box I immediately noticed 2 problems with the solderless connectors.
- They are bulky and don’t lie flush with the LED strip
- They are sensitive. They would frequently lose electrical contact with the LED strip as I positioned them.
After a few days I also noticed the LED strips were pulling away from the box. This was due to two factors working together – the bulky connectors preventing a solid adhesion at the ends of the strips and force from the bend in the wires being constantly applied.
Version 2.0 is Born
After some thinking I came up with a solution to these problems:
- Solder the connections together instead of using the solderless connectors
- Glue the LED strips to the box
Soldering the Connections
To do this I needed the following tools and materials:
- Duplex wire
- Soldering iron & solder
- Wire cutter and stripper
- Hot glue gun
- Heat shrink tubing
- Heat gun
Having experience soldering this was really easy and something I wish I had done from the start. I removed all the connectors and got out my length of spare wire.
I measured the desired length, cut the wire, separated the black and red and then stripped the insolation off.
I positioned the wire so the bare ends were over the connector pads. I used tape to hold it in position so I could have my hands free while soldering. Remember the red wire goes to the + connector.
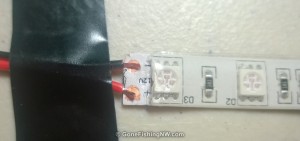
A quick application of the soldering iron and little bit of solder and it was well connected.
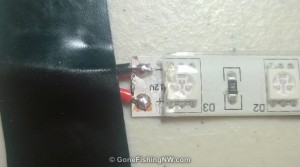
However, the ends are no longer waterproof. A bit of water in the right spot, and the thing would short out. So to solve that I applied hot glue on and around the solder point. Essentially this builds back the waterproof coating we removed earlier.
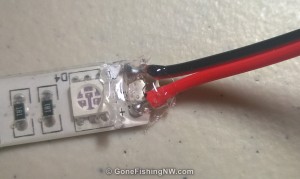
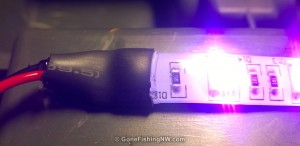
To reinforce the connection, I slid a length of heat shrink tubing over it and then applied the heat gun. The heat would also melt the glue again, which was great since the constricting tubing would cause the glue to fill any missed nooks and crannies.
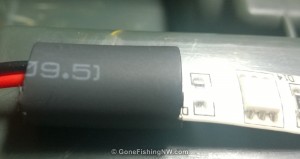
Just like assembling version 1, test frequently to ensure you catch problems early.
Securely Fastening the LED Strips
Next I put the strips back in, using what was left of their adhesive backing.
Then I mixed up some 5-minute epoxy and applied it at the ends – focusing on where it was peeling free. Clamps helped hold it all together while the epoxy set.
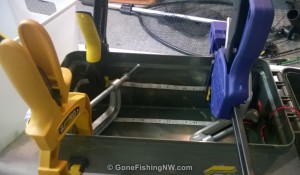
If any other parts of the strip pull away from the box, then just epoxy that section.
UPDATE: The epoxy didn’t hold that well on the plastic of the box, causing the strips to come off after just a little use. Since then I’ve reattached them with hot glue, and so far that is working great.
Version 2.0 is Finished
The problems seem to be solved and don’t look like they are coming back. I think it also looks nicer without those bulky connectors.
The one thing I’m not really happy with is the connecting wires inside the box. I wish there was some way to make it so hooks will not snag on them, and have it look good. Right now I have them taped down, which works OK for now.
What Do You Think?
Do you use a charge box? How to do think this compares? Any ideas on how to improve it?
Stay tuned – next I’ll do some experiments to compare how well the box charges lures compared to other methods.




Comments are closed.